Boxplot
General
Let’s begin by importing verticapy.
import verticapy as vp
Let’s also import numpy to create a random dataset.
import numpy as np
Let’s generate a dataset using the following data.
N = 100
data = vp.vDataFrame({
"category": [np.random.choice(['A','B','C']) for _ in range(N)],
"score1": np.random.normal(5, 1, N),
"score2": np.random.normal(8, 1.5, N),
"score3": np.random.normal(10, 2, N),
})
In the context of data visualization, we have the flexibility to harness multiple plotting libraries to craft a wide range of graphical representations. VerticaPy, as a versatile tool, provides support for several graphic libraries, such as Matplotlib, Highcharts, and Plotly. Each of these libraries offers unique features and capabilities, allowing us to choose the most suitable one for our specific data visualization needs.

Note
To select the desired plotting library, we simply need to use the set_option() function. VerticaPy offers the flexibility to smoothly transition between different plotting libraries. In instances where a particular graphic is not supported by the chosen library or is not supported within the VerticaPy framework, the tool will automatically generate a warning and then switch to an alternative library where the graphic can be created.
Please click on the tabs to view the various graphics generated by the different plotting libraries.
We can switch to using the plotly module.
vp.set_option("plotting_lib", "plotly")
In VerticaPy, you can create a single boxplot or multiple boxplots within the same graphic.
data["score1"].boxplot()
We load the VerticaPy chart extension.
%load_ext verticapy.chart
We write the SQL query using Jupyter magic cells.
%%chart -k boxplot
SELECT score1 FROM :data;
data.boxplot(columns = ["score1", "score2", "score3"])
We load the VerticaPy chart extension.
%load_ext verticapy.chart
We write the SQL query using Jupyter magic cells.
%%chart -k boxplot
SELECT score1, score2, score3 FROM :data;
We can switch to using the highcharts module.
vp.set_option("plotting_lib", "highcharts")
In VerticaPy, you can create a single boxplot or multiple boxplots within the same graphic.
data["score1"].boxplot()
We load the VerticaPy chart extension.
%load_ext verticapy.chart
We write the SQL query using Jupyter magic cells.
%%chart -k boxplot
SELECT score1 FROM :data;
data.boxplot(columns = ["score1", "score2", "score3"])
We load the VerticaPy chart extension.
%load_ext verticapy.chart
We write the SQL query using Jupyter magic cells.
%%chart -k boxplot
SELECT score1, score2, score3 FROM :data;
We can switch to using the matplotlib module.
vp.set_option("plotting_lib", "matplotlib")
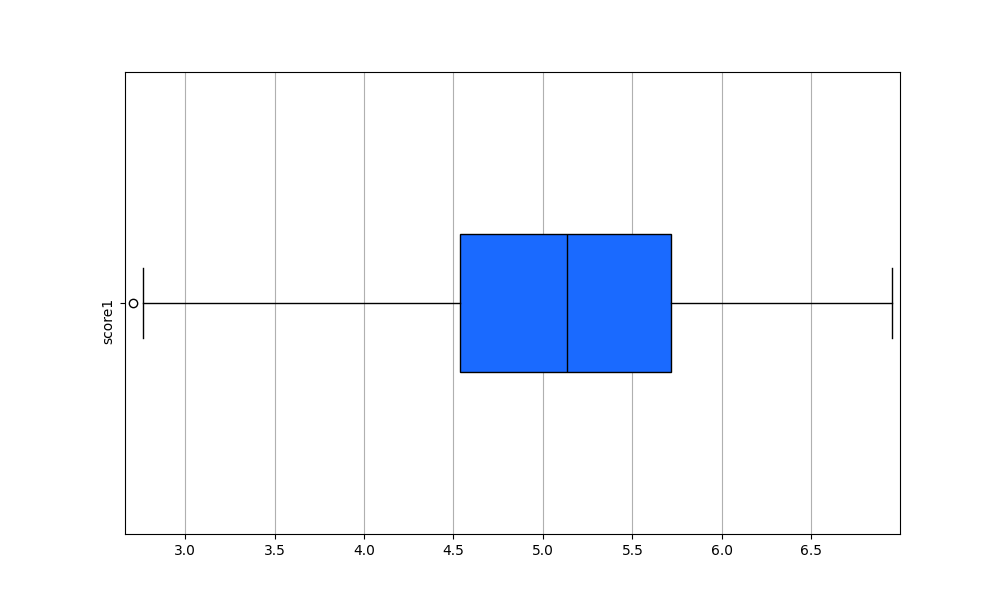
In VerticaPy, you can create a single boxplot or multiple boxplots within the same graphic.
data["score1"].boxplot()
Out[3]: <Axes: >
We load the VerticaPy chart extension.
%load_ext verticapy.chart
We write the SQL query using Jupyter magic cells.
%%chart -k boxplot
SELECT score1 FROM :data;
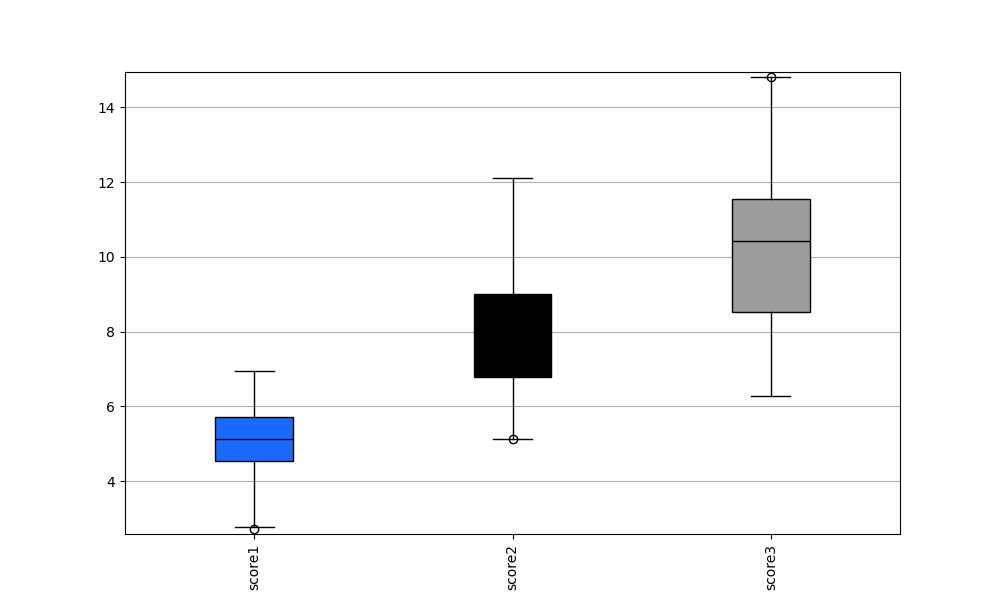
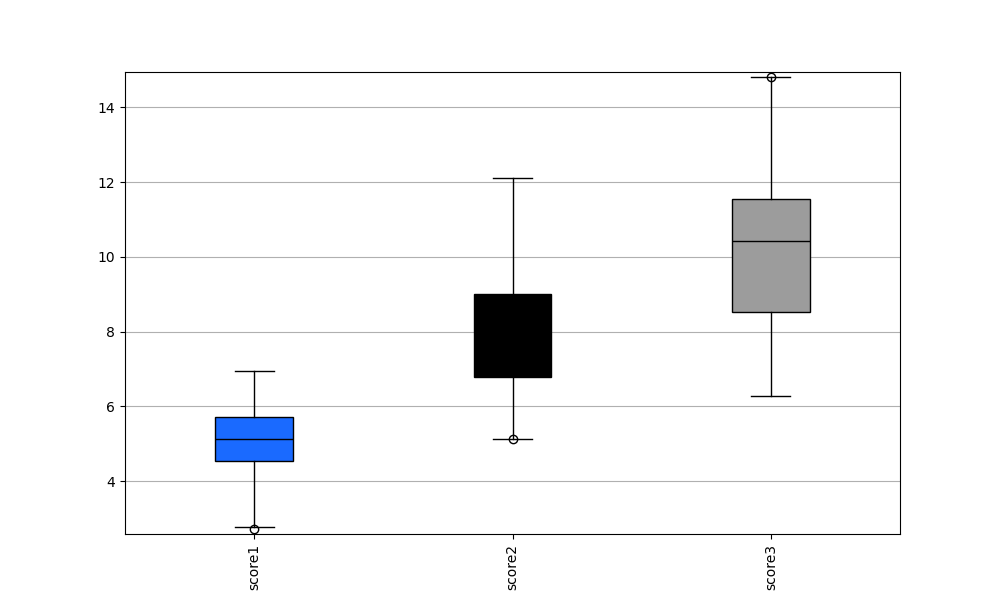
data.boxplot(columns = ["score1", "score2", "score3"])
Out[4]: <Axes: >
We load the VerticaPy chart extension.
%load_ext verticapy.chart
We write the SQL query using Jupyter magic cells.
%%chart -k boxplot
SELECT score1, score2, score3 FROM :data;
Custom Parameters
In VerticaPy, you have a range of options for customizing your boxplots. You can select custom quantiles for both the lower and upper bounds, allowing you to precisely define the range of data displayed in your boxplot. Additionally, you can specify the maximum number of outliers, or “flyers,” that you wish to be displayed in your plot, giving you fine-grained control over the visualization of your data.
Quantiles
data["score1"].boxplot(q = (0.1, 0.9))
Note
By selecting the tuple (0.1, 0.9), we are effectively utilizing the values corresponding to the first and ninth deciles of the data distribution.
Fliers
Note
“Flyers” in this context represents the outliers within the distribution, and the process of selecting them can be time-consuming. If you wish to expedite the computation of your box plot, you can set the “flyers” parameter to 0. This will result in a faster box plot generation without displaying outliers.
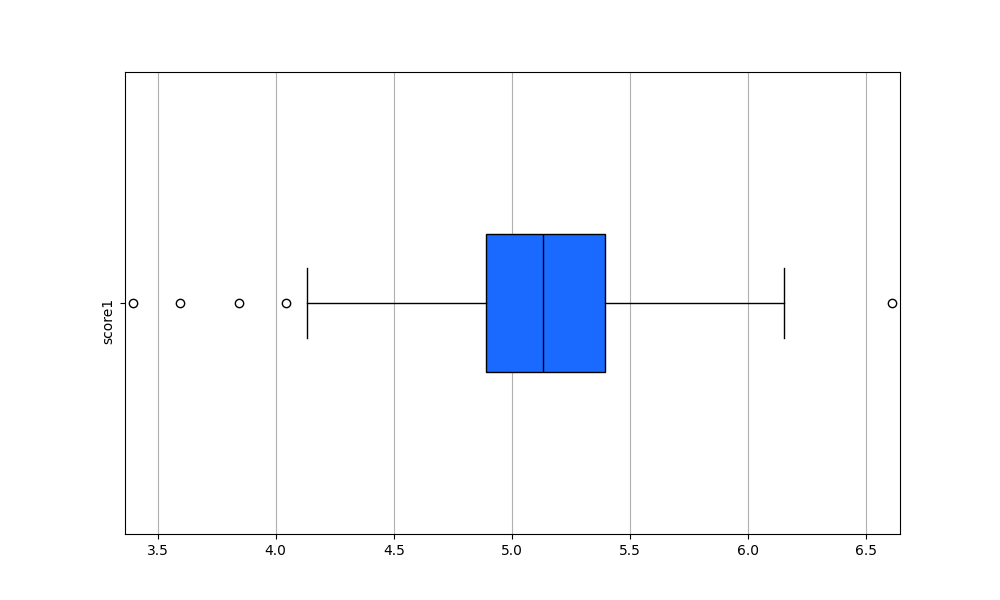
data["score1"].boxplot(q= (0.4, 0.6), max_nb_fliers = 5)
Quantiles
data["score1"].boxplot(q = (0.1, 0.9))
Note
By selecting the tuple (0.1, 0.9), we are effectively utilizing the values corresponding to the first and ninth deciles of the data distribution.
Fliers
Note
“Flyers” in this context represents the outliers within the distribution, and the process of selecting them can be time-consuming. If you wish to expedite the computation of your box plot, you can set the “flyers” parameter to 0. This will result in a faster box plot generation without displaying outliers.
data["score1"].boxplot(q = (0.4, 0.6), max_nb_fliers = 5)
Quantiles
data["score1"].boxplot(q = (0.1, 0.9))
Out[5]: <Axes: >

Note
By selecting the tuple (0.1, 0.9), we are effectively utilizing the values corresponding to the first and ninth deciles of the data distribution.
Fliers
Note
“Flyers” in this context represents the outliers within the distribution, and the process of selecting them can be time-consuming. If you wish to expedite the computation of your box plot, you can set the “flyers” parameter to 0. This will result in a faster box plot generation without displaying outliers.
data["score1"].boxplot(q = (0.4, 0.6), max_nb_fliers = 5)
Out[6]: <Axes: >
Grouping
Group by categories.
data["score1"].boxplot(by = "category")
%%chart -k boxplot
SELECT score1, category FROM :data;
data["score1"].boxplot(by = "category")
%%chart -k boxplot
SELECT score1, category FROM :data;
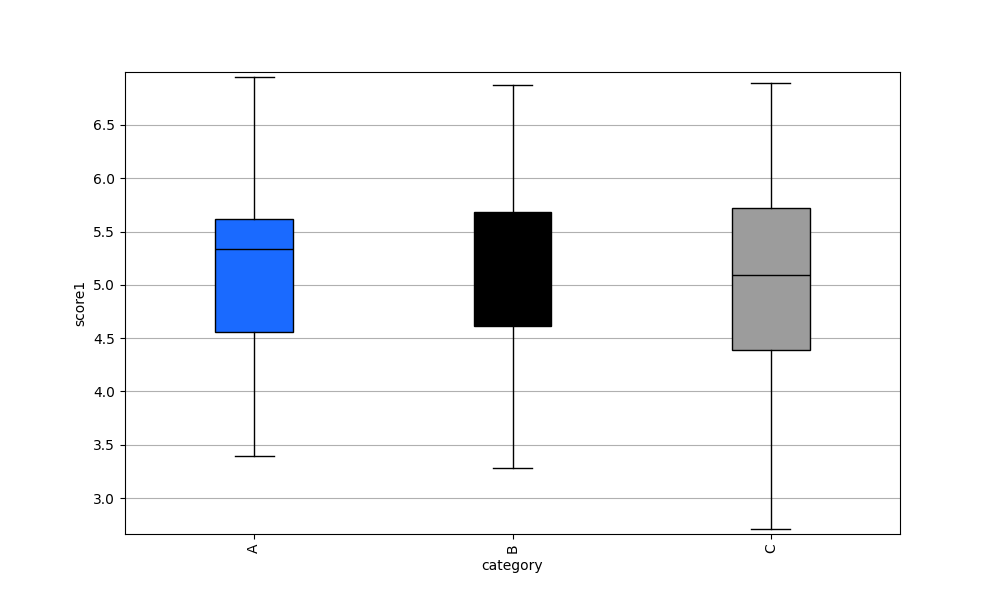
data["score1"].boxplot(by = "category")
Out[7]: <Axes: xlabel='category', ylabel='score1'>
%%chart -k boxplot
SELECT score1, category FROM :data;
Chart Customization
VerticaPy empowers users with a high degree of flexibility when it comes to tailoring the visual aspects of their plots. This customization extends to essential elements such as color schemes, text labels, and plot sizes, as well as a wide range of other attributes that can be fine-tuned to align with specific design preferences and analytical requirements. Whether you want to make your visualizations more visually appealing or need to convey specific insights with precision, VerticaPy’s customization options enable you to craft graphics that suit your exact needs.
Hint
For SQL users who use Jupyter Magic cells, chart customization must be done in Python. They can then export the graphic using the last magic cell result.
chart = _
Now, the chart variable includes the graphic. Depending on the library you are using, you will obtain a different object.
Important
Different customization parameters are available for Plotly, Highcharts, and Matplotlib. For a comprehensive list of customization features, please consult the documentation of the respective libraries: plotly, matplotlib and highcharts.
Colors
Custom colors for 1D
fig = data["score1"].boxplot()
fig.update_traces(marker = dict(color="red"))
Custom colors mapping for categories
Note
You can leverage all the capabilities of the Plotly object, including functions like update_trace.
fig = data.boxplot(columns = ["score1", "score2", "score3"])
new_colors = ["red", "orange","green"]
for trace_index, new_color in enumerate(new_colors):
if trace_index < len(fig.data):
fig.data[trace_index].marker.color = new_color
Custom colors for 1D
data["score1"].boxplot(colors = ["green"])
Custom colors mapping for categories
data.boxplot(columns = ["score1", "score2", "score3"], colors = ["red", "orange", "green"])
Custom colors for 1D
data["score1"].boxplot(colors = ["red"])
Out[8]: <Axes: >

Custom colors mapping for categories
data.boxplot(columns = ["score1", "score2", "score3"], color = ["red", "orange", "green"])
Out[9]: <Axes: >

Size
Custom Width and Height.
data.boxplot(columns = ["score1", "score2", "score3"], width = 300, height = 300)
Custom Width and Height.
data["grade"].boxplot(width = 500, height = 200)
Custom Width and Height.
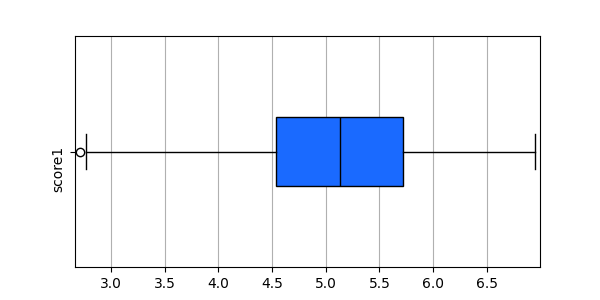
data["score1"].boxplot(width = 6, height = 3)
Out[10]: <Axes: >
Text
Custom Title
data["score1"].boxplot().update_layout(title_text = "Custom Title")
Custom Axis Titles
data.boxplot(columns = ["score1", "score2", "score3"], yaxis_title = "Custom Y-Axis Title")
Custom Title Text
data["score1"].boxplot(title = {"text": "Custom Title"})
Custom Axis Titles
data["score1"].boxplot(xAxis = {"title": {"text": "Custom X-Axis Title"}})
Custom Title Text
data["score1"].boxplot().set_title("Custom Title")
Out[11]: Text(0.5, 1.0, 'Custom Title')

Custom Axis Titles
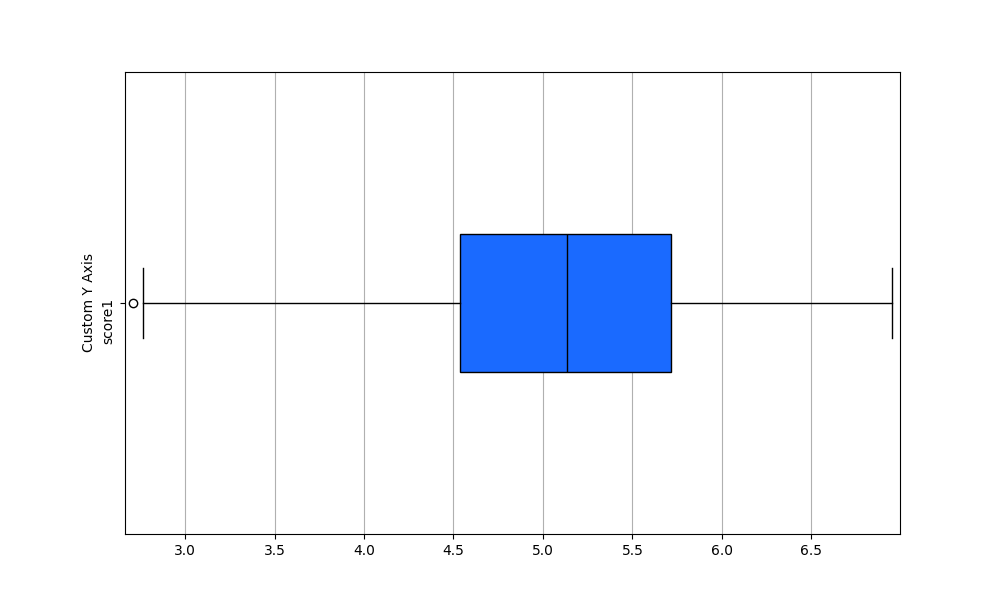
data["score1"].boxplot().set_ylabel("Custom Y Axis")
Out[12]: Text(0, 0.5, 'Custom Y Axis')