Create an Empty Database Using MC
You can create a new database on an existing Vertica cluster through the Management Console interface.
MC provides a step-by-step wizard to install a new Vertica database on an existing cluster.
Depending on how you installed MC, the screens you see will differ:
- If you installed MC with an RPM, follow the steps in this wizard.
- If you installed MC on Amazon Web Services (AWS) resources using a CloudFormation Template, you will see this wizard.
To provision a new database and cluster on AWS resources (this might be the case if you installed Vertica using a CloudFormation Template), see Provision a New Vertica Cluster and Database on AWS Resources. To provision a new database and cluster on-premise, see Creating a Cluster Using MC in the Installation Guide.
Create a Database (Using MC Installed Through an RPM)
- Connect to Management Console, and log in.
-
On the Home page, click Existing Infrastructure. The Database and Cluster View page appears; this is a summary of your environment, clusters, and databases.
-
If no databases exist on the cluster, continue to the next step; otherwise:
- If a database is running on the cluster on which you want to add a new database, select the database and click Stop.
- Wait for the running database to have a status of Stopped.
-
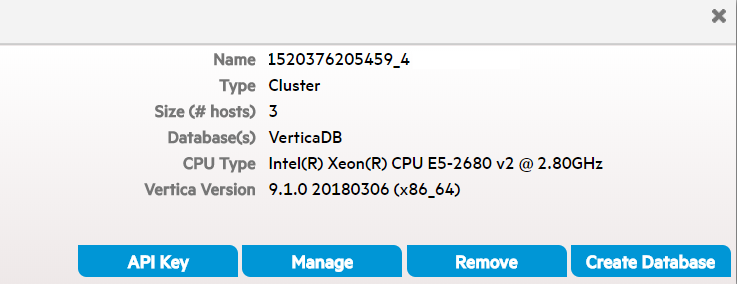
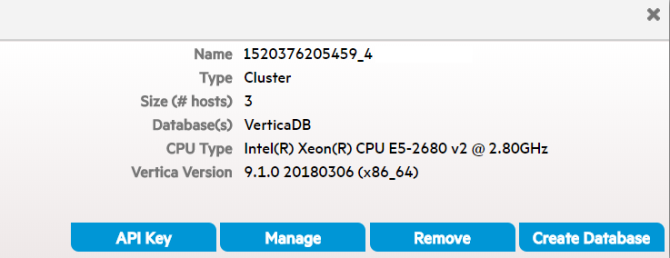
In the row labeled Clusters, click the existing cluster you want to create a database on. (If a database is already running on it, first stop the database.) When a dialog box identifying that cluster appears, click Create Database. The database creation wizard starts.
- Follow the steps in the wizard to successfully create a database.
You can close the web browser during the process and sign back in to MC later; the creation process continues unless an unexpected error occurs.
Create a Database (Using MC Installed Through a CFT)
You will see this wizard if you installed Vertica on AWS Resources using a CloudFormation Template.
- Connect to Management Console, and log in.
- On the Home page, click Existing Infrastructure. The Database and Cluster View page appears; this is a summary of your environment, clusters, and databases.
-
If no databases exist on the cluster, continue to the next step; otherwise:
- If a database is running on the cluster on which you want to add a new database, select the database and click Stop.
- Wait for the running database to have a status of Stopped.
-
In the row labeled Clusters, click the existing cluster you want to create a database on. When a dialog box identifying that cluster appears, click Create Database. The database creation wizard starts.
- When a dialog box identifying that cluster appears, click Create Database. The database creation wizard starts.
- Choose a mode for your database: Eon Mode or Enterprise Mode. The default is Eon Mode. Note that you cannot switch the mode on your database after creation. (For a summary of the difference between modes, see Creating a Database in the Administrator's Guide.)
- Follow the cluster creation wizard and enter the parameters for your new cluster and database. (Use the authentication method you selected in the CloudFormation Console when launching your AWS resources and MC.)
If you choose Enterprise Mode, the wizard offers two paths:- Quick Create provides default values during cluster creation.
- Custom Create allows you to specify EC2 instance types and other AWS resources for your Vertica cluster instances.
- After confirming the details you have provided for your new cluster, click Create. The dialog shows you the progress of the creation process, which takes a few minutes. (You can leave or close the browser during this process; to return to this progress window, select Create a New Vertica Database Cluster on the home page.)
During Eon Mode database creation, use an existing Amazon S3 bucket in the same region as your instances for your communal storage location. Specify a new subfolder name, which Vertica will dynamically create within the existing S3 bucket. For example, s3://existingbucket/newstorage1. You can create a new subfolder within existing ones, but database creation will roll back if you do not specify any new subfolder name.
- The dialog displays a success message when the creation process completes. Click Get Started to view the Fast Tasks page.
View your new database any time under the Available Databases section of the Management Console home page. See Managing Database Clusters for more about further managing your cluster, instances, and database using MC.