Add Nodes to a Running Cluster on the Cloud
There are two ways to add nodes to an AWS cluster:
- Using Management Console
- Using admintools
When you use MC to add nodes to a cluster in the cloud, MC provisions the instances, adds the new instances to the existing Vertica cluster, and then adds those hosts to the database. However, when you add nodes to a cluster using admintools, you need to execute those steps yourself, as explained in Adding Nodes Using admintools.
Adding Nodes Using Management Console
In the Vertica Management Console, you can add nodes in several ways, depending on your database mode.
For Eon Mode databases, MC supports actions for subcluster and node management:
- In the cloud: On AWS and GCP.
- On-premises: For Pure Storage FlashBlade.
For Enterprise Mode databases, MC supports these actions:
- In the cloud on AWS: Add Node action, Add Instance action.
- On-premises: Add Node action.
In the cloud on GCP, Enterprise Mode databases are not supported.
Adding Nodes in an Eon Mode Database
In an Eon Mode database, every node must belong to a subcluster. To add nodes, you always add them to one of the subclusters in the database:
- By scaling up an existing subcluster by one or more nodes.
- By adding a new subcluster of one or more nodes.
Adding Nodes in an Enterprise Mode Database on AWS
In an Enterprise Mode database on AWS, to add an instance to your cluster:
- On the MC Home page, click View Infrastructure to go to the Infrastructure page. This page lists all the clusters the MC is monitoring.
-
Click any cluster shown on the Infrastructure page.
-
Select View or Manage from the dialog that displays, to view its Cluster page. (In a cloud environment, if MC was deployed from a cloud template the button says "Manage". Otherwise, the button says "View".)
You can click the pencil icon beside the cluster name to rename the cluster. Enter a name that is unique within MC.
-
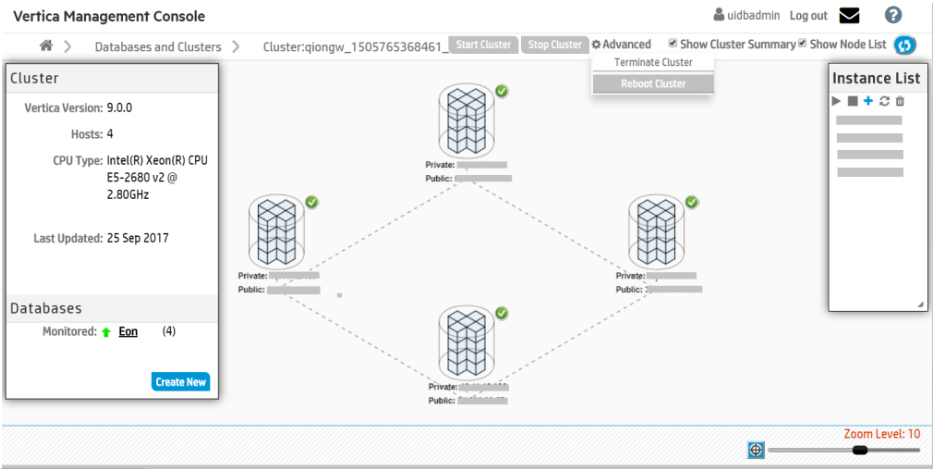
Click the Add (+) icon on the Instance List on the Cluster Management page.
MC adds a node to the selected cluster.
Adding Nodes Using admintools
This section gives an overview on how to add nodes if you are managing your cluster using admintools. Each main step points to another topic with the complete instructions.
Step 1: Before You Start
Before you add nodes to a cluster, verify that you have an AWS cluster up and running and that you have:
- Created a database.
- Defined a database schema.
- Loaded data.
- Run the Database Designer.
- Connected to your database.
Step 2: Launch New Instances to Add to an Existing Cluster
Perform the procedure in Configure and Launch an Instance to create new instances (hosts) that you then will add to your existing cluster. Be sure to choose the same details you chose when you created the original instances (VPC, placement group, subnet, and security group).
Step 3: Include New Instances as Cluster Nodes
You need the IP addresses when you run the install_vertica script to include new instances as cluster nodes.
If you are configuring Amazon Elastic Block Store (EBS) volumes, be sure to configure the volumes on the node before you add the node to your cluster.
To add the new instances as nodes to your existing cluster:
- Configure and launch your new instances.
- Connect to the instance that is assigned to the Elastic IP. See Connect to an Instance if you need more information.
Run the Vertica installation script to add the new instances as nodes to your cluster. Specify the internal IP addresses for your instances and your
*pemfile name.$ sudo /opt/vertica/sbin/install_vertica --add-hosts <instance-ip>--dba-user-password-disabled --point-to-point --data-dir /vertica/data --ssh-identity ~/<nameof-pem>.pem
Step 4: Add the Nodes
After you have added the new instances to your existing cluster, add them as nodes to your cluster, as described in Adding Nodes to a Database.
Step 5: Rebalance the Database
After you add nodes to a database, always rebalance the database.