


Vertica Integration with Veera Predict: Connection Guide
About Vertica Connection Guides
Vertica connection guides provide basic instructions for connecting a third-party partner product to Vertica. Connection guides are based on our testing with specific versions of Vertica and the partner product.
Vertica and Veera Predict: Latest Versions Tested
| Software | Version |
|---|---|
| Partner Product |
Rapid Insight Veera Predict 3.2.19002.0 |
| Desktop Platform |
Windows Server 2012 R2 |
| Vertica Client |
Vertica ODBC 9.2.0-0 |
| Vertica Server |
Vertica Database 9.2.0-0 |
Rapid Insight Veera Predict
Rapid Insight Veera Predict mines and examines historic data, identifies variables with predictive qualities and builds powerful and transparent predictive models. Users can explore patterns within variables and perform detailed analysis of data and build statistical models to predict future outcomes. See the Rapid Insight Veera Predict website for more information.
Install Veera Predict
You can download Veera Predict from Rapid Insight's download page. Complete the registration information and click Get the Trial.
See the Desktop Installation Guide for instructions on installing Veera Predict.
For more information on using Veera Predict see the online documentation.
Install the Vertica Client Driver
Before you can connect to Vertica using Veera Predict, you must install the Vertica client package. This package includes the ODBC client driver that Veera Predict uses to connect to Vertica. Follow these steps:
- Go to the Vertica Client Drivers page.
- Download the version of the Vertica client package that is compatible with the architecture of your operating system and Vertica server version.
-
Based on the client driver package you downloaded, follow the installation instructions in the Vertica documentation.
Note Vertica drivers are forward compatible, so you can connect to the Vertica server using earlier versions of the client.
For more information about client and server compatibility, see Client Driver and Server Version Compatibility in the Vertica documentation.
-
Create an ODBC DSN following the Setting up an ODBC DSN instructions in the Connecting to Vertica section of the documentation. This is used by Veera Predict when establishing a connection with Vertica.
Connecting Veera Predict to Vertica
Follow the steps below to create a connection to Vertica:
- From Windows File Explorer access the directory where you installed Veera Predict and double-click the file VeeraPredict64 to open the application. The Veera Predict Home Screen appears:
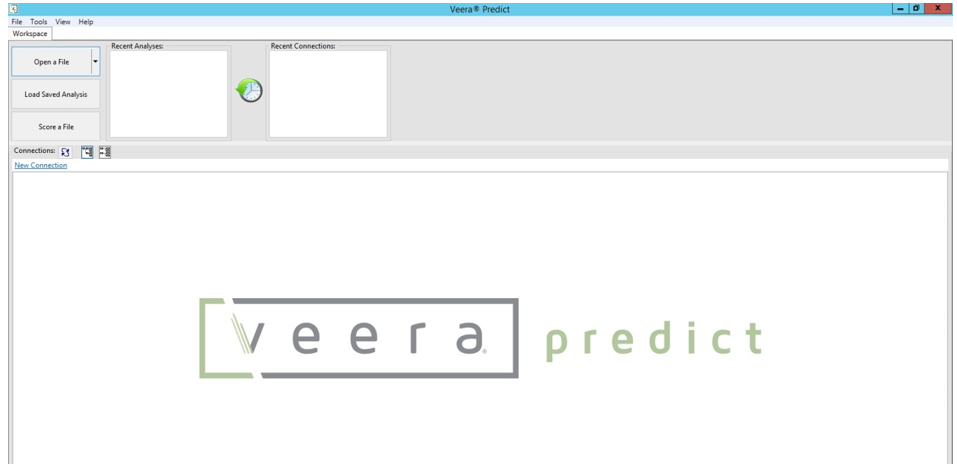
- Click New Connection:

The Create New Connection dialog appears - Click the DSN icon:
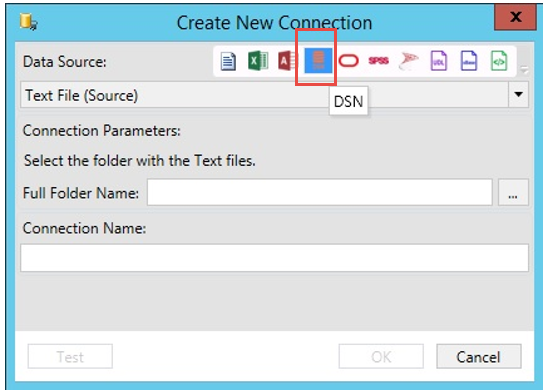
- From the Create New Connection data entry screen, enter the ODBC DSN details:
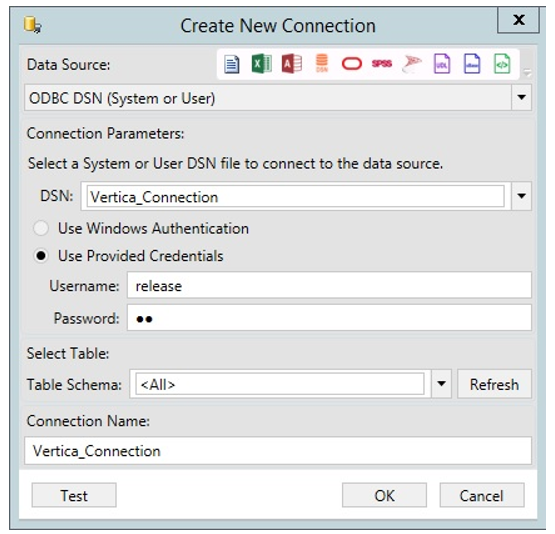
- Click Test to test the new connection. If the test is successful, the following appears:
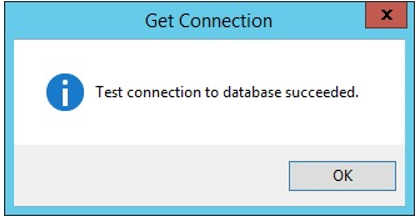
- Click OK, the new connection appears in the Connections window:
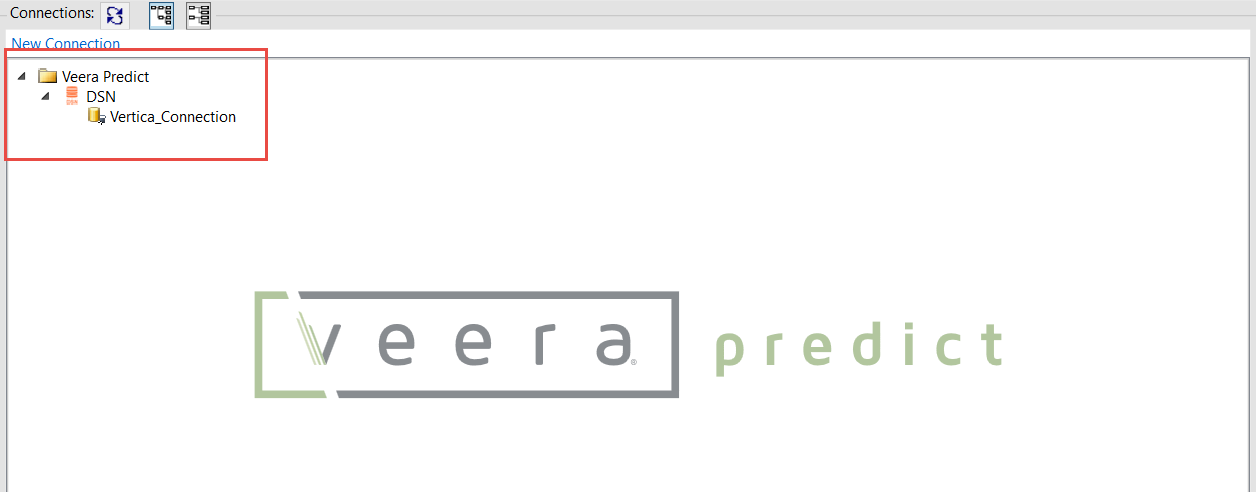
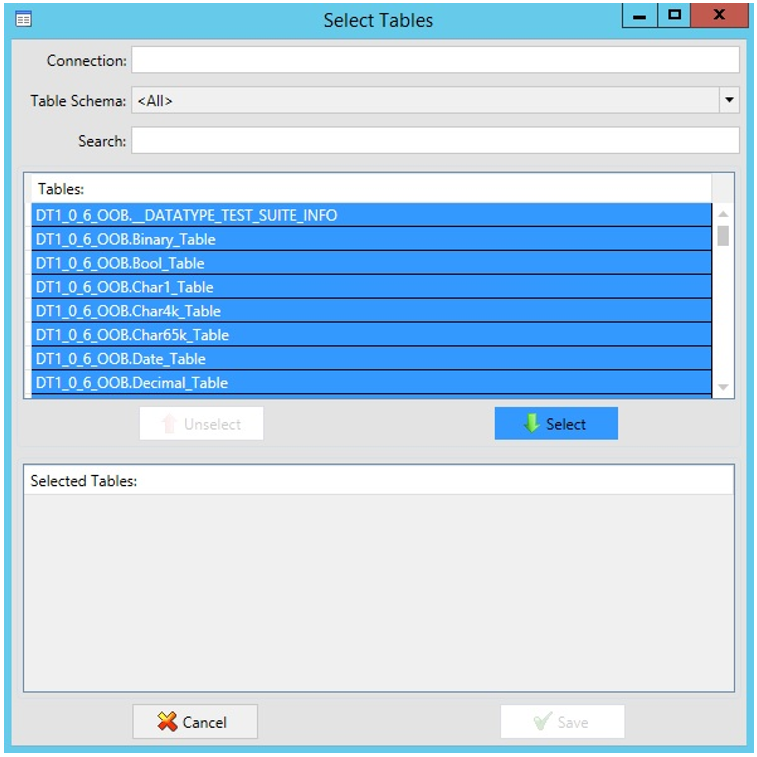
- Select the connection you just created, Vertica_Connection. The Select Tables dialog appears.
- Select the tables from the Vertica database that you want to use in your analysis:
- Click Select. The selected tables appear in the Selected Tables section of the dialog:
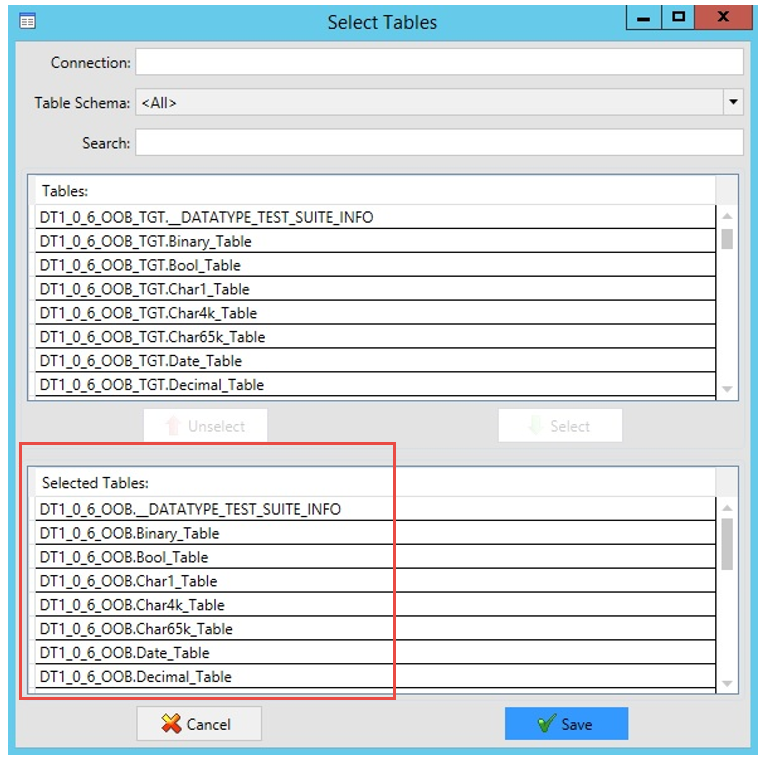
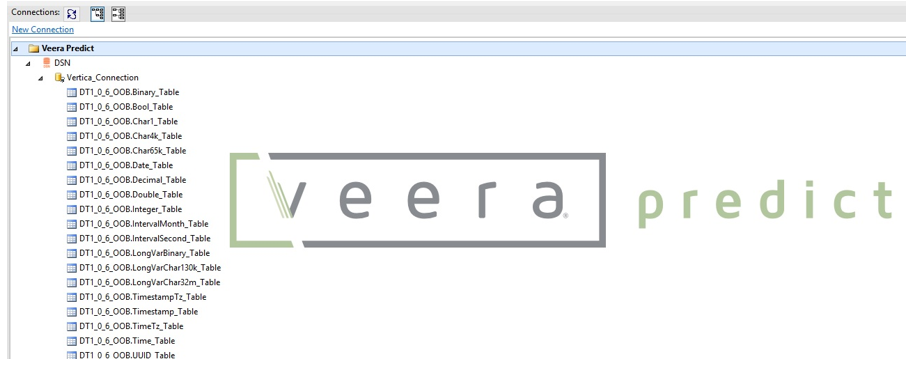
- Click Save. The tables appear on the Home page:
- Right-click a table (for example, VERT_DATATYPE_v1_0_5_SCHEMA) and select Create New Analysis:

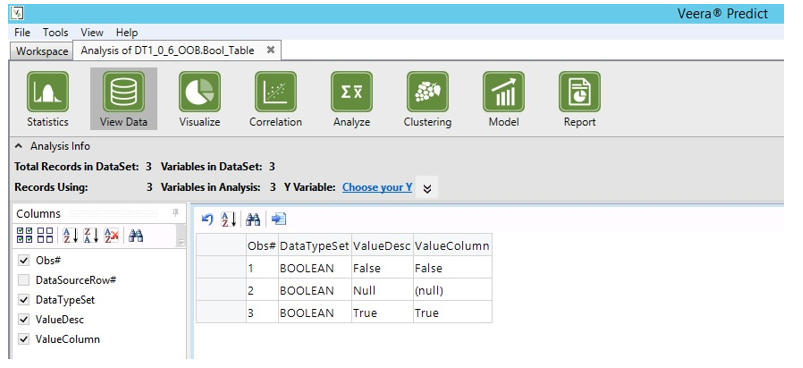
- The relevant table data appears for this newly created analysis:
Known Limitations
The following data types supported by Vertica are not displayed in Veera Predict:
- Binary, VarBinary, and LongVarBinary
- IntervalSeconds and IntervalMonth
Max and Min values (Decimal, Numeric, NumLargeScale, Mon column of Decimal) are rounded off after 15 digits.
For More Information

