


Vertica Integration with Relational Junction (by Sesame Software): Connection Guide
About Vertica Connection Guides
Vertica connection guides provide basic instructions for connecting a third-party partner product to Vertica. Connection guides are based on our testing with specific versions of Vertica and the partner product.
Vertica and Relational Junction: Latest Versions Tested
This document is based on our testing using the following versions:
| Software | Version |
|---|---|
| Partner Product |
Relational Junction 6.2.1 |
| Desktop Platform |
Windows Server 2019 |
| Vertica Client |
Vertica 11.1.1 JDBC driver |
| Vertica Server | Vertica Analytic Database 11.1.1 |
| Vertica Server Platform | RHEL 8.3 |
Relational Junction Overview
Sesame Software's Relational Junction is an Enterprise Data Management solution providing instant data warehouses for business intelligence, data protection, and data integration. It allows connection from any data source quickly and efficiently into the data warehouse and provides for security and control. Relational Junction enables secure and efficient data integration between cloud and on-premises applications for advanced data analytics.
Installing Relational Junction
- To install Relational Junction, go to Sesame's GitHub page.
- After you install it, register the product by filling out the Registration Form.
Installing the Vertica Client Driver
Relational Junction uses the Vertica JDBC driver to connect to Vertica. To install the JDBC driver
- Navigate to the Vertica Client Drivers page on the Vertica website.
- Download the JDBC driver.
Note For details about client and server compatibility, see Client Driver and Server Version Compatibility in the Vertica documentation.
-
Place the JDBC jar file in the Tomcat server directory. Tomcat Server is installed as part of the Relational Junction installation.
C:\Tomcat 8.5\webapps\rj\WEB-INF\lib - Restart the Tomcat server.
Connecting Relational Junction to Vertica
- After you restart Tomcat server, navigate to http://localhost:8080/rj/ and provide your credentials.
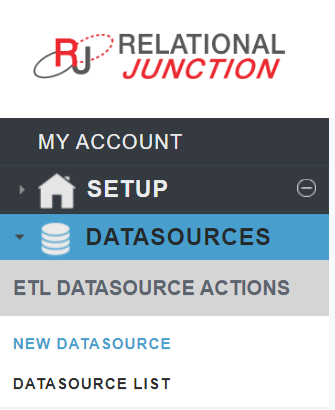
- On the left panel, click DATASOURCES > NEW DATASOURCE.
-
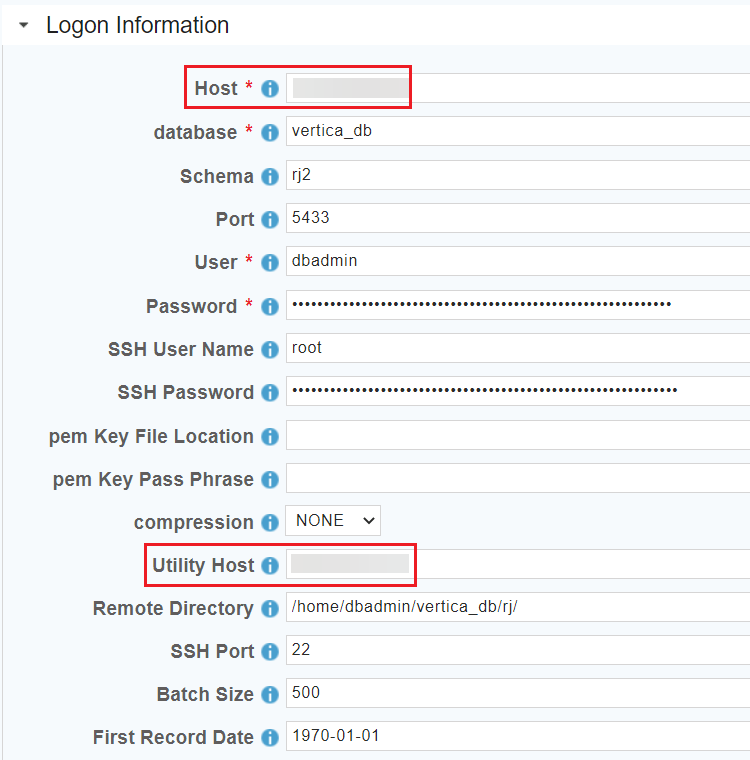
In the Logon Information window, provide the following details. Create a Vertica Source, Target, and Metadata database.

When creating a target database, the Host IP and the Utility Host IP machines should be same.
Note The /home/dbadmin/rj directory needs to be created in the Target Vertica database. It should have read, write, and execute permissions.
-
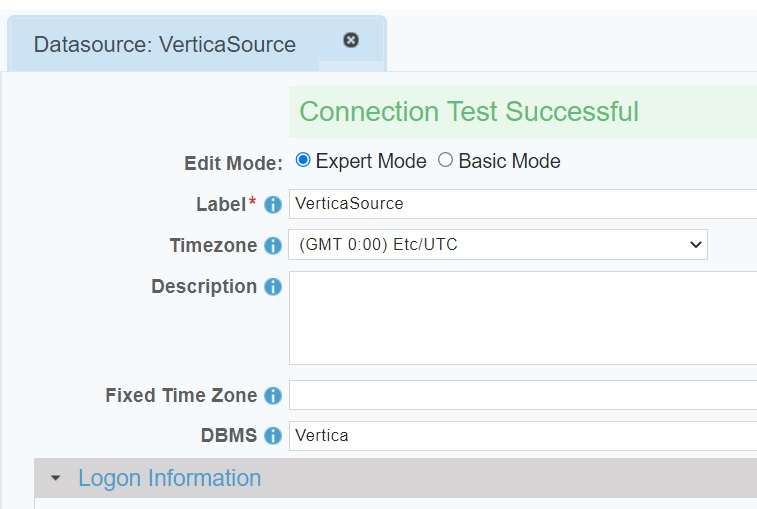
Click TEST to verify the connection.
Similarly create and test the Vertica target and metadata databse connections.
-
After the connection is successful, click SAVE AND CLOSE.
-
In the Relational Junction home screen, from the left menu, click WAREHOUSE > NEW CONFIG.
-
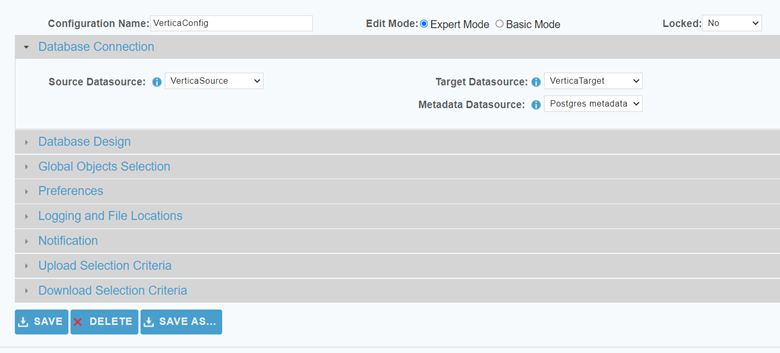
Provide a configuration name and click CREATE NEW CONFIG.

-
Select the Source, Target, and Metadata database that you have already created.
-
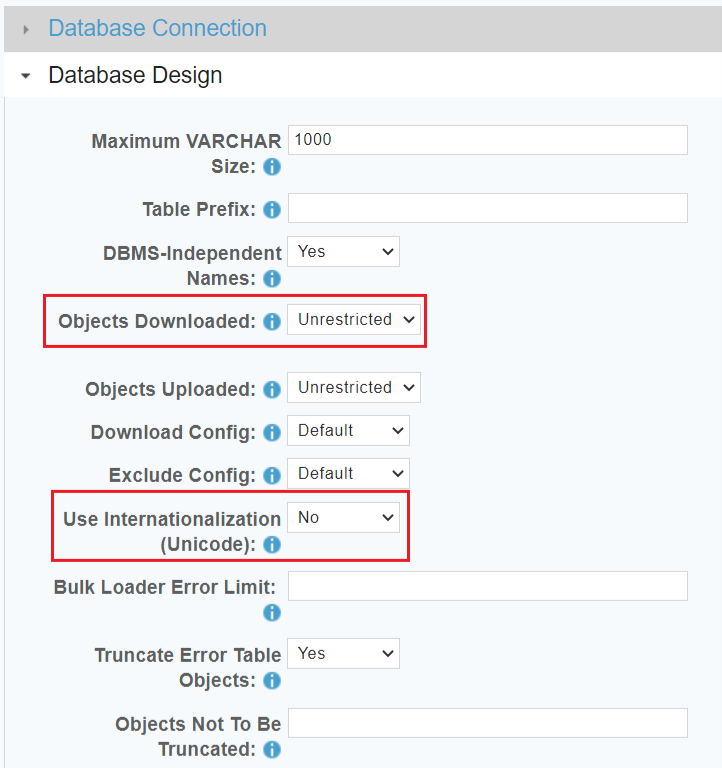
In the Database Design tab, make sure you select Objects Downloaded as Unrestricted.
- The unrestricted run is to download all discoverable objects in a datasource. For a limited list of objects, that is, to create a restricted job, see the GitHub page Select Tables to Load.
- When setting up your Warehouse configuration file you must set Use Internationalization to No.
-
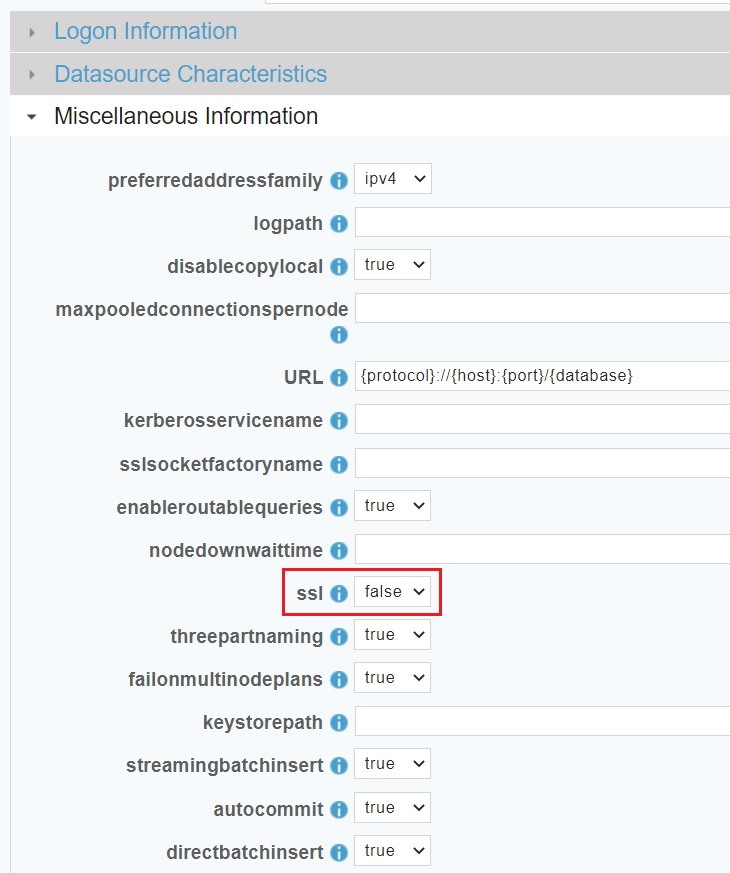
In the Datasource Characteristics tab, set ssl to false.
-
Click SAVE AND CLOSE.
-
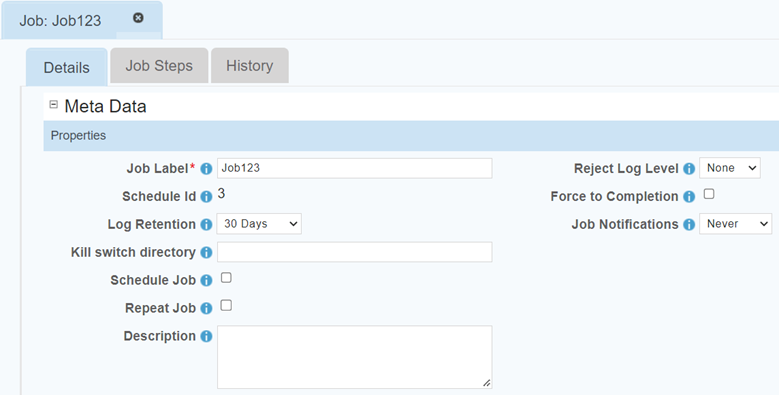
In the Relational Junction home screen, from the left menu, click JOBS > NEW JOB.
Provide the job name and click Save. The Schedule ID is a unique identifier for this job.
-
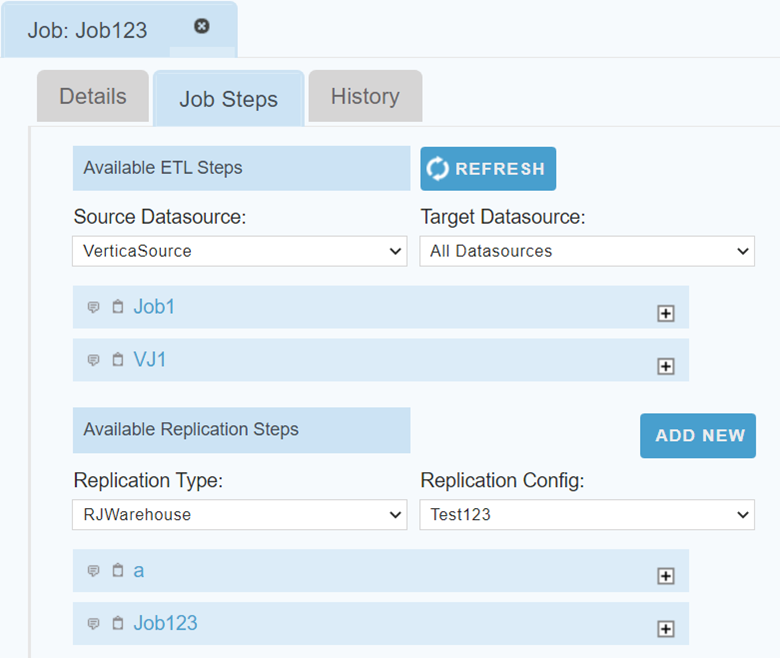
Click the Job Steps tab.
In this job, we tested only Replication.
In the Available Replication Steps section, for Replication Type, select RJWarehouse. For Replication Config, select the config that you just created.
-
Click ADD NEW.
-
Provide the following details:
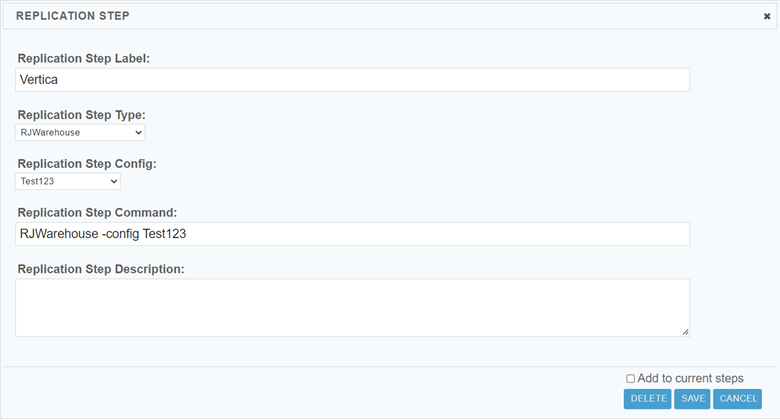
-
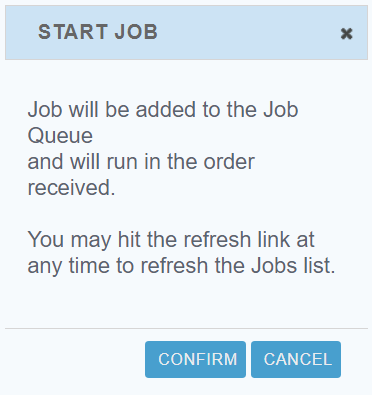
Click Save and click SAVE AND RUN on the previous page. Click CONFIRM.
-
After the job completes, all the tables with data will be created in the target Vertica database.

Known Limitations
Preview data limitations
- For TIME, TIMETZ, TIMESTAMP, and TIMESTAMPTZ data types, milliseconds are truncated.
- For TIMETZ and TIMESTAMPTZ data types, timezone is not displayed.
- For BINARY, VARBINARY, and LONG VARBINARY data types, data is displayed as BLOB.
Write data limitations
- For TIME, TIMETZ, TIMESTAMP, and TIMESTAMPTZ data types, milliseconds are truncated.
- For TIMETZ data type, timezone is not loaded. For TIMESTAMPTZ data type, time zone is displayed incorrectly.
- For BINARY, VARBINARY, and LONG VARBINARY data types, tables are not created in the target database and there are no errors.
- DOUBLE and NUMBER data types are not loaded. NULL value is displayed for NUMBER data type.

