


Vertica Integration with Microsoft SQL Server Integration Services: Connection Guide
About Vertica Connection Guides
Vertica connection guides provide basic instructions for connecting a third-party partner product to Vertica. Connection guides are based on our testing with specific versions of Vertica and the partner product.
SQL Server Business Intelligence Overview
SQL Server Business Intelligence is a suite of tools for creating BI applications on your SQL Server deployment. SQL Server Data Tools (SSDT) for Visual Studio (VS) is a part of the SQL Server Business Intelligence platform that enables the functionality to create SQL Server Analysis Services (SSAS), SQL Server Integration Services (SSIS), or SQL Server Reporting Services (SSRS) projects within Visual Studio. Installing SSDT enables the SSAS, SSIS, and SSRS templates in Visual Studio:
- SQL Server Analysis Services (SSAS)—Business intelligence using either multidimensional (MOLAP) or tabular, relational (ROLAP) modeling.
- SQL Server Integration Services (SSIS)—Data migration, workflows, and ETL.
-
SQL Server Reporting Services (SSRS)—Report generation.
SQL Server Integration Services (SSIS) Overview
SQL Server Integration Services (SSIS) is a platform for building enterprise-level applications for data transformation and integration. A Vertica connection in an SSIS application can serve as either a data source or a data target or both. SSIS is available as a part of SQL Server Data Tools (SSDT) for Visual Studio (VS).
Vertica and SQL Server Integration Services: Latest Versions Tested
This document provides guidance using the software listed as follows:
| Software | Version |
|---|---|
| Client tools |
|
| Client Platform |
Microsoft Windows Server 2019 |
| Vertica Client |
Vertica Client Package 12.0.0 |
| Vertica Server |
Vertica Server 12.0.0 |
Installing SQL Server Integration Services (SSIS)
To install SQL Server Integration Services (SSIS)
-
Download and install SQL Server 2019.
Follow the installation instructions in the Microsoft documentation.
- Download and install SQL Server Data Tools (SSDT) for Visual Studio 2019.
- Download and install Microsoft Integration Services Projects.
Installing the Vertica Client Drivers
SQL Server Integration Services (SSIS) uses the ODBC driver to connect to Vertica.
To download the drivers:
- Navigate to the Client Drivers page on the Vertica website.
- Download the client driver package that is compatible with your Vertica server version.
-
Double-click the installer and follow the prompts. When prompted to select one or more drivers, select ODBC only.
- You need to create a User DSN. See Creating an ODBC User DSN.
Note For details about client and server compatibility, see Client Driver and Server Version Compatibility in the Vertica documentation.
Creating an ODBC User DSN
Note
The Vertica Connectivity Pack installer provides both the 32-bit and the 64-bit ODBC drivers. However, only the 32-bit ODBC driver is visible within SSDT, because SSDT is a 32-bit application.
For ODBC connections, we recommend that you create a User DSN (not a System DSN), because a User DSN automatically uses the appropriate bitness for the connection.
- Open the ODBC Data Source Administrator and click Add to add a new DSN.

- Select Vertica and click Finish.
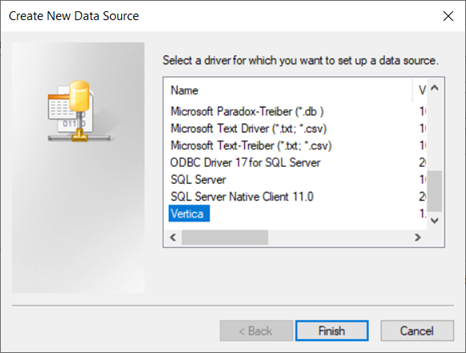
The Vertica ODBC DSN Configuration window displays.
- Specify values for DSN Name, Database, Server, Port, User name, and Password.
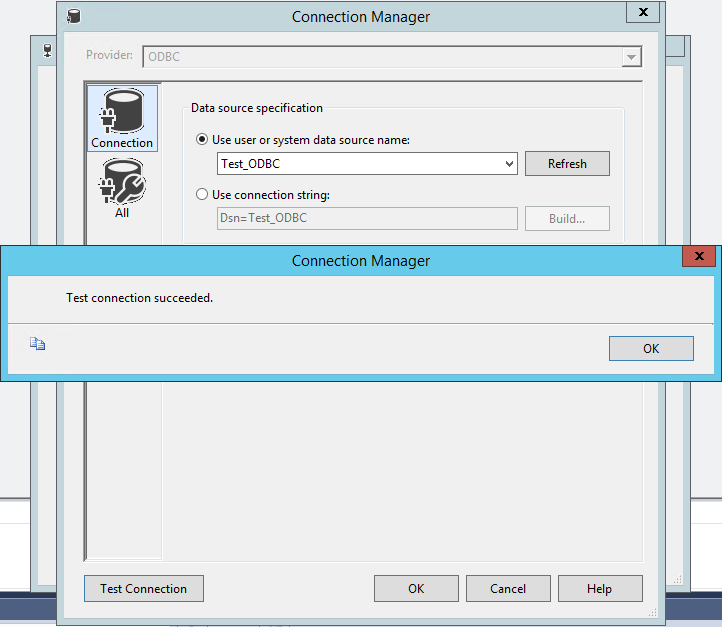
- Click Test Connection.
- Click OK.
Connecting SQL Server Integration Services to Vertica
Follow the instructions in the following topics to create a connection to Vertica from SSIS:
- Open SSDT to create a new project or open an existing project.
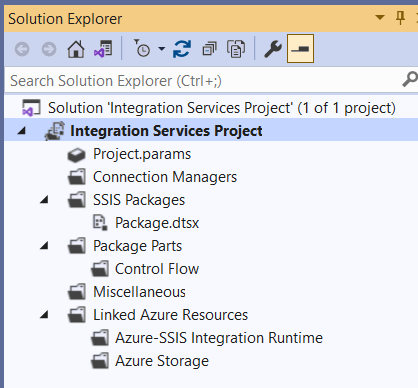
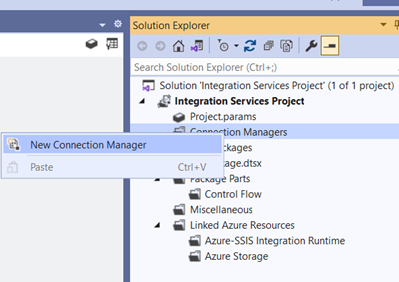
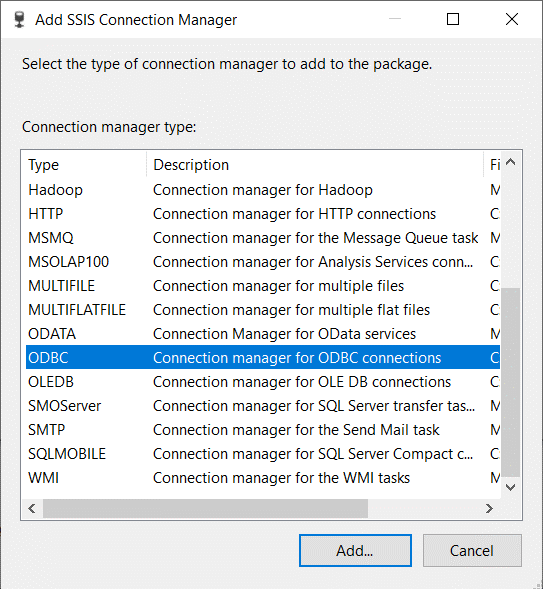
- Right-click Connection Managers and select New Connection Manager to open the Add SSIS Connection Manager window.
-
Select ODBC and click Add.
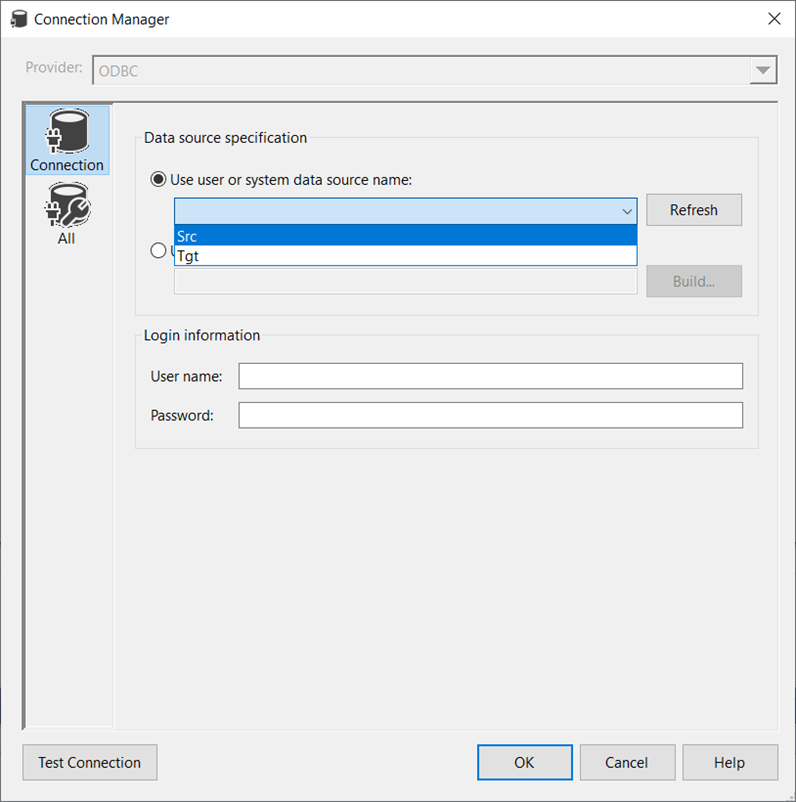
- Click New to open the Connection Manager window.
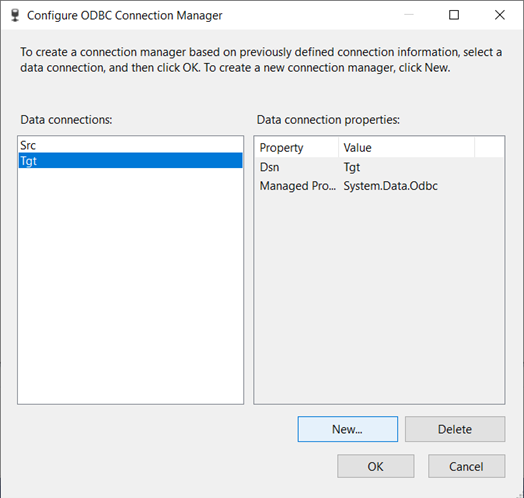
- In the Connection Manager window, expand the Use user or system data source name drop-down list and select the ODBC DSN that you created.
- Click Test Connection.
- Click OK on all open windows to close them.
Connection Pooling and Native Connection Load Balancing
We recommend that you enable connection pooling on the client and native connection load balancing on the client and Vertica Server.
-
Connection pooling
Connection pooling ensures that your SSIS application can reuse connections from a pool of connections. This reduces the overhead involved in opening and closing multiple connections.
-
Native connection load balancing
Native connection load balancing is a feature built into the Vertica server and client libraries that can prevent unequal distribution of client connections among hosts in the cluster.
Neither connection pooling nor native connection load balancing are enabled by default.
Enabling Connection Pooling for the Vertica ODBC Driver
- In the Administrative Tools folder of Control Panel, open the 32-bit ODBC Data Source Administrator.
- Click the Connection Pooling tab.
- Double-click the Vertica ODBC driver.
-
Select Pool Connections to this driver.
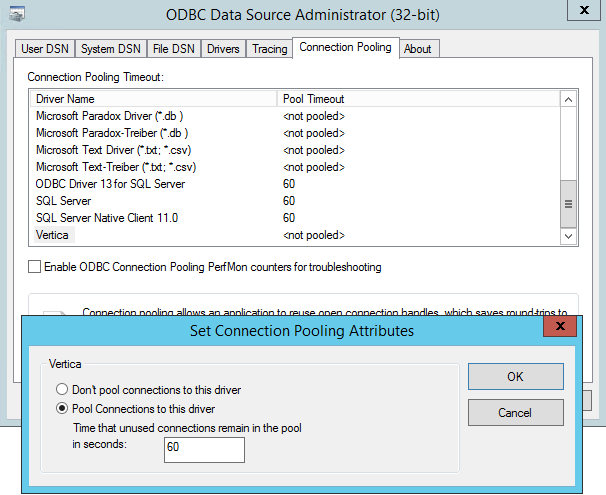
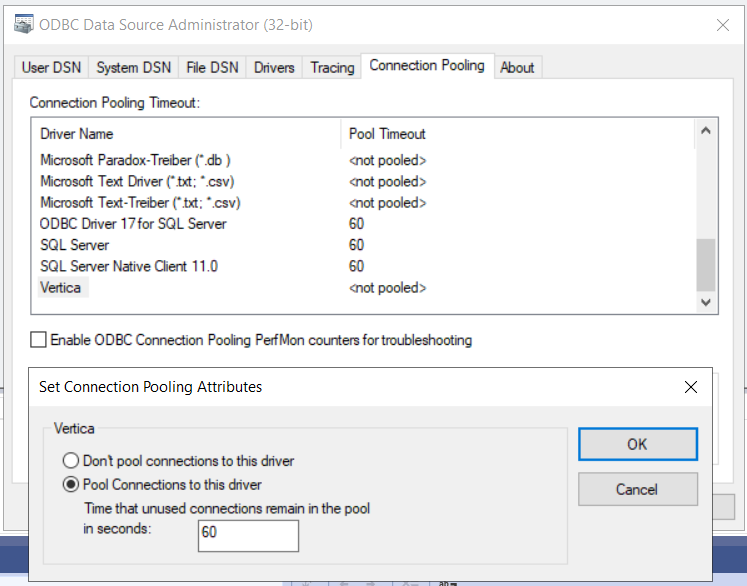
-
Click OK.
-
Repeat the above steps in the 64-bit ODBC Data Source Administrator.
Note
These steps enable pooling for all applications using the Vertica driver. The default maximum number of connections in a pool is 100 (Max Pool Size).
Enabling Native Connection Load Balancing in Vertica
You must enable connection load balancing for both the Vertica client and the Vertica server.
Enabling Connection Load Balancing in the Vertica ODBC Client
- Open the Data Source Administrator.
- Select the DSN you created to connect to Vertica.
- Click Configure.
- On the Basic Settings tab, check Use connection load balancing.
- Click Test connection.
- Click OK.
Enabling Connection Load Balancing in the Vertica Server
For step-by-step instructions, see Enabling and Disabling Native Connection Load Balancing in the Vertica documentation.
Tip
For details about native connection load balancing in Vertica, see About Native Connection Load Balancing in the Vertica documentation.
Performance with ODBC and ADO.NET
Our testing has shown that ODBC is the more performant option for connecting SSIS to Vertica. You can tune the BatchSize property of ODBC to increase efficiency. BatchSize controls the loading of data in batches for both Source and Destination components in SSIS. By default, BatchSize is 1000.
We have tested the Vertica ODBC driver with a 5 million row table where Vertica was both the Source and the Destination. With the ODBC driver, using the default batch size, SSIS loaded the data in 48 minutes and 55 seconds. When we changed the value of BatchSize to 10000, the time to load the 5 million rows decreased from 48 minutes and 55 seconds to 59 seconds only.
The same value of BatchSize may yield different performance results on different machines, since resources available for any task vary. A value of BatchSize that allows data to accumulate in memory improves performance. A value of BatchSize that is greater than the available memory for the drive buffer degrades performance.
Known Limitations
Preview data limitations
• For TIME, TIMETZ, TIMESTAMP, and TIMESTAMPTZ data types, milliseconds are truncated.
• For TIMETZ and TIMESTAMPTZ data types, timezone is not displayed.
• For BINARY, VARBINARY, and LONG VARBINARY data types, data is displayed as System.Byte[].
• For Decimal data type, value supported is 28 digits of precision and 15 digits of scale.
Write data limitations
- NUMERIC data type is supported up to 15 digits of precision beyond which the error code 40470 appears.
- For TIME and TIMETZ data types, milliseconds are truncated.
-
For TIMETZ data type, timezone is not displayed correctly.
- For LONG VARBINARY data type, the ERROR 2052: COPY: Row size 32320356 is too large occurs.

