


Vertica Integration with SAS Visual Analytics: Connection Guide
About Vertica Connection Guides
Vertica connection guides provide basic instructions for connecting a third-party partner product to Vertica. Connection guides are based on our testing with specific versions of Vertica and the partner product.
Vertica and SAS Visual Analytics: Latest Versions Tested
This document is based on our testing using the following versions:
| Software | Version |
|---|---|
| SAS Visual Analytics |
9.4 |
| Desktop Platform |
Windows Server 2016 |
| Vertica Client |
Vertica ODBC 10.1.1 |
| Vertica Server |
Vertica 10.1.1 |
SAS Visual Analytics Overview
SAS Visual Analytics offers powerful insights for creating interactive reports and dashboards. It allows you to share and use self-service analytics to quickly assess outcomes for smarter, more data-driven decisions.
Installing SAS Visual Analytics
To install SAS Visual Analytics, follow the installation steps here for Non-Distributed SAS LASR and for Distributed SAS LASR.
Installing the Vertica Client Driver
SAS Visual Analytics uses the ODBC driver to connect to Vertica. To install the client driver
- Navigate to the Client Drivers page on the Vertica website.
-
Download the client driver that is compatible with your Vertica server version.
Note For details about client and server compatibility, see Client Driver and Server Version Compatibility in the Vertica documentation.
- Follow the installation instructions in the Vertica documentation.
- Create a DSN as described in Creating an ODBC Data Source Name (DSN).
Registering Vertica Tables in SAS Management Console
Before you begin, ensure all SAS Servers are up and running.
- Log in to SAS Management Console.
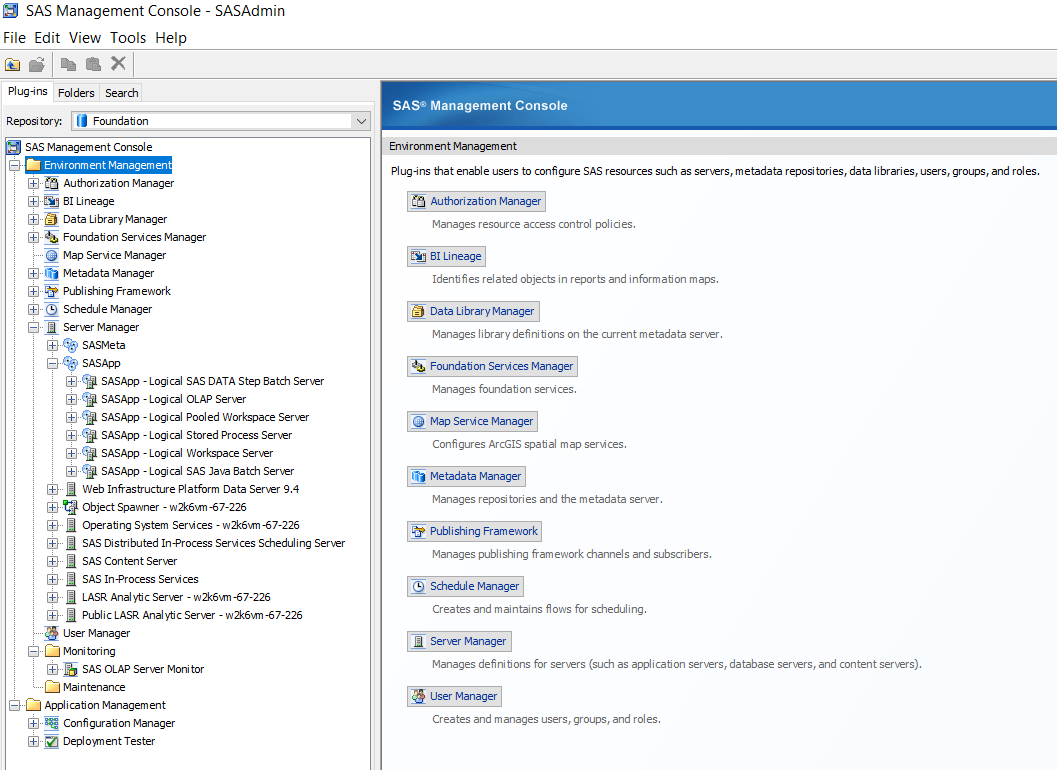
-
In SAS Management Console, right-click Libraries and click New Library.

-
Select Vertica Library and click Next.
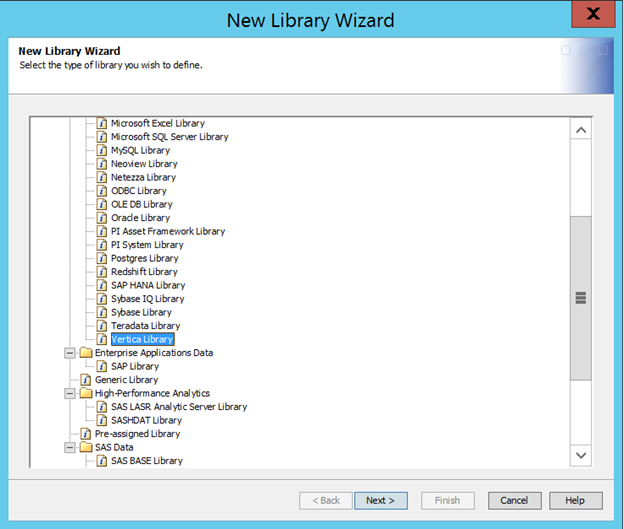
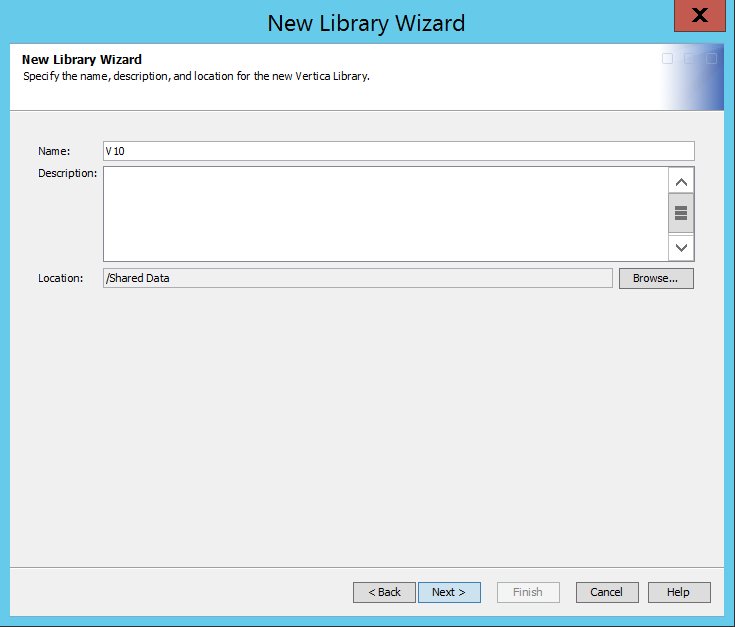
-
Create a library by following the subsequent steps in the New Library Wizard.
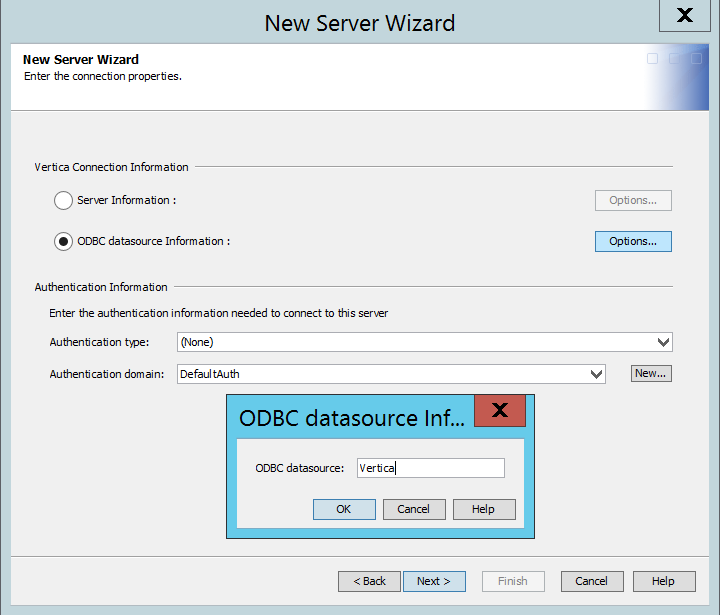
-
In the New Server Wizard, type the Vertica ODBC DSN name.
-
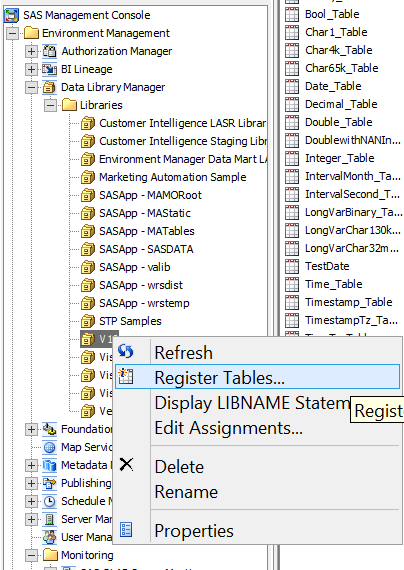
Right-click the Vertica library that you just created and click Register Tables. In this example, V10 is the Vertica library.
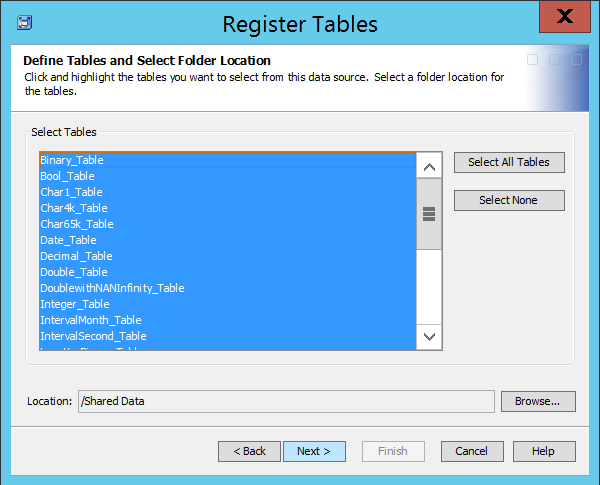
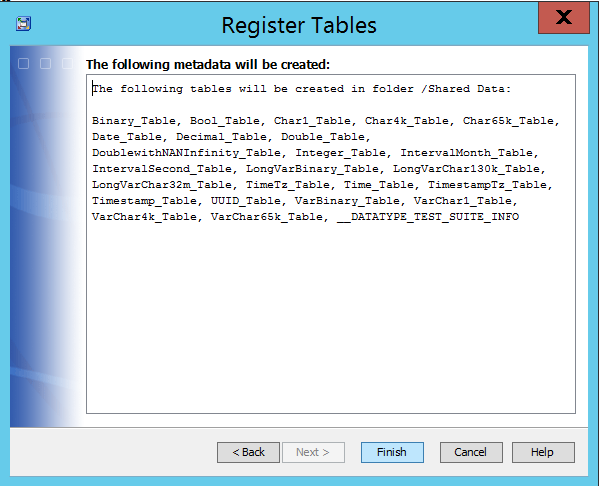
- Select the Vertica tables that you need to register, click Next, and then click Finish.
-
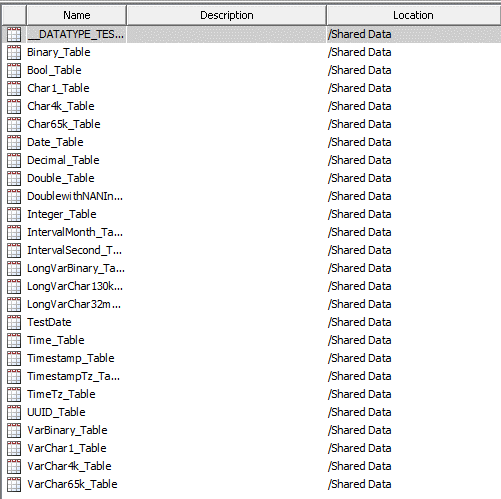
The registered Vertica tables are now displayed in the SAS Management Console Library and are available in the various SAS modules (SAS Visual Analytics 7.5 in this case).
SAS Visual Analytics
You can connect to the Vertica database using the Vertica library registered tables or using the import option.
Connecting to Vertica Using Vertica Library Registered Tables
Note To log into SAS Visual Analytics 7.5, you must log in as an external user and an OS user account must be tied to this external user account.
sasadm@saspw is an internal user account. You can log into SAS Visual Analytics with the internal account but the Import functionality is not supported and displays a logon error.
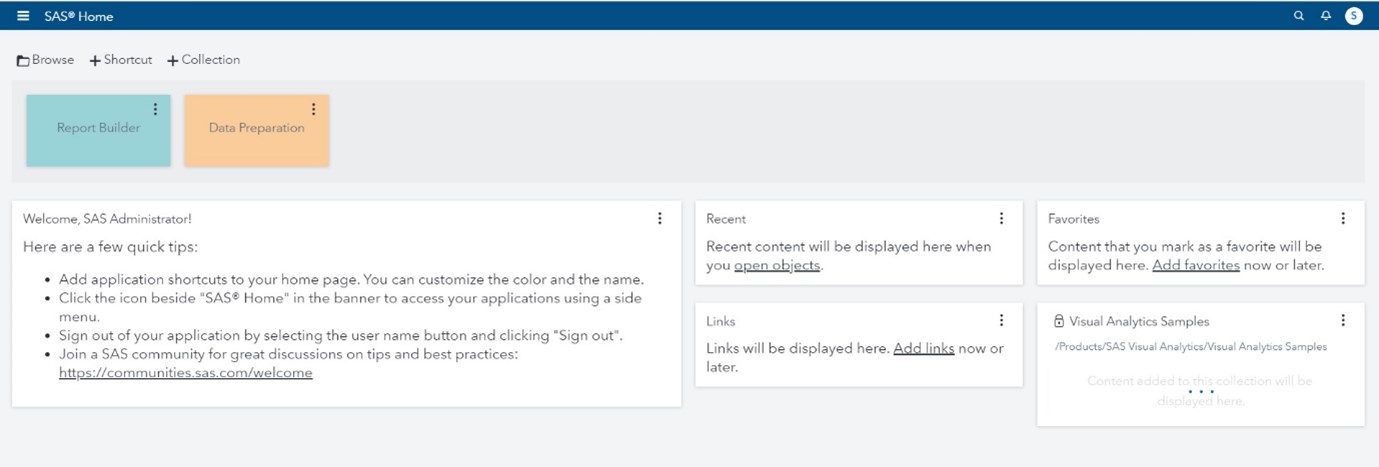
- Navigate to SAS Visual Analytcis http://machine_hostname/SASVisualAnalyticsHub/
-
Navigate to Home and click Data Preparation.
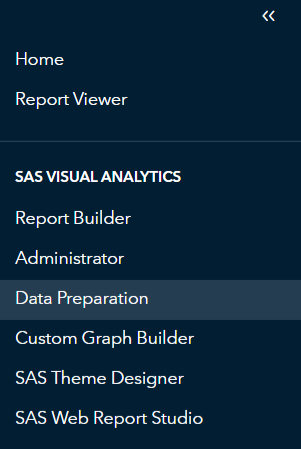
-
Click Shared Data > Vertica.
In this case, we already registered Vertica as the library that contains Vertica tables and data.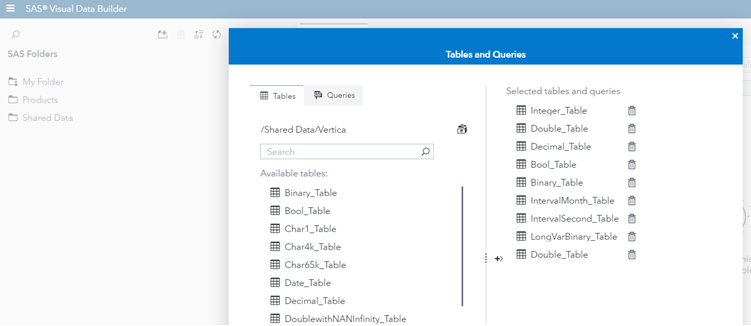
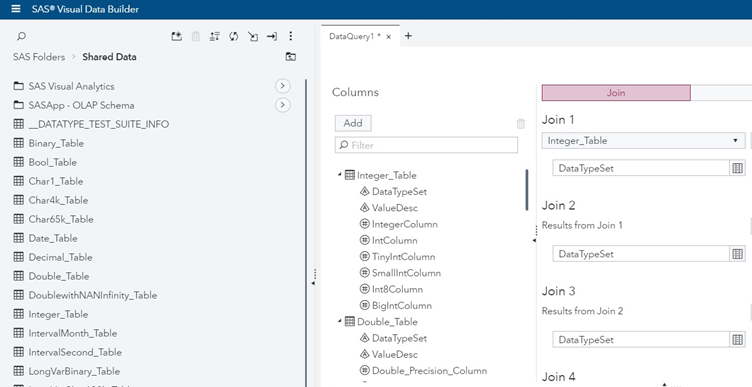
- Prepare you data, add data query in order to retrieve specific data into SAS Visual Analytics. You can use this data to create reports and dashboards.
Connecting to Vertica Using Import Option
- Navigate to SAS Visual Analytcis http://machine_hostname/SASVisualAnalyticsHub/
- Navigate to Home and click Data Preparation.
-
Click the Import icon.
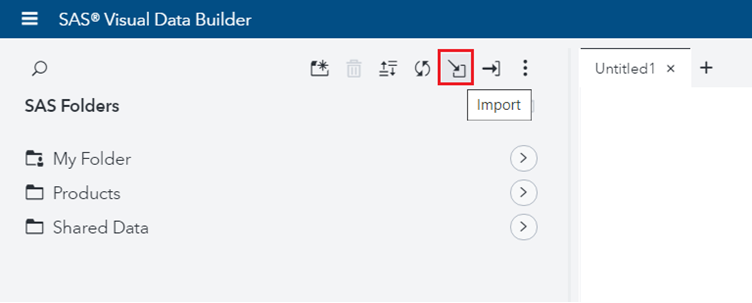
-
In the Import window, you can connect to the Vertica database server using ODBC or Vertica Server.
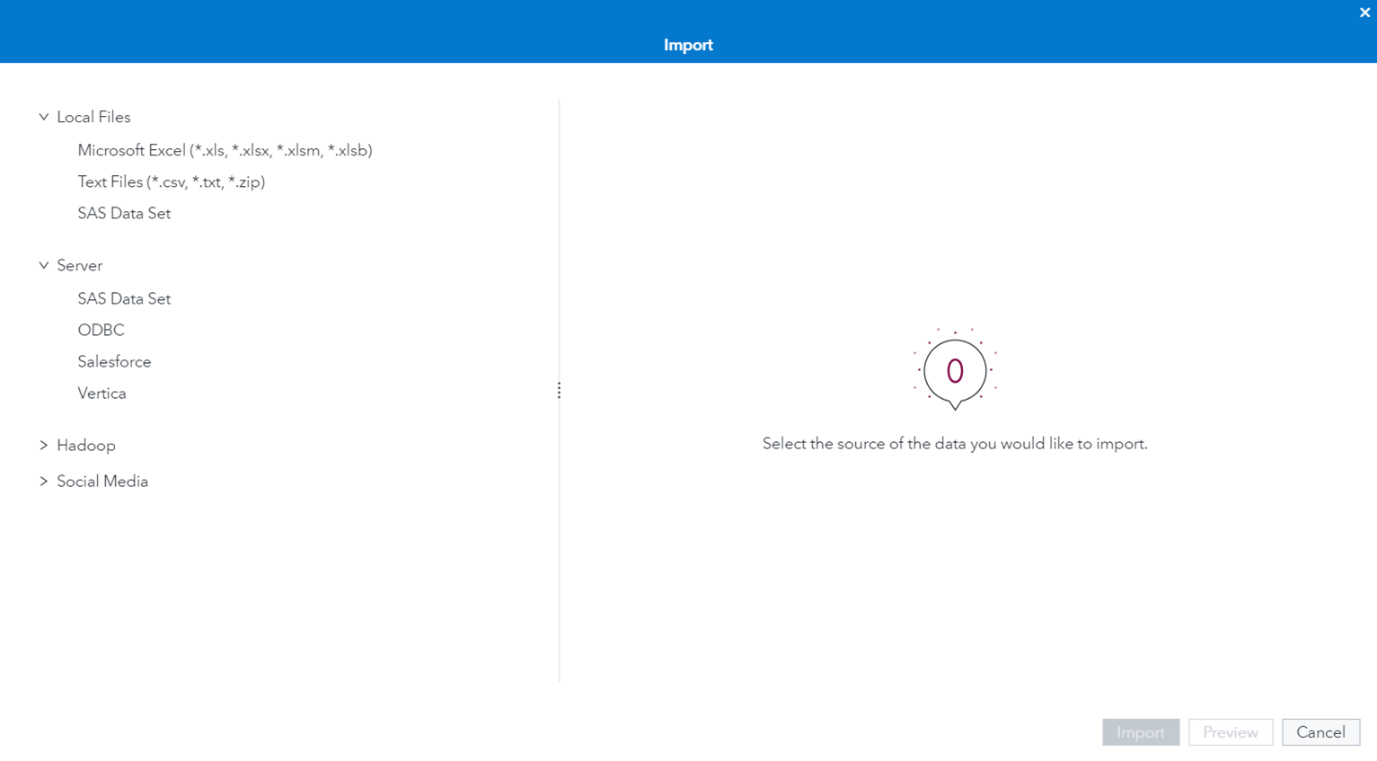
- Choose either ODBC or Vertica and click the import icon.
- If you chose ODBC
- Enter the following connection details and click Connect:
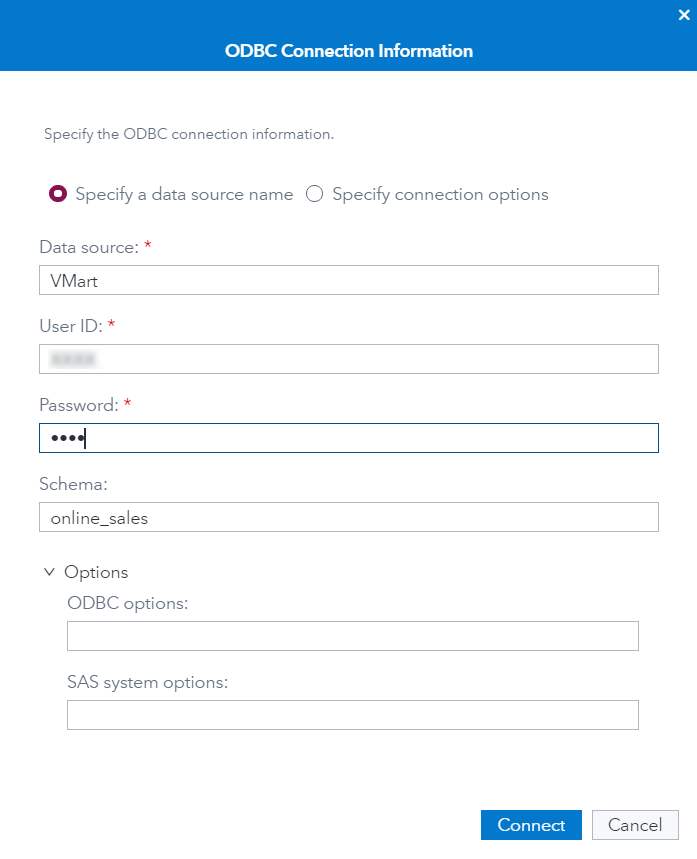
- Select the tables you want to import and click OK.
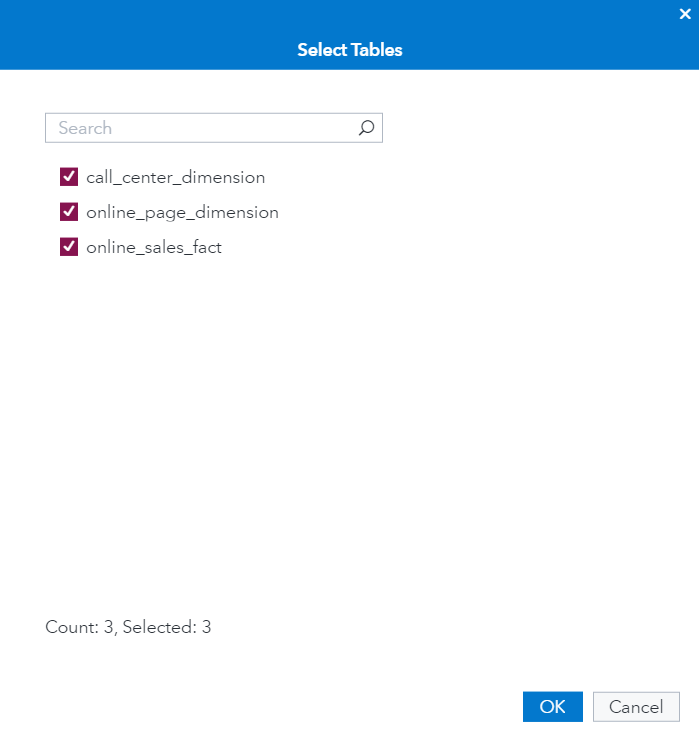
- Enter the following connection details and click Connect:
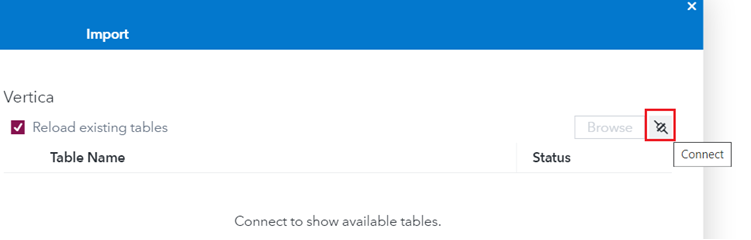
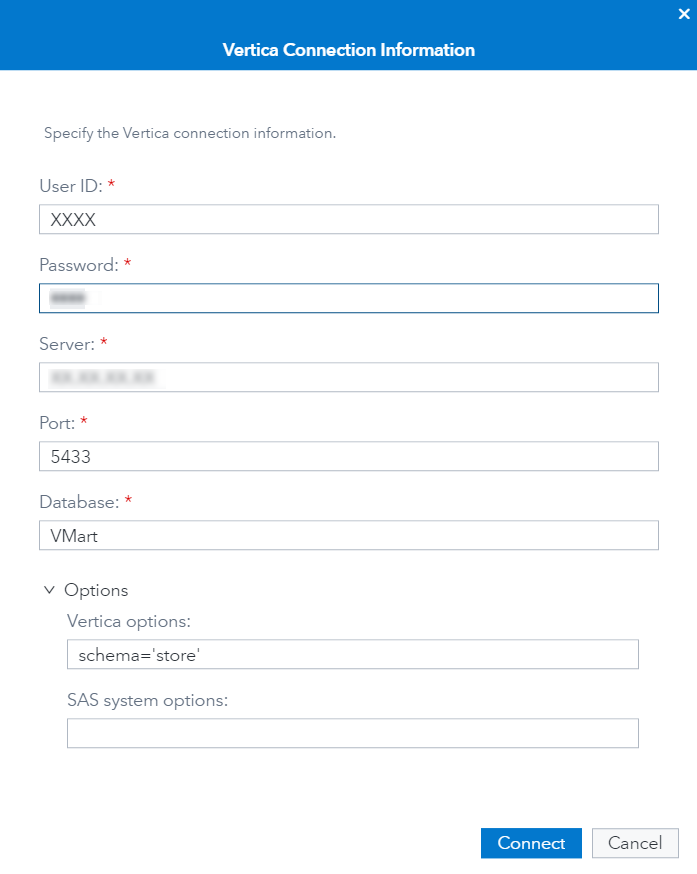
- If you chose Vertica
- Enter the following connection details and click Connect:
- Select the tables you want to import and click OK.
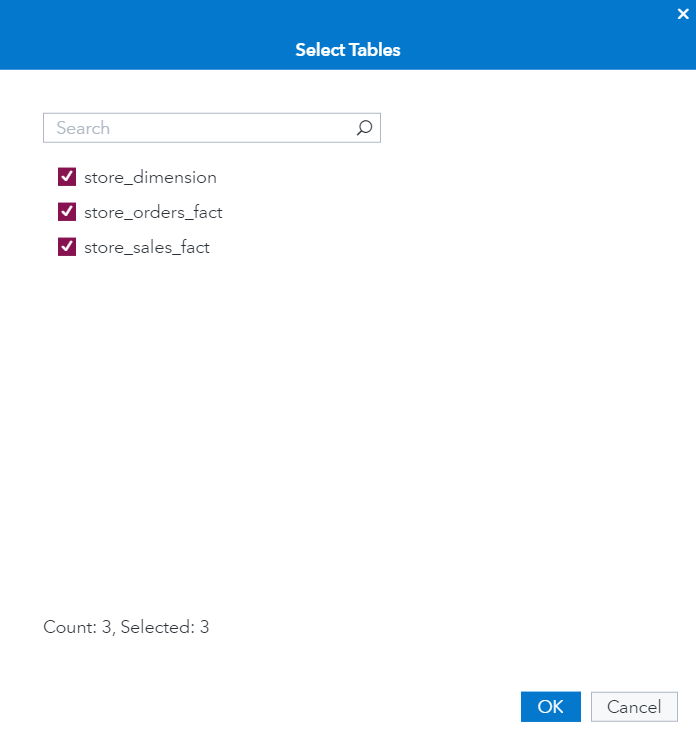
- Enter the following connection details and click Connect:
-
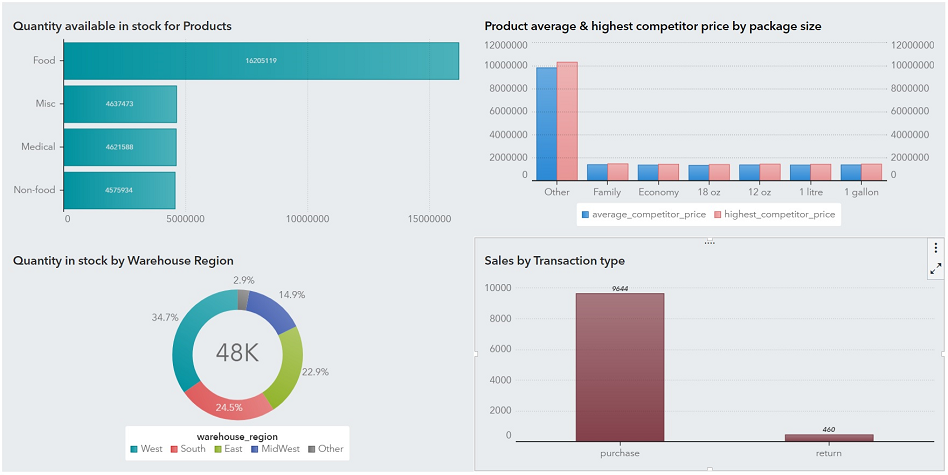
After you connect to the Vertica database, you can create your own reports and dashboards.
Following is an example dashboard created using VMart:
Known Limitations
-
For TIME, TIMESTAMP, TIMESTAMPTZ, and TIMETZ data types, milliseconds are truncated.
-
For TIMETZ and TIMESTAMPTZ data types, timezone offset is not supported.
-
INTERVALSECOND, INTERVALMONTH, BINARY, VARBINARY, and LONG VARBINARY data types are not supported.
-
CHAR and VARCHAR data types support up to 1024 characters.
-
NUMERIC data type supports a precision of up to 12 digits above which the value is rounded off.

