


Vertica Integration with Redash: Connection Guide
About Vertica Connection Guides
Vertica connection guides provide basic instructions for connecting a third-party partner product to Vertica. Connection guides are based on our testing with specific versions of Vertica and the partner product.
Vertica and Redash: Latest Versions Tested
| Software | Version |
|---|---|
| Partner Product |
Redash 8.0.0 |
| Partner Product Platform | Ubuntu 20.4 |
| Vertica Client |
Vertica-python Driver 0.8V (packaged with Redash) |
| Vertica Server | Vertica Analytic Database 11.1.0 |
Redash Overview
Redash is an open source BI/SQL platform to build dashboards to visualize data and share with others. It is an online SQL editor.
Installing Redash
You need to install a Redash Instance using Docker.
- To install Redash using Docker, follow the instructions here.
- After you install Redash, the service is available on your server IP or the DNS name you assigned.
- In your browser, type the server address to access it.
For more details, see https://redash.io/help/user-guide/getting-started.
Note Redash uses Vertica-python driver to connect to the Vertica database. The Vertica-python driver 0.8V is packaged as part of the Redash application. You do not need to download and install the Vertica driver separately.
Connecting Redash to Vertica
-
Open your browser and enter the server address to open Redash.
The home page appears.
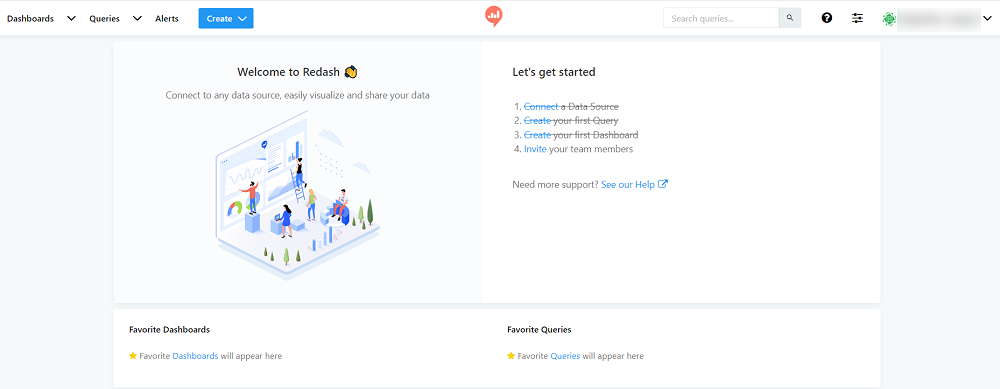
-
Click Connect a Data Source.
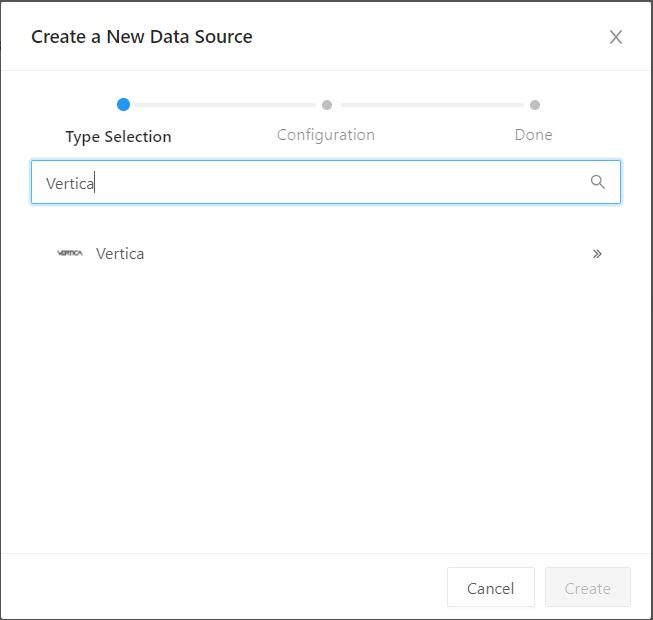
The Create a New Data Source page opens.
-
In Type Selection, search for Vertica.
- Enter the connection details:
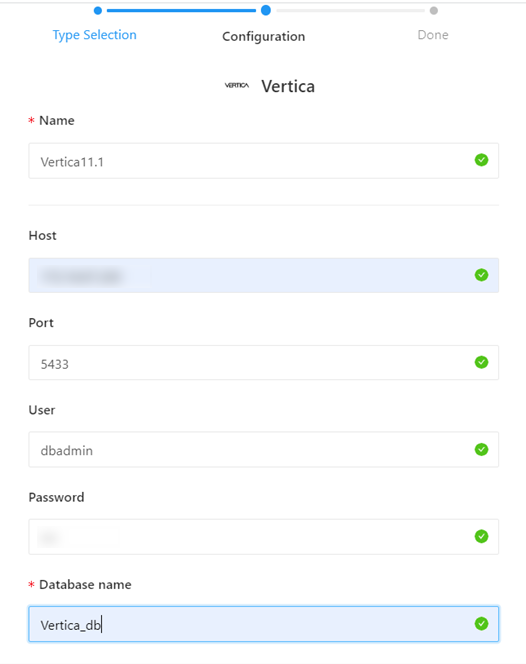
- Click Create and then click Test to check the connection.
-
After a successful connection, go to the home page to write a new query.
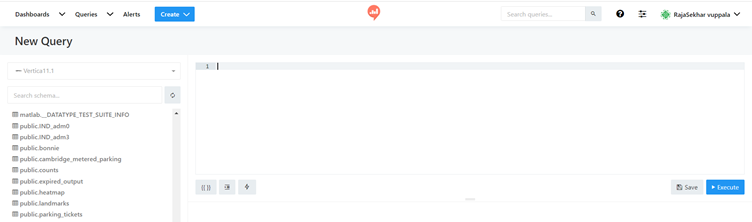
-
Click Execute to see the results and click Save to save the query.
-
Click Publish to publish the query.
You can create dashboards using the saved queries.
Known Limitations
-
For INTEGER data types, values up to 18 digits of precision are displayed, beyond which the values are rounded off.
-
For TIME data type, milliseconds are truncated after 3 digits.
- For TIMESTAMP and TIMESTAMPTZ data types, milliseconds are not displayed. To see the correct values, click Edit Vizualization and in the Date/Time format field, enter DD/MM/YY HH:mm:ss.SSS. It displays milliseconds up to 3 digits. For TIMESTAMPTZ data type, timezone is not displayed.
-
For DECIMAL data type, values are not displayed correctly. To see the correct values, click Edit Vizualization and in the Display as field, select Text. Values of up to 16 digits of precision are displayed, beyond which the values are rounded off.
-
For FLOAT data type, values are not displayed correctly. To see the correct values, click Edit Vizualization and in the Display as field, select Text.

