


Vertica Integration with QuerySurge: Connection Guide
About Vertica Connection Guides
Vertica connection guides provide basic information about setting up connections to Vertica from software that our technology partners create. These documents provide guidance using one specific version of Vertica and one specific version of the third-party vendor’s software. Other versions of the third-party product may work with Vertica. However, other versions may not have been tested. This document provides guidance using the latest versions of Vertica and QuerySurge as of February, 2017.
Query Surge Overview
QuerySurge is a data-testing solution built specifically to automate the testing of data warehouses and Big Data solutions.
Download and Install QuerySurge
To use QuerySurge with Vertica try one of these 2 free option:
- 15-day download trial
- 30-day POC trial
To learn about these options and download QuerySurge, go to Compare [QuerySurge] Trial Options.
Download the Vertica Client Drivers
You must connect to a Vertica database from QuerySurge using a JDBC Connection.
Download the Vertica JDBC driver from Vertica Downloads: Client Drivers. Save the Vertica JDBC driver jar file in
- Windows:
C:/Program Files/QuerySurge/agent/jdbc - Linux:
/opt/QuerySurge/agent/jdbc
Make sure to download the version of the Vertica client package that is compatible with the architecture of your operating system and Vertica server version.
Note Vertica drivers are forward compatible, so you can connect to the Vertica server using previous versions of the client. For more information about client and server compatibility, see Client Driver and Server Version Compatibility in the Vertica documentation.
Before You Connect
Before you create a connection to a Vertica database from QuerySurge, gather the following information:
- Username and password for database
- Database name
- IP address of the database
- Database port number
Connect to Vertica from QuerySurge
The following sections describe the steps necessary to connect to Vertica from Query Surge. You have to create two connections, one for the source database and one for the target database.
Deploy the JDBC Driver
To deploy the JDBC driver that QuerySurge needs to connect to Vertica, follow these steps:
- Download the Vertica JDBC driver from Vertica Downloads: Client Drivers.
- Save the Vertica JDBC driver jar file in
C:/Program Files/QuerySurge/agent/jdbc. - To launch the Agent Service Console, select All Programs > QuerySurge > Open Agent Console.
-
Type the QuerySurge server location and click Start Agent Service.
Create a Connection to Vertica
To create a new connection from QuerySurge to a Vertica database, follow these steps.
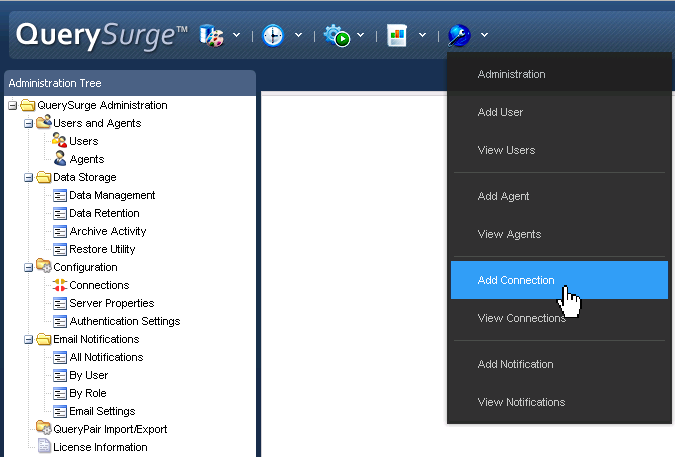
-
On the Administration menu, click Add Connection.
-
In the Add Connection window, click Next.
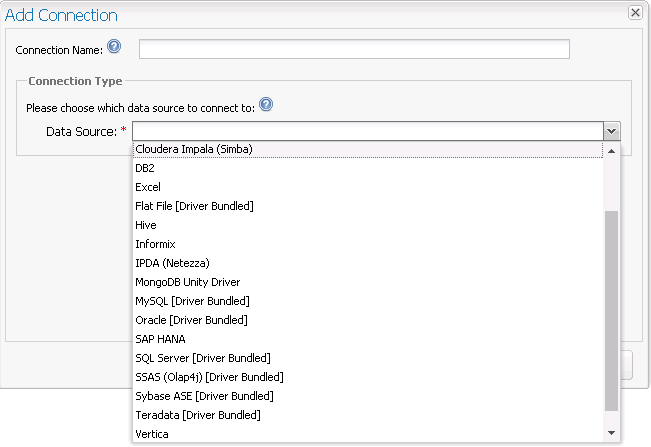
-
Enter a name for your connection and select Vertica from the Data Source drop-down list. Click Next.
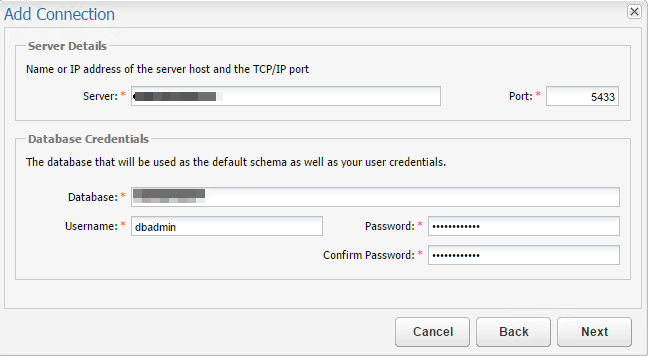
-
Enter the IP address, database name, and the database credentials. Click Next.
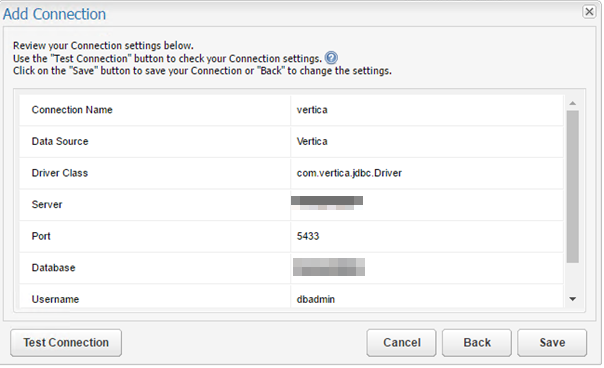
-
Review your connection settings. To test the connection from QuerySurge to Vertica, click Test Connection.
Create a QueryPair
This section describes how to create a query profile and QueryPairs for your testing.
Each QueryPair consists of two queries, one that executes against the source database and one that executes against the target database. These queries identify the relationship between the two data sets.
The types of analysis you can use the QueryPair for include:
- Data type checking
- Row counts
- Shared key columns
- Column thresholds
- Duplicate rows
Follow these steps:
- To open the Design Library, click
 and select Design Library from the drop-down list.
 -
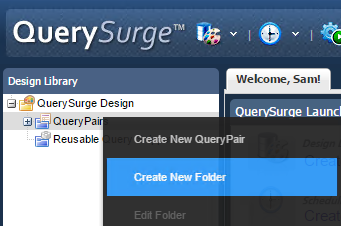
Under Design Library, right-click the QueryPairs folder and select Create New Folder.
Note QuerySurge recommends that you store all QueryPairs in the QueryPairs folder.
-
Name the new folder and save it.
For this example, we have named it Vertica Database Comparison.
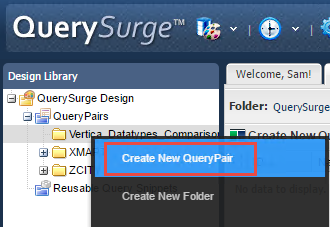
-
Right-click the new folder and select Create New QueryPair.
- Name the new QueryPair and click Save.
- Type the names of the source and destination databases.
-
Type the queries that QuerySurge should execute.
For simplicity, In this example, both queries are the same.
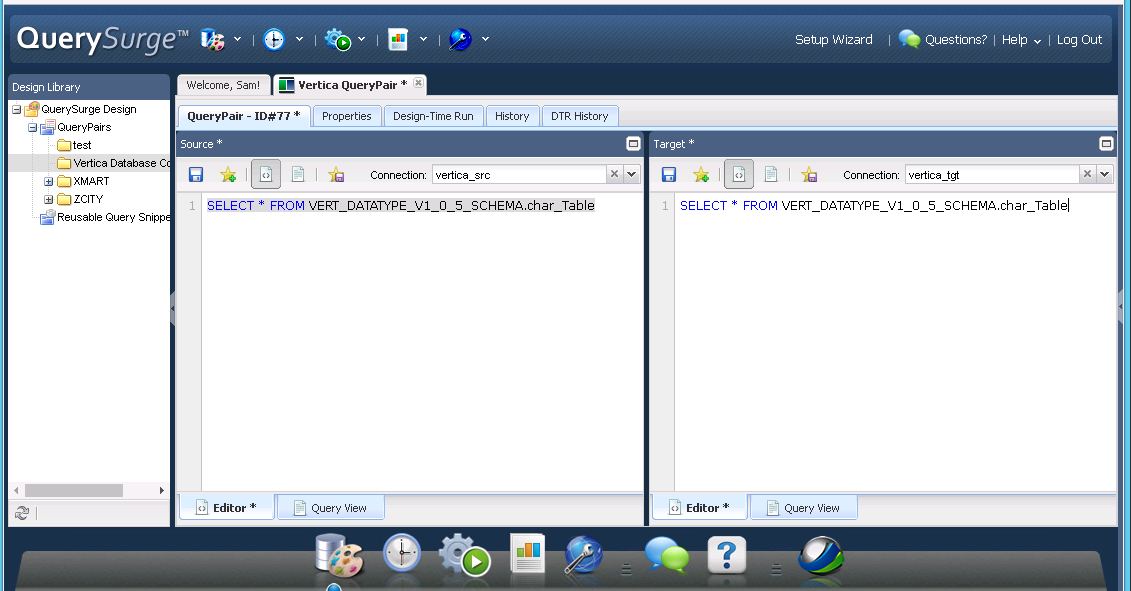
- Save the source and the target components.
- Click the Design-Time Run tab.
-
Click Run. When the run completes, QuerySurge displays the results.
Create QueryPairs Using the Query Wizard
-
To start the Query Wizard, click
 and select Launch Query Wizard from the drop-down menu.
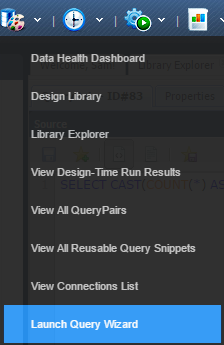
-
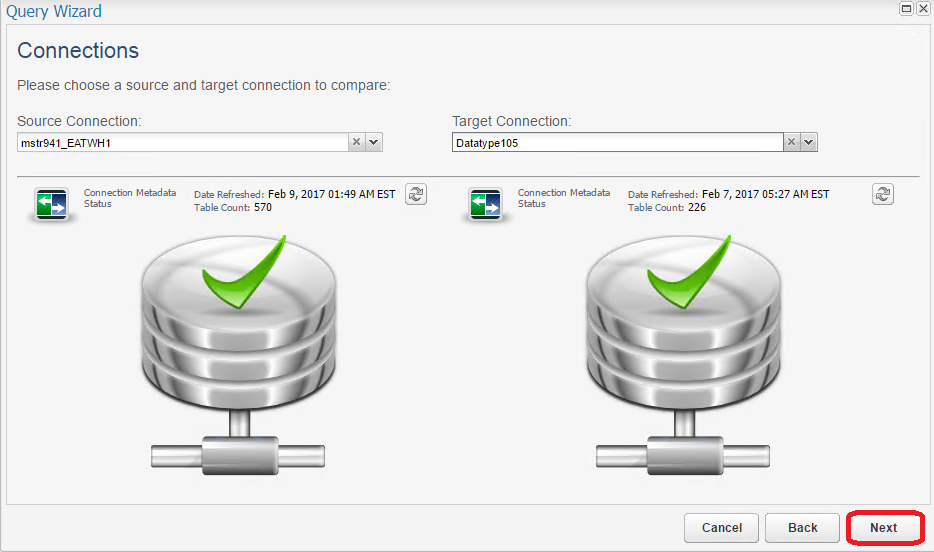
In the Query Wizard, click Next. The Connections window displays.
-
From the drop-down menus, select your source and target connections. This example uses two Vertica databases.
The green checkmarks indicate that both connections are valid.
-
Click Next. The Comparison Types window displays, showing three validation types:
- Column-level comparison
- Table-level comparison
- Row count comparison.
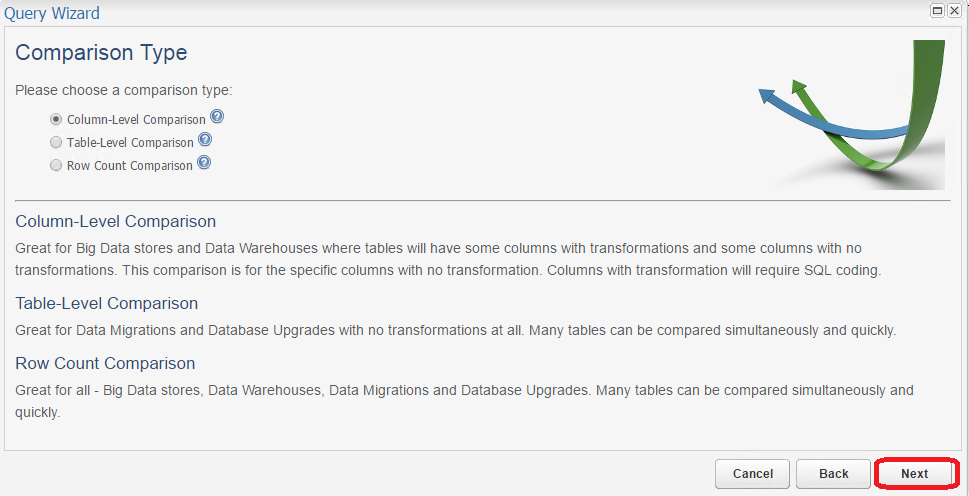
-
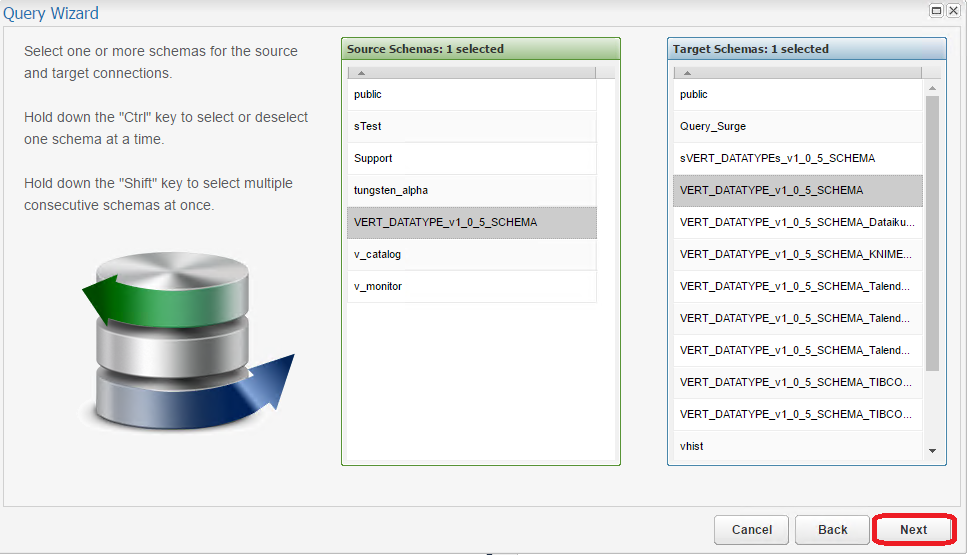
Select the desired comparison type and click Next. The schema types window displays, listing the selected source and target schemas. If needed, change the selected schemeas, and click Next.
-
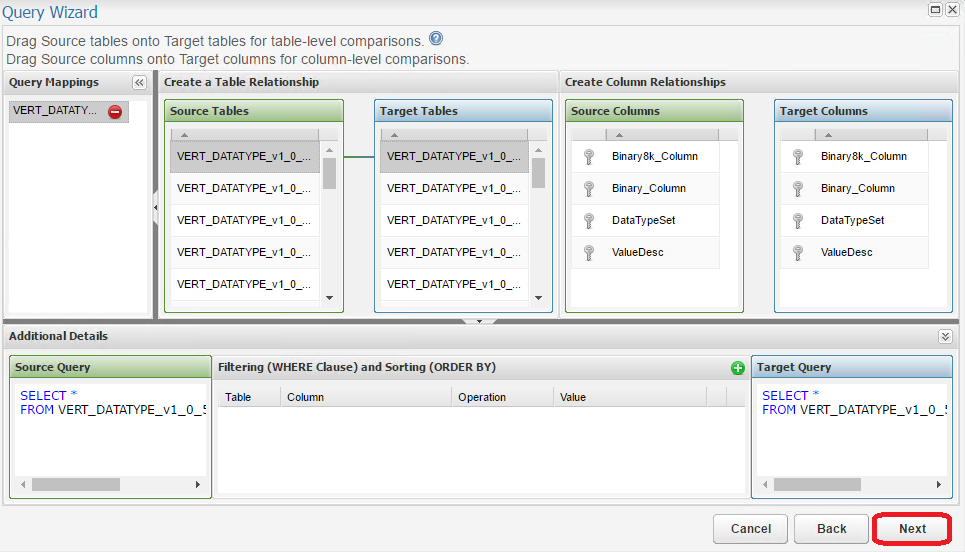
The Create a Table Relationship window appears. This window shows all the tables in the selected source and target schemas.

-
To create a column-level comparison, drag a source table name on top of a target table name, as you can see in the preceding image.
Under Create Column Relationships, QuerySurge lists the available source and target table columns and at the bottom of the page, lists SELECT queries that generates and populates in a QueryPair.
After you have defined your column relationships, click Next.
-
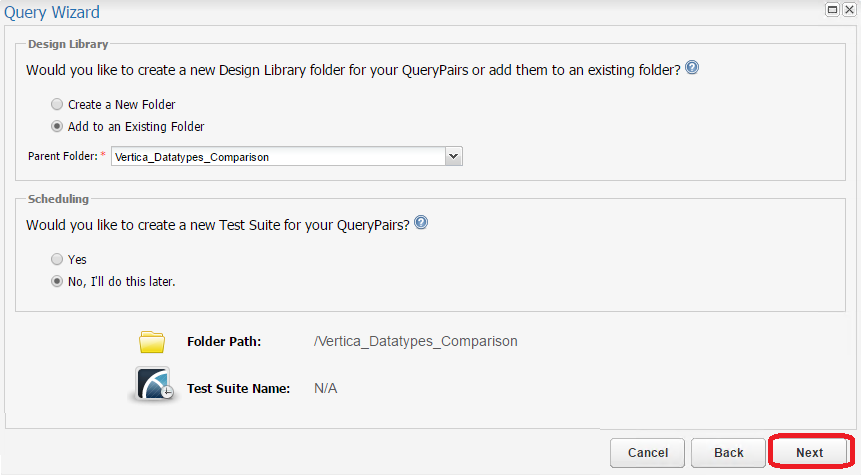
Specify whether you want to save your query in a new or existing folder. You can also create a test suite for your new QueryPair from this screen. For this example, we won't create a test suite.
When you're done, click Next.
-
Review the settings for your QueryPairs configuration and click Create.
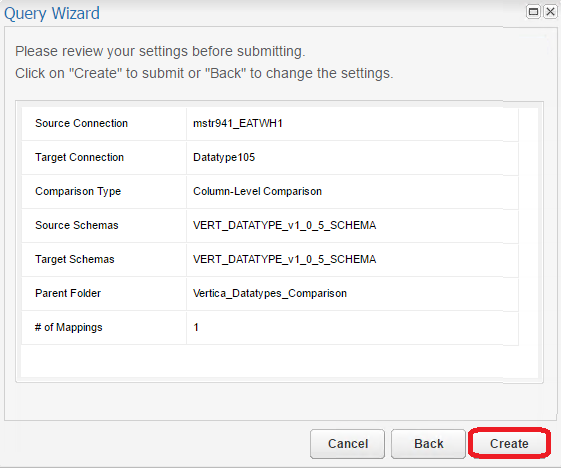
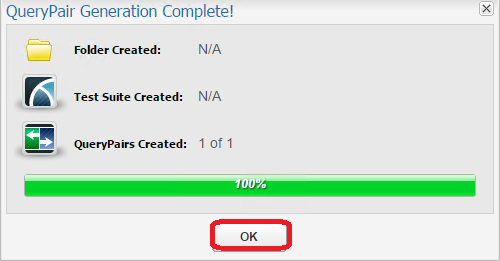
QuerySurge generates the QueryPair.
Execute the Tests
To execute the tests, follow these steps:
-
Launch the Library Explorer. To do so, click
and select Library Explorer.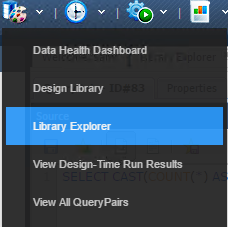
-
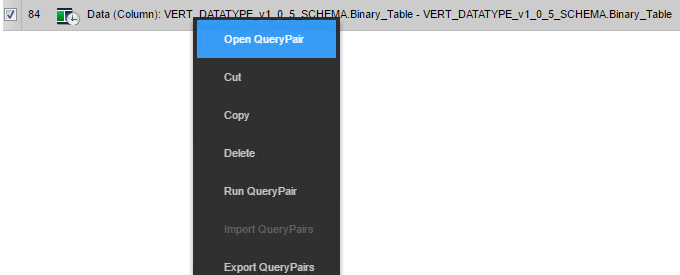
Right-click the QueryPair you created and select Open QueryPair.
-
Click the Design-Time Run tab.
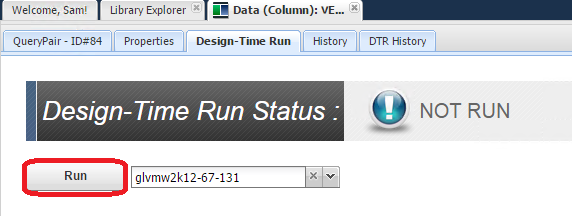
-
Select the agent from the drop-down list next to the Run button.
-
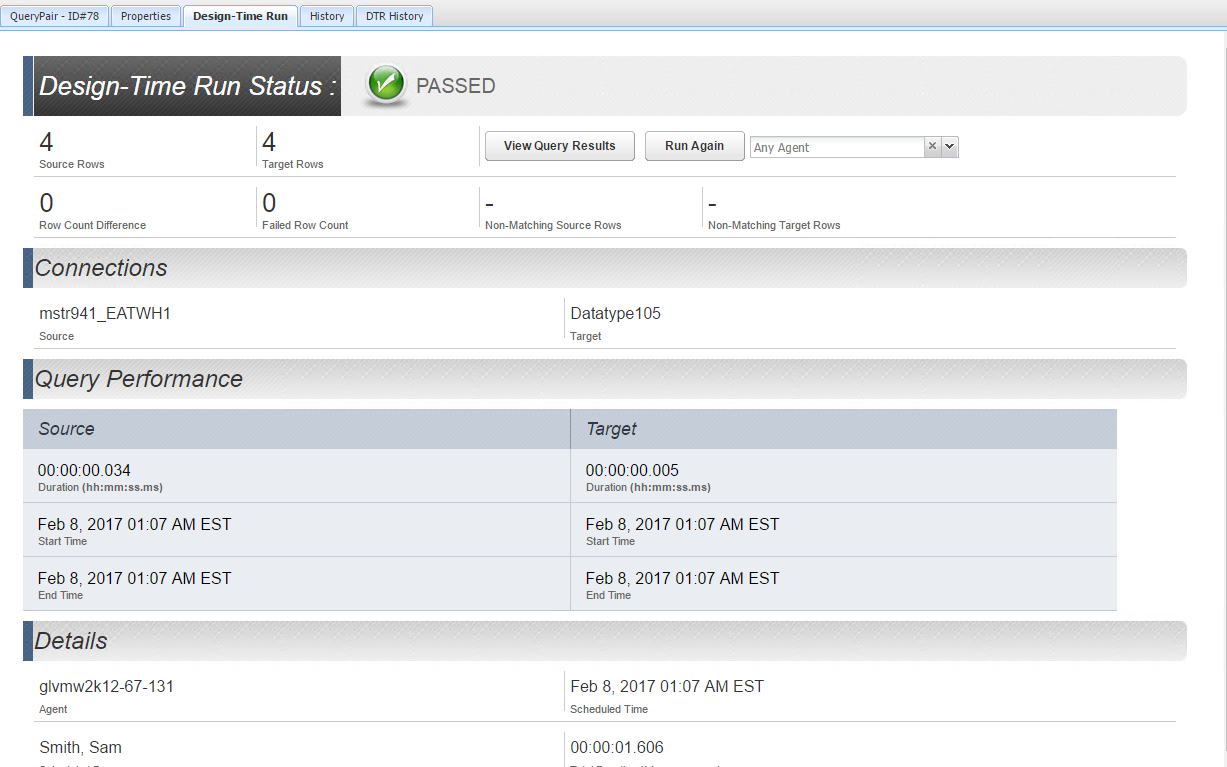
Click Run.
When the run completes, the following window appears, showing an overview of the results of running both queries.
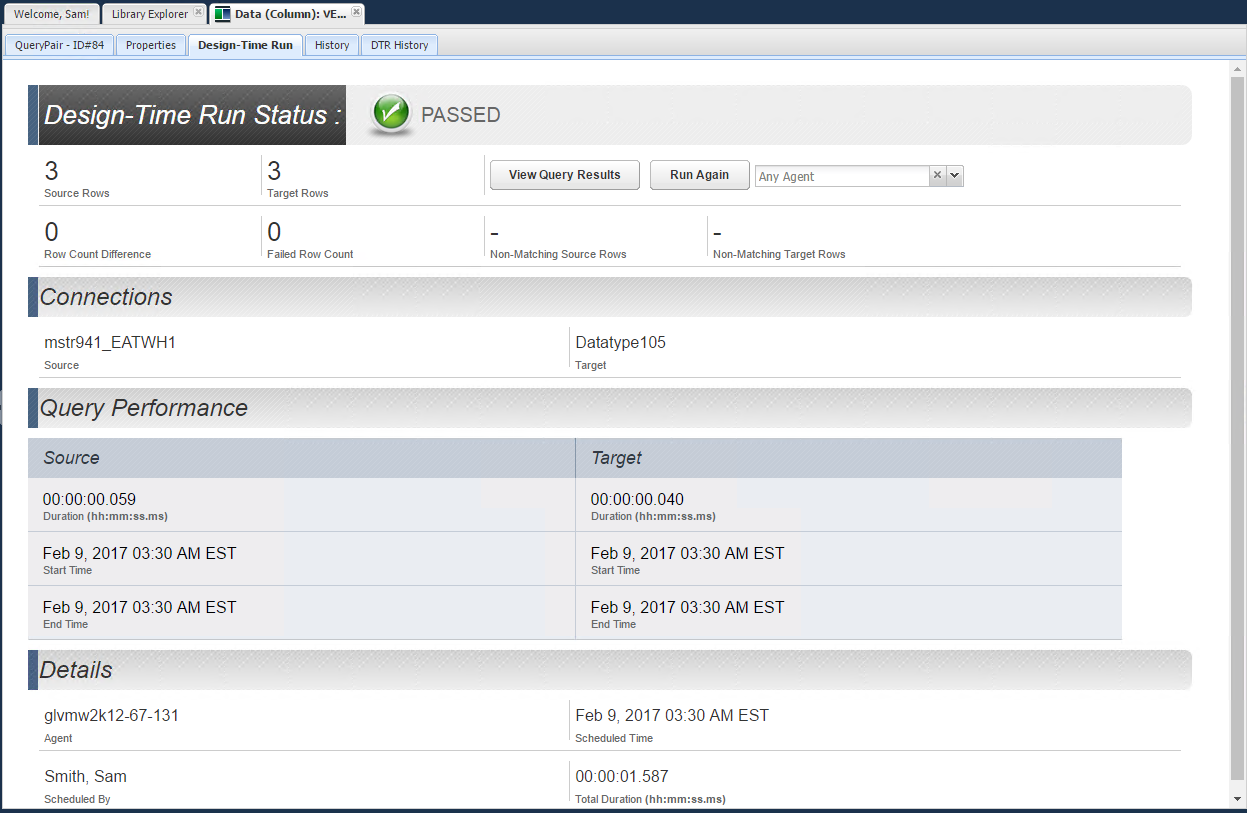
- To see the detailed results of running these queries on both the source and the target, click View Query Results.
For More Information
- QuerySurge
- Vertica Community Edition
- Vertica Documentation
- Adding a JDBC Driver to a QuerySurge Agent on Windows

