


Vertica Integration with Oracle Business Intelligence Publisher: Connection Guide
About Vertica Connection Guides
Vertica connection guides provide basic instructions for connecting a third-party partner product to Vertica. Connection guides are based on our testing with specific versions of Vertica and the partner product.
Vertica and Oracle BI Publisher: Latest Versions Tested
| Software | Version |
|---|---|
| Partner Product |
Oracle Business Intelligence (BI) Publisher 12.2.1.4.0 |
| Partner Product Platform |
Windows Server 2019 |
| Vertica Client |
Vertica JDBC 12.0.1 |
| Vertica Server | Vertica Analytic Database 12.0.1 |
| Vertica Server Platform | RHEL 8.3 |
Oracle Business Intelligence Publisher Overview
Oracle Business Intelligence (BI) Publisher is a reporting tool widely used to create, manage, and deliver reports. You can design interactive reporting solutions easily using Oracle BI Publisher. It is widely used to view reports online or schedule to specific users via email.
Installing Oracle Business Intelligence Publisher
You can download Oracle Business Intelligence Publisher on the Oracle website and follow the steps for installation.
Installing the Vertica Client Driver
-
Navigate to the Vertica Client Drivers page.
-
Download the JDBC driver.
Note For details about client and server compatibility, see Client Driver and Server Version Compatibility in the Vertica documentation.
-
Place the JDBC .jar file in the domain library directory.
You need to place the jar file at
InstallationDirectory\Oracle_Home\user_projects\domains\bi\lib. The jars located in this directory are dynamically added to the end of the server classpath at server startup. The jars are ordered lexically in the classpath. -
After you place the jar at the specified location, restart the Oracle BI Server as well as Admin Server.
Connecting Oracle Business Intelligence Publisher to Vertica
-
Login to the Oracle Business Intelligence (BI) Publisher web interface http://hostname:9502/xmlpserver.
-
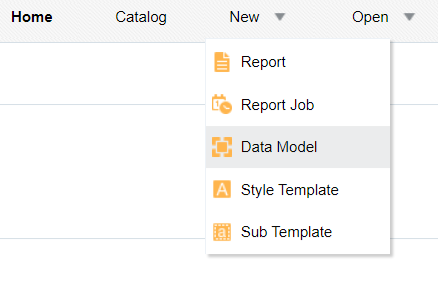
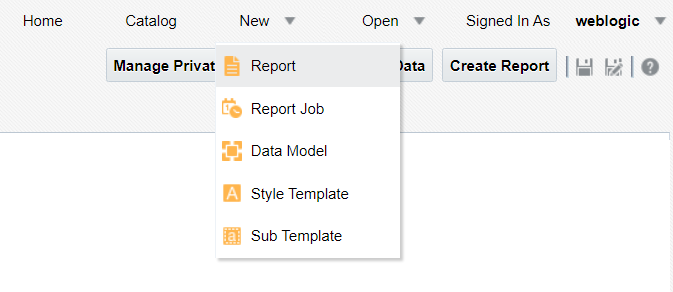
Click New > Data Model.
-
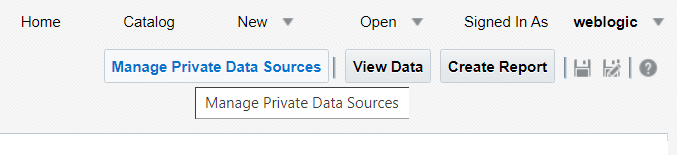
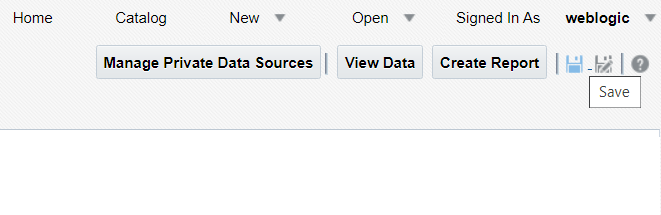
Click Manage Private Data Sources.
-
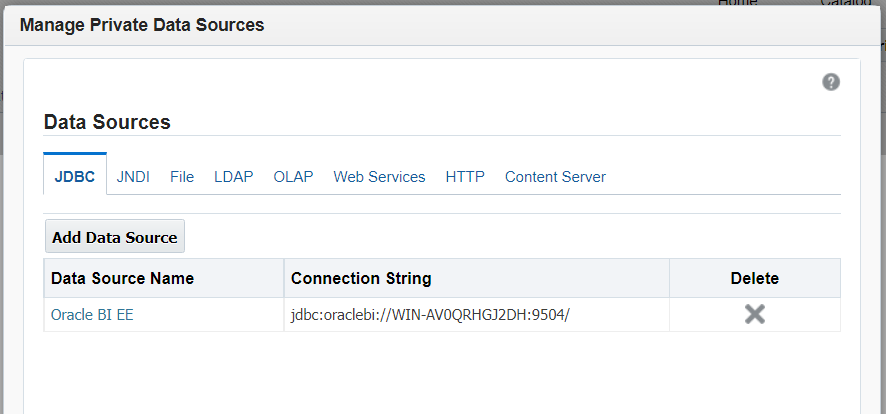
Click JDBC > Add Data Source.
-
Provide the Vertica connection details and click Test Connection. A connection successful message is displayed.
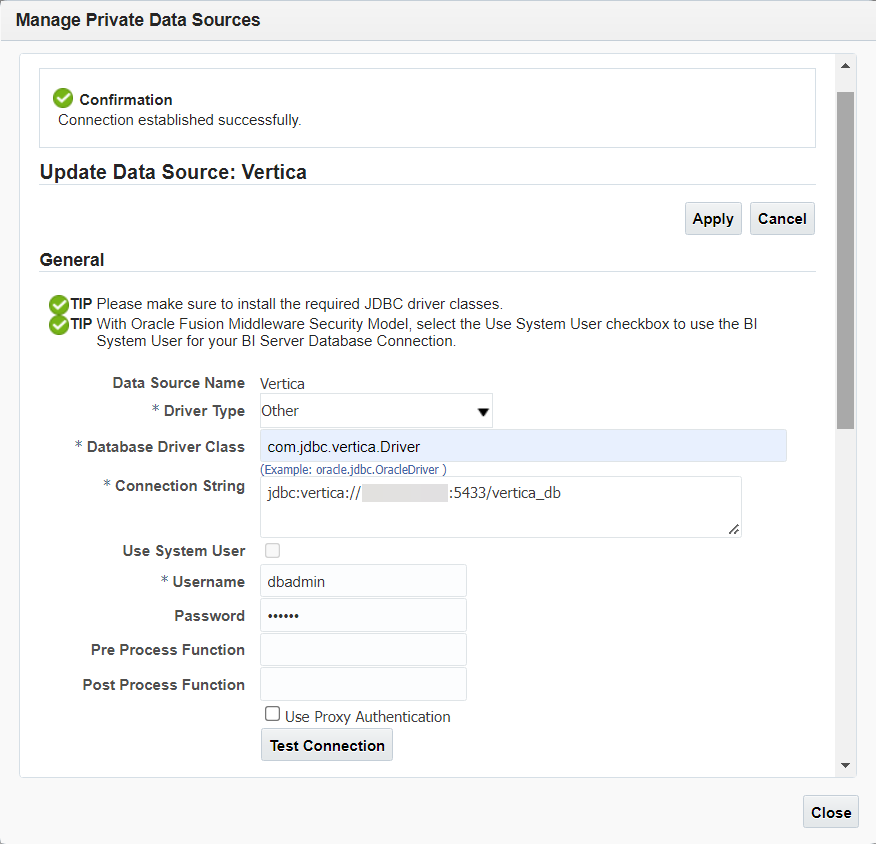
-
Click Apply and then click Close.
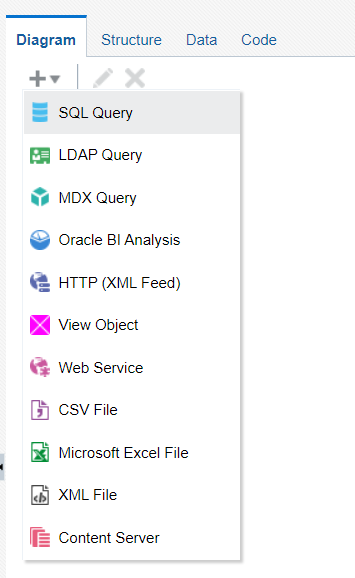
-
Click Diagram > SQL Query.
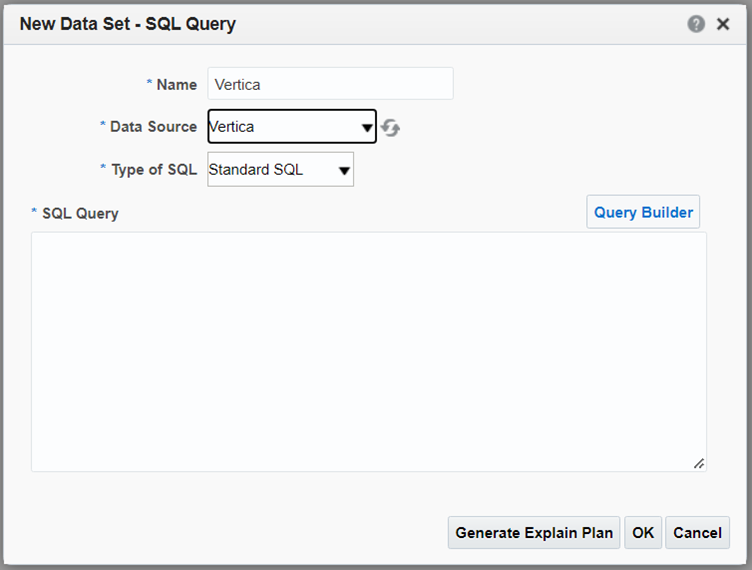
-
Enter Name, Data Source, and Type of SQL, and then click Query Builder.
-
Select the tables you want to use in your data model and define the conditions.
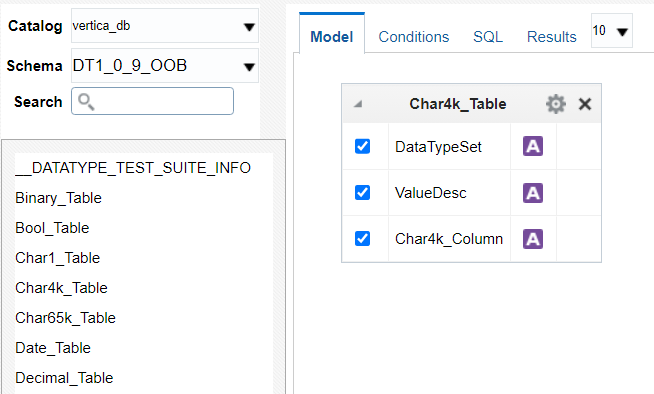
-
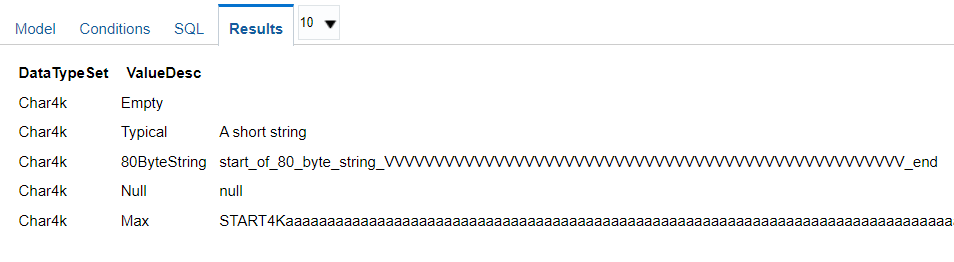
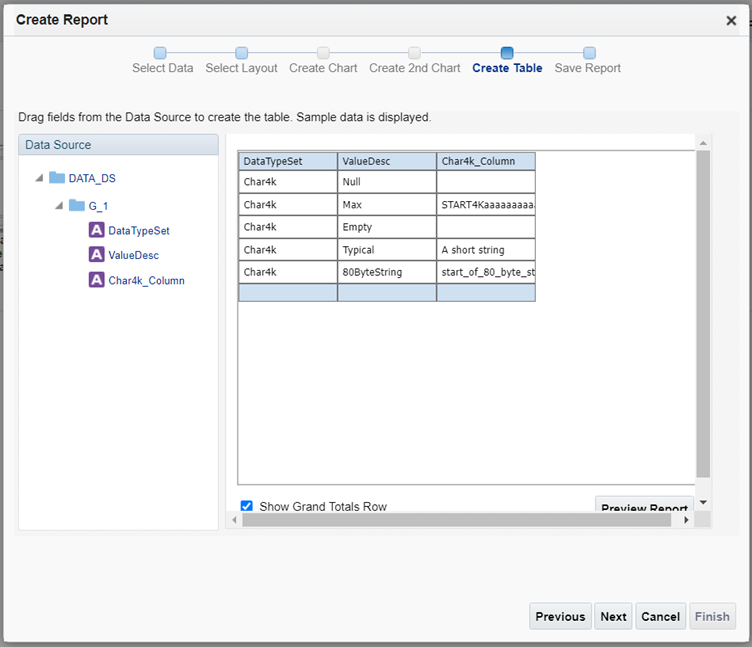
You can see results of your data model in the Results tab. Click Ok.
-
Click Save to save your Data Model.
-
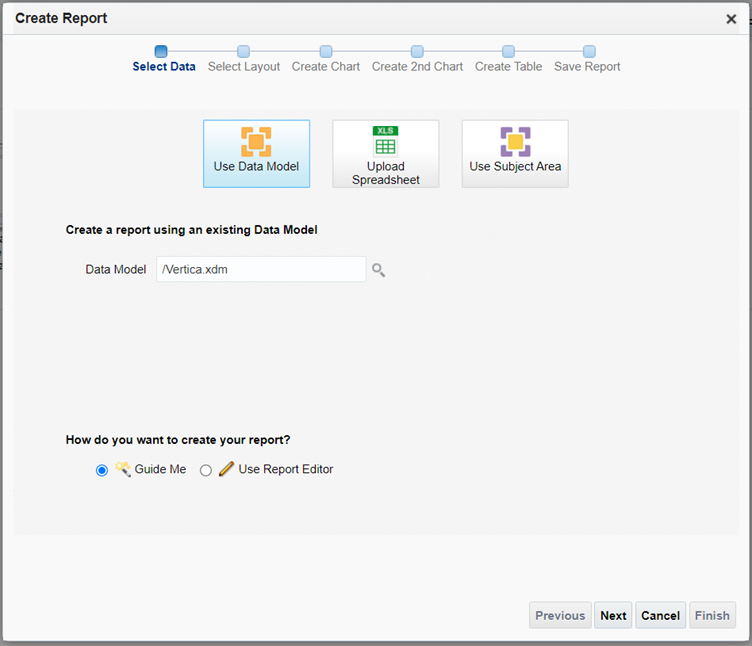
Click New > Report to create a sample report using this Data Model.
-
Select the Data Model you want to use to create a report. The Data Model that we saved was Vertica.xdm.
-
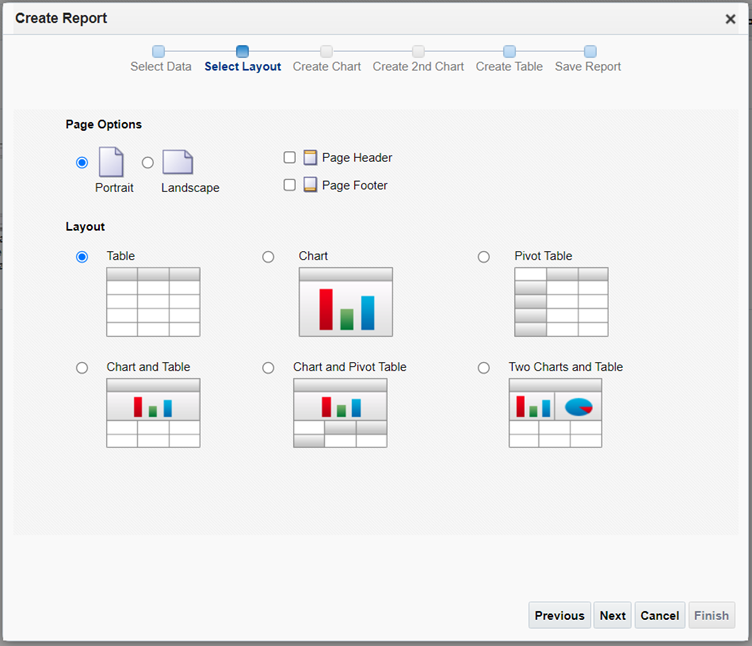
Select the Layout and click Next.
-
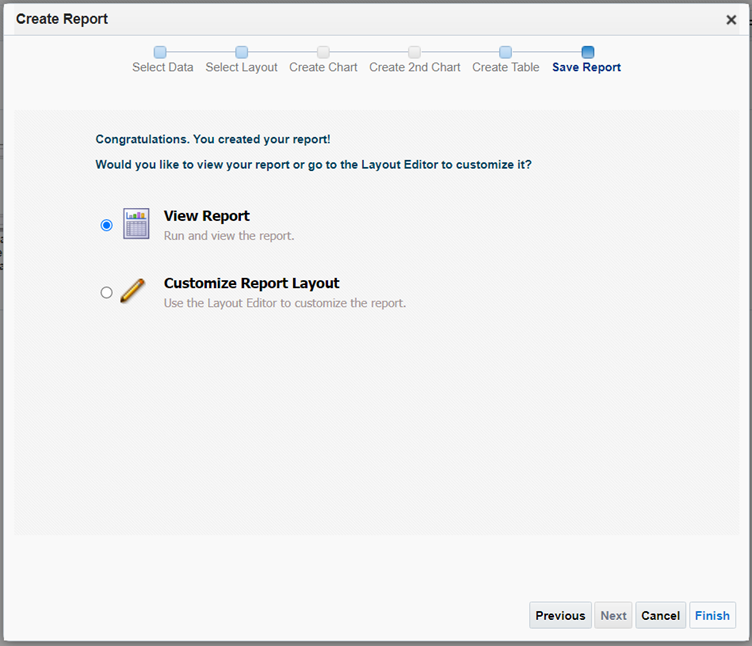
Click Next.
-
Click Finish.
-
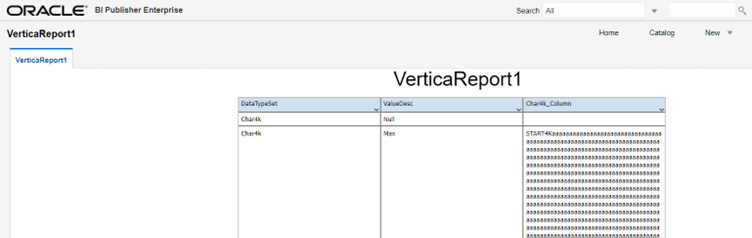
You can now see the report that is displayed.
Known Limitations
-
BINARY, VARBINARY, and LONG VARBINARY data types are not displayed.
-
For TIMETZ and TIMESTAMPTZ data types, time zone is truncated.
-
For TIME datatype, milliseconds are rounded off to 3 decimal places.

