


Vertica Integration With Mulesoft Anypoint: Connection Guide
About Vertica Connection Guides
Vertica connection guides provide basic instructions for connecting a third-party partner product to Vertica. Connection guides are based on our testing with specific versions of Vertica and the partner product.
Vertica and MuleSoft Anypoint: Latest Versions Tested
| Software | Version |
|---|---|
| Mulesoft Anypoint Client |
Anypoint Studio 7.3.2 |
| Mulesoft Anypoint Platform | Windows Server 2012 R2 |
| Vertica Client |
Vertica JDBC 9.2.0-0 |
| Vertica Server |
Vertica Server 9.2.0-0 |
Anypoint Overview
MuleSoft Anypoint Studio is a desktop IDE that enables you to build, scale, and share integration projects. You can use Anypoint Studio for SaaS and on-premises system integration, API implementation, and testing. You can deploy your applications on premises or in the cloud with Mule runtime engine.
For details about MuleSoft Anypoint, visit the MuleSoft website.
Install Anypoint
- Navigate to the Download page for Anypoint Studio 7.3.2.
- Click Download Studio.
- Follow the installation instructions to install Anypoint on your system.
Install the Vertica Client Driver
Before you can connect Anypoint to Vertica, you must install the Vertica JDBC client driver. Follow these steps:
- Navigate to the Client Drivers page on the Vertica website.
-
Download the JDBC driver.
Note
For details about client and server compatibility, see Client Driver and Server Version Compatibility in the Vertica documentation.
- Follow the installation instructions in the Vertica documentation.
Connect Anypoint Studio to Vertica
To connect Anypoint Studio to Vertica, follow these steps:
Create a Project
- In the directory where you extracted Mulesoft Anypoint Studio, double-click
AnypointStudio.exeto launch the application. -
In the Workspace box, specify a location for the workspace. Either select a directory from the drop-down list or click Browse.
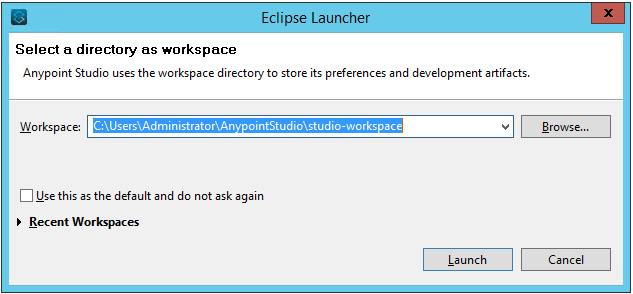
The Anypoint Studio Interface opens.
-
Select File -> New -> Mule Project to create a new Mule project.
-
On the New Mule Project page, provide a name for the Vertica project and click Finish.
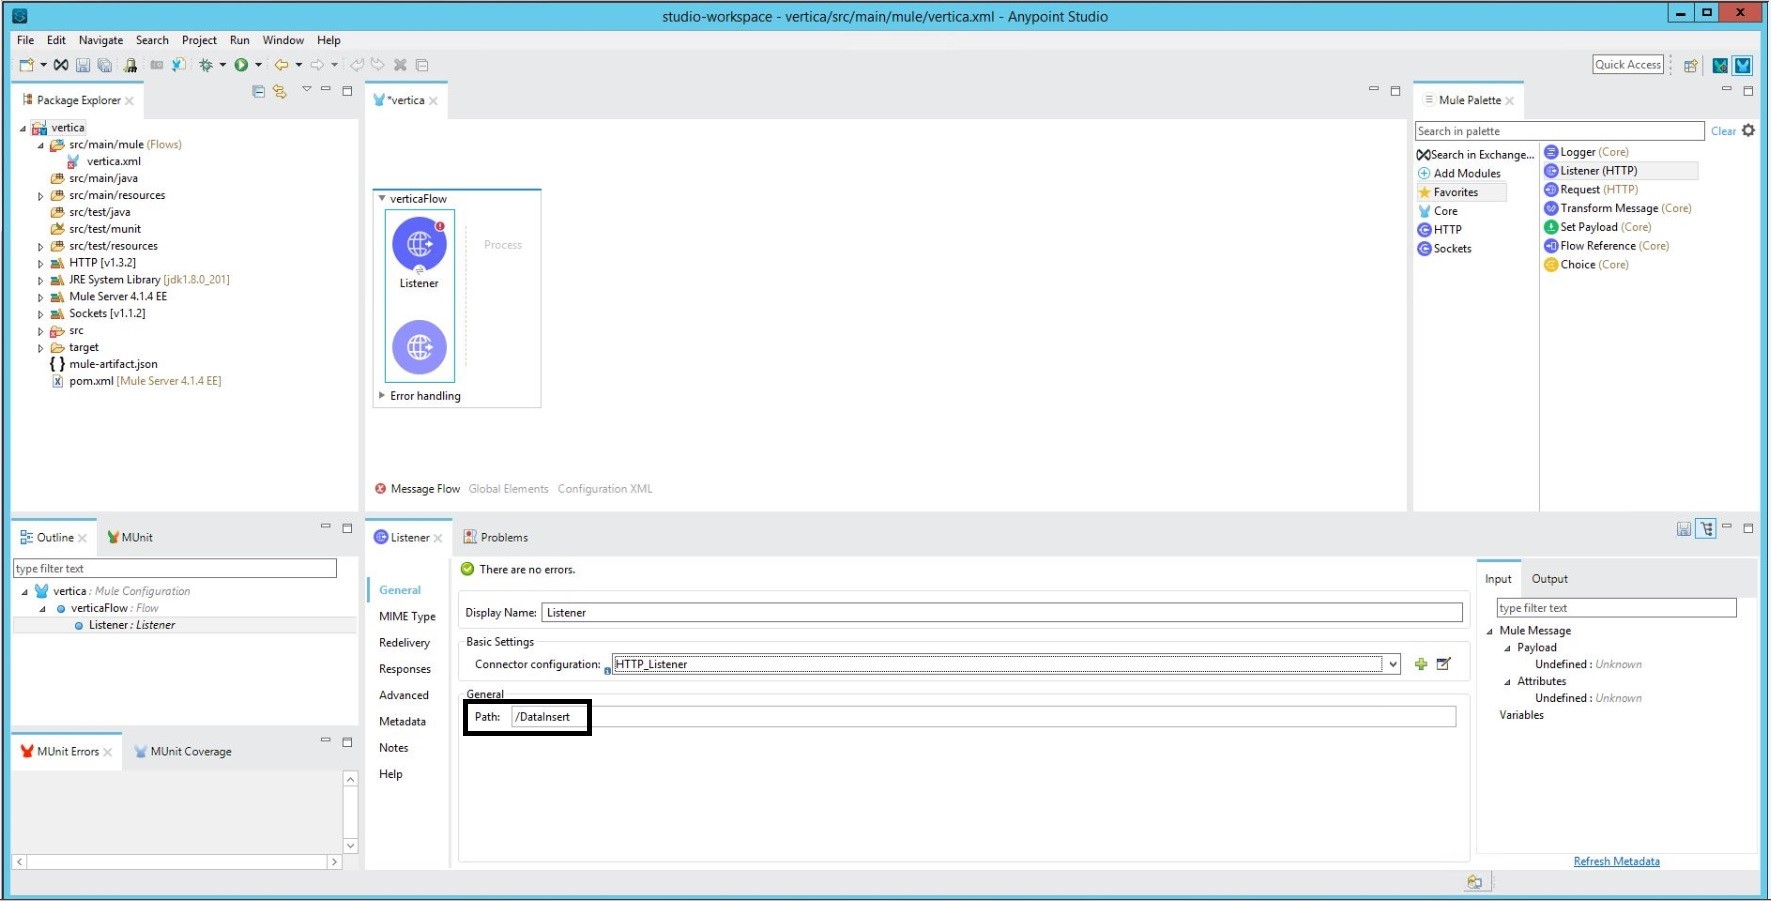
Configure the Listener
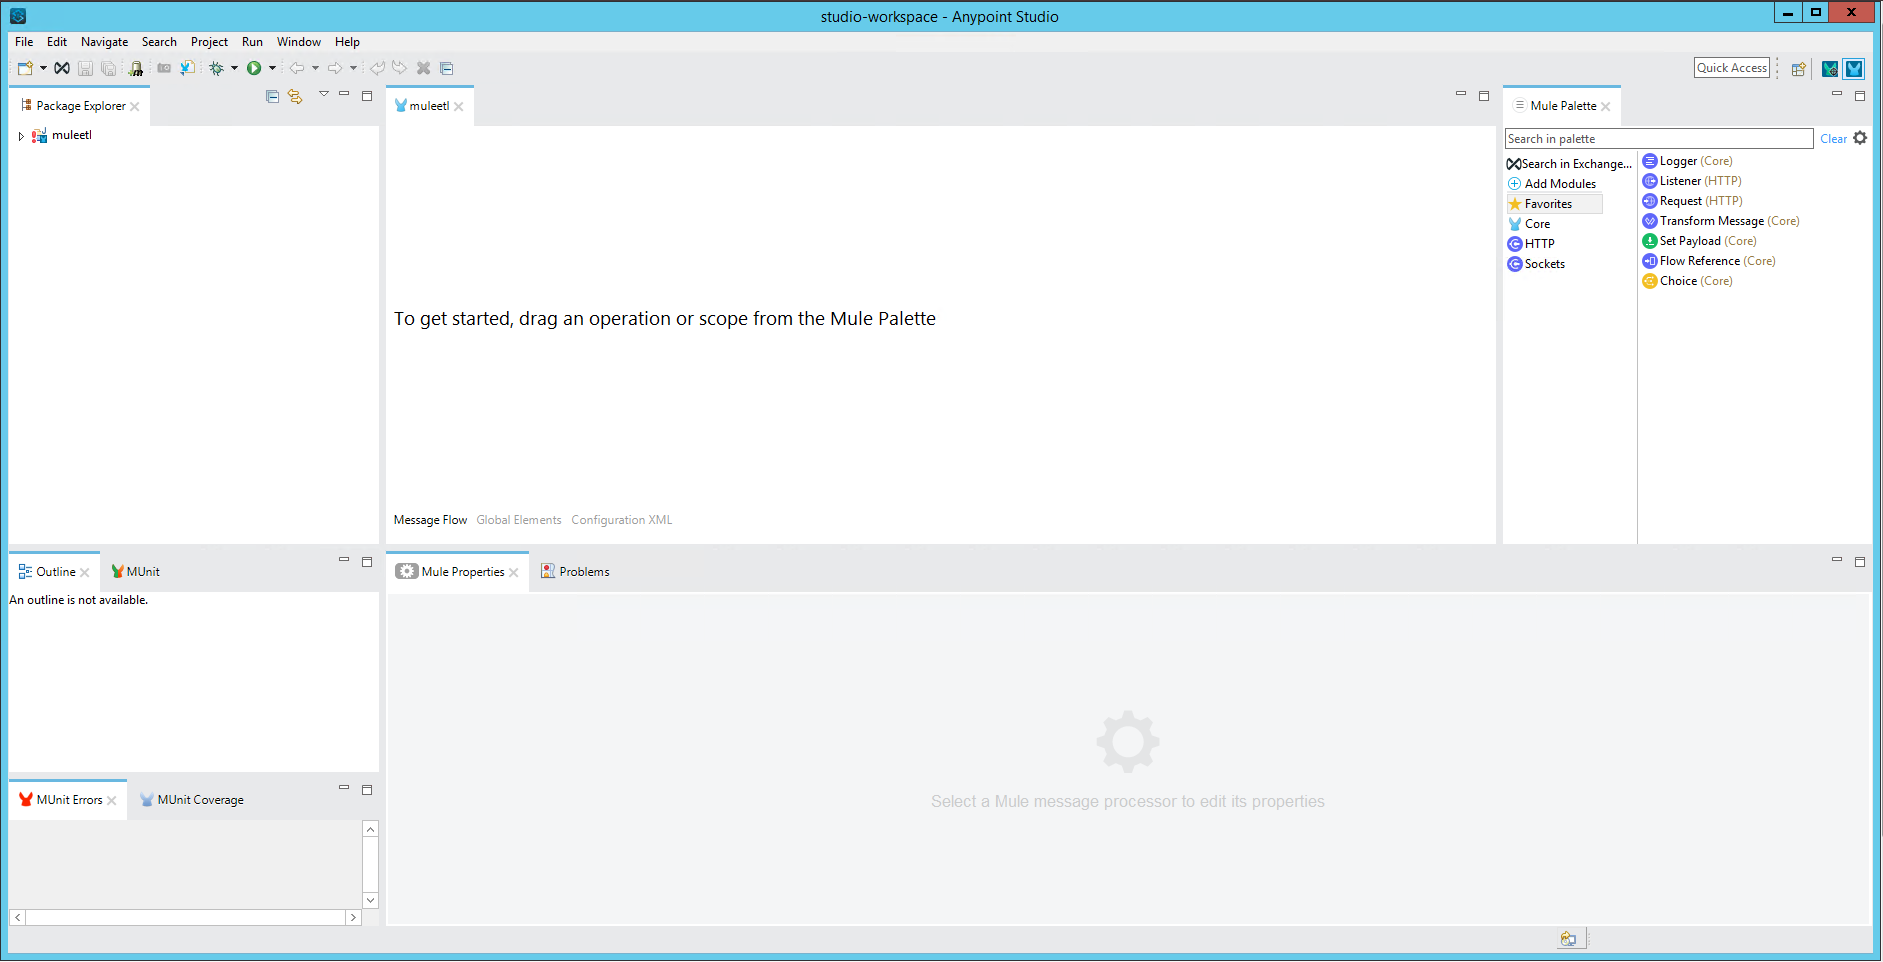
-
From the Mule Palette, drag and drop the Listener component onto the workspace area.
-
In the Display Name box, type a name for the listener.
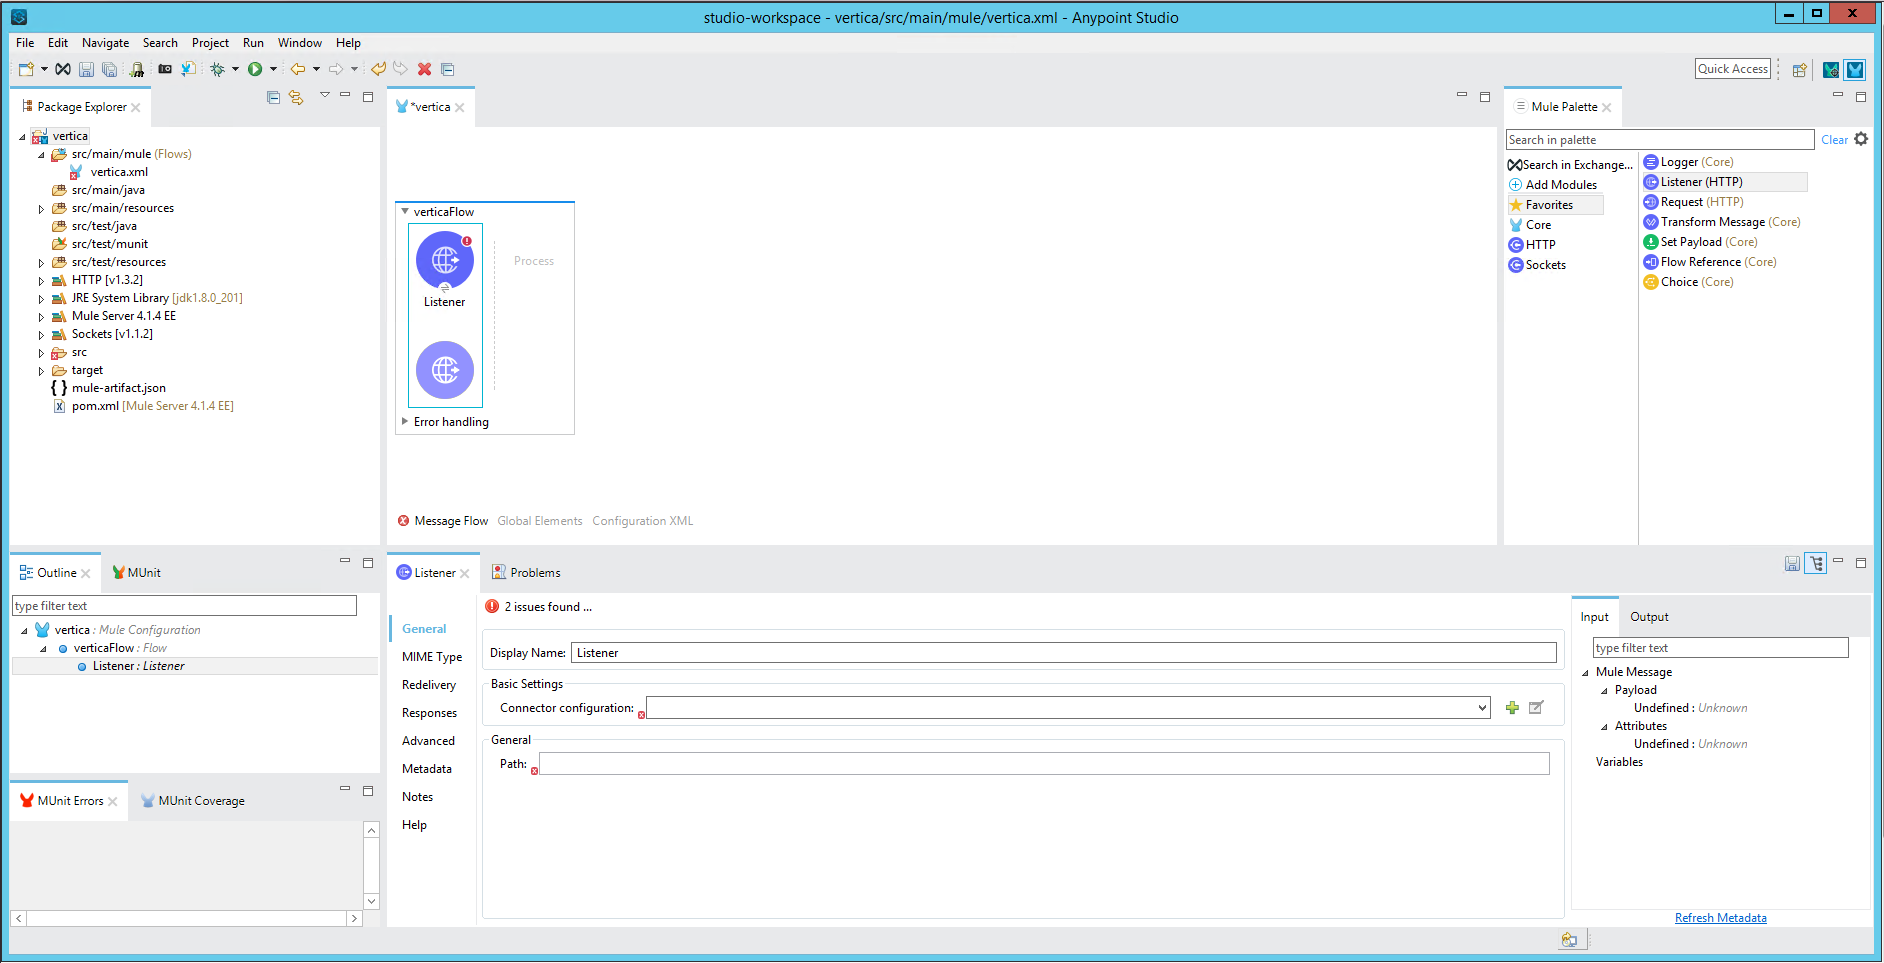
- For Connector configuration, click the plus sign (+) to open the Globel Element Properties.
-
On the General tab, type a name for the listener and provide values for Protocol, Host, and Port.
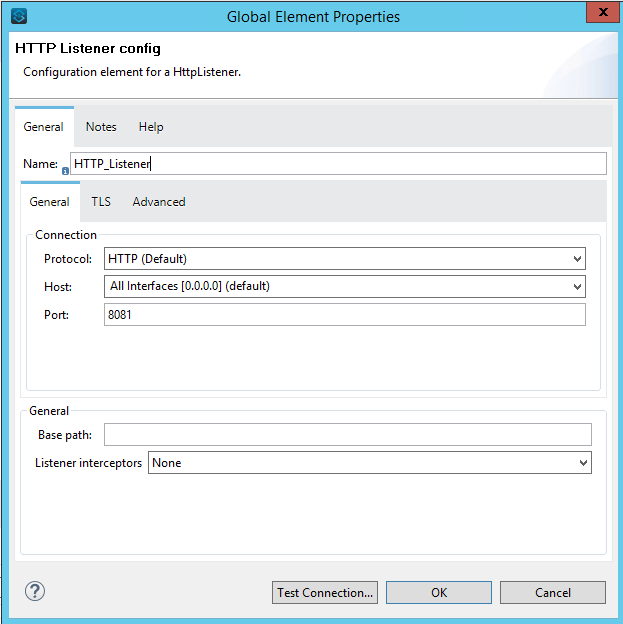
- Click Test Connection.
- When the connection is successful, click OK.
-
Back in Listener properties, provide the path to be followed in the Web URL during project execution.
-
Click Response and type a message to be returned upon successful project execution. The default is
payload.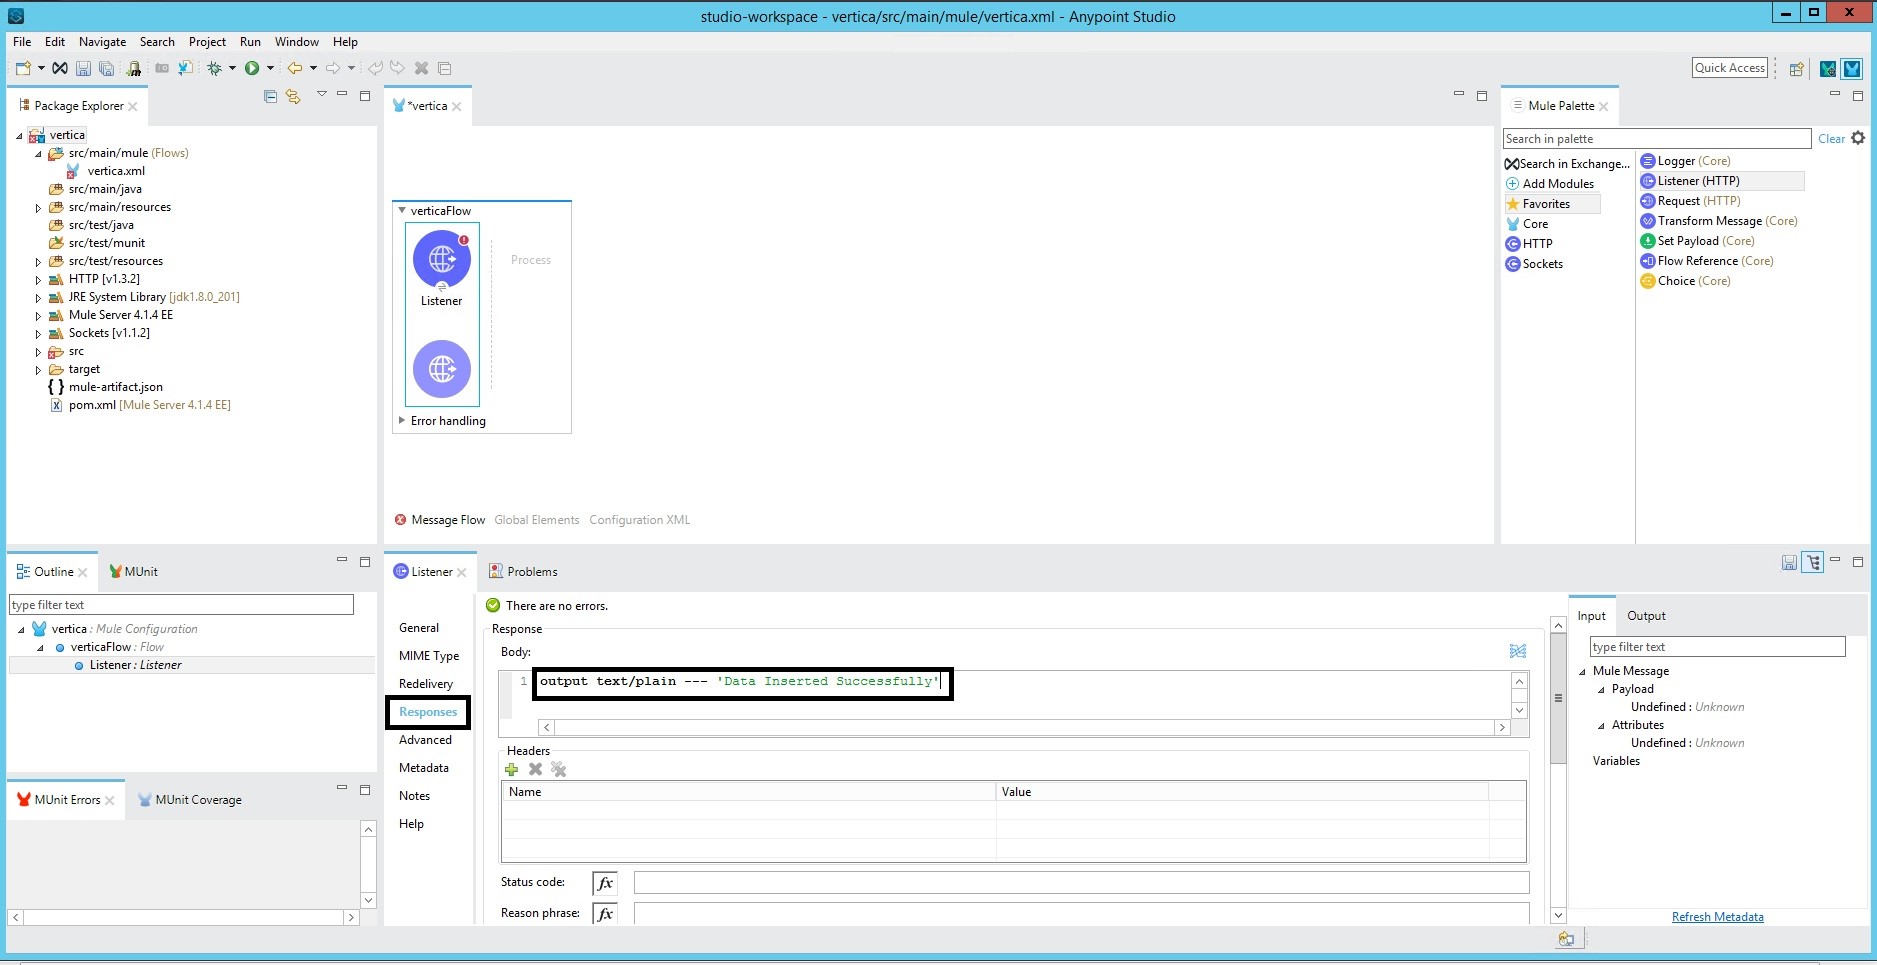
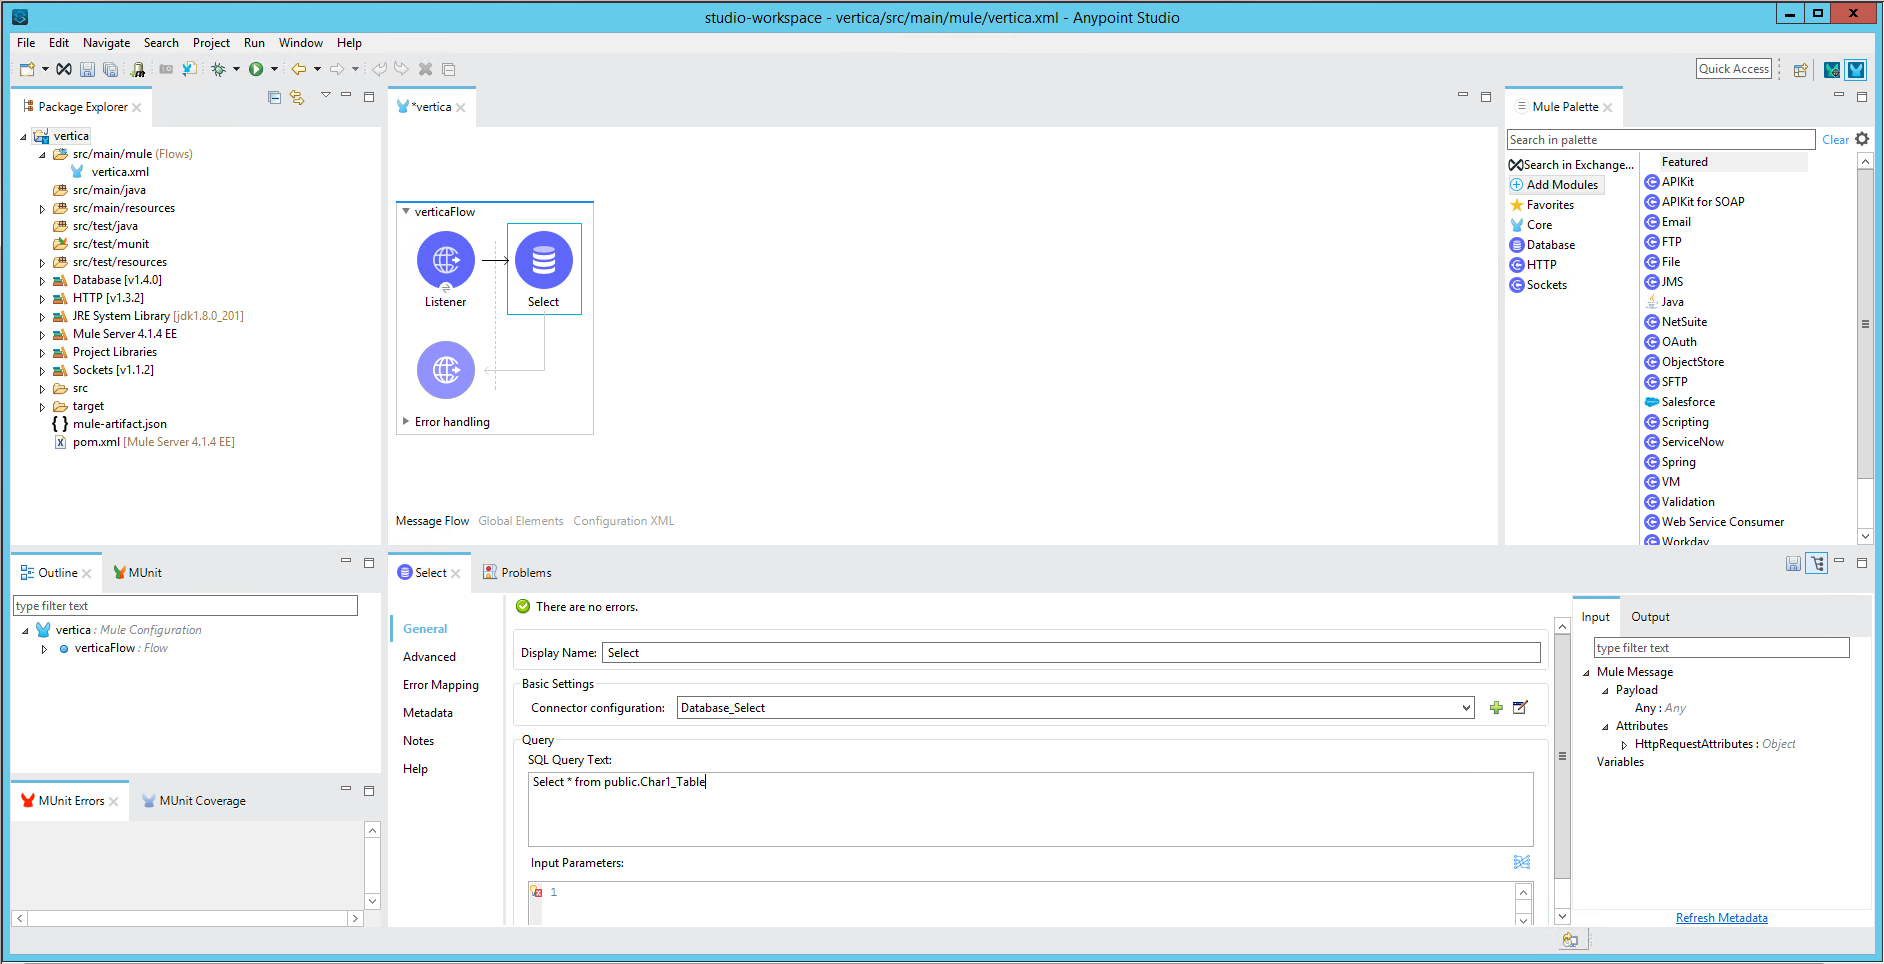
Configure the Data Source
- Type
databasein the Mule Palette search box. -
Drag and drop the Database Select component from the Mule Palette onto the workspace area.
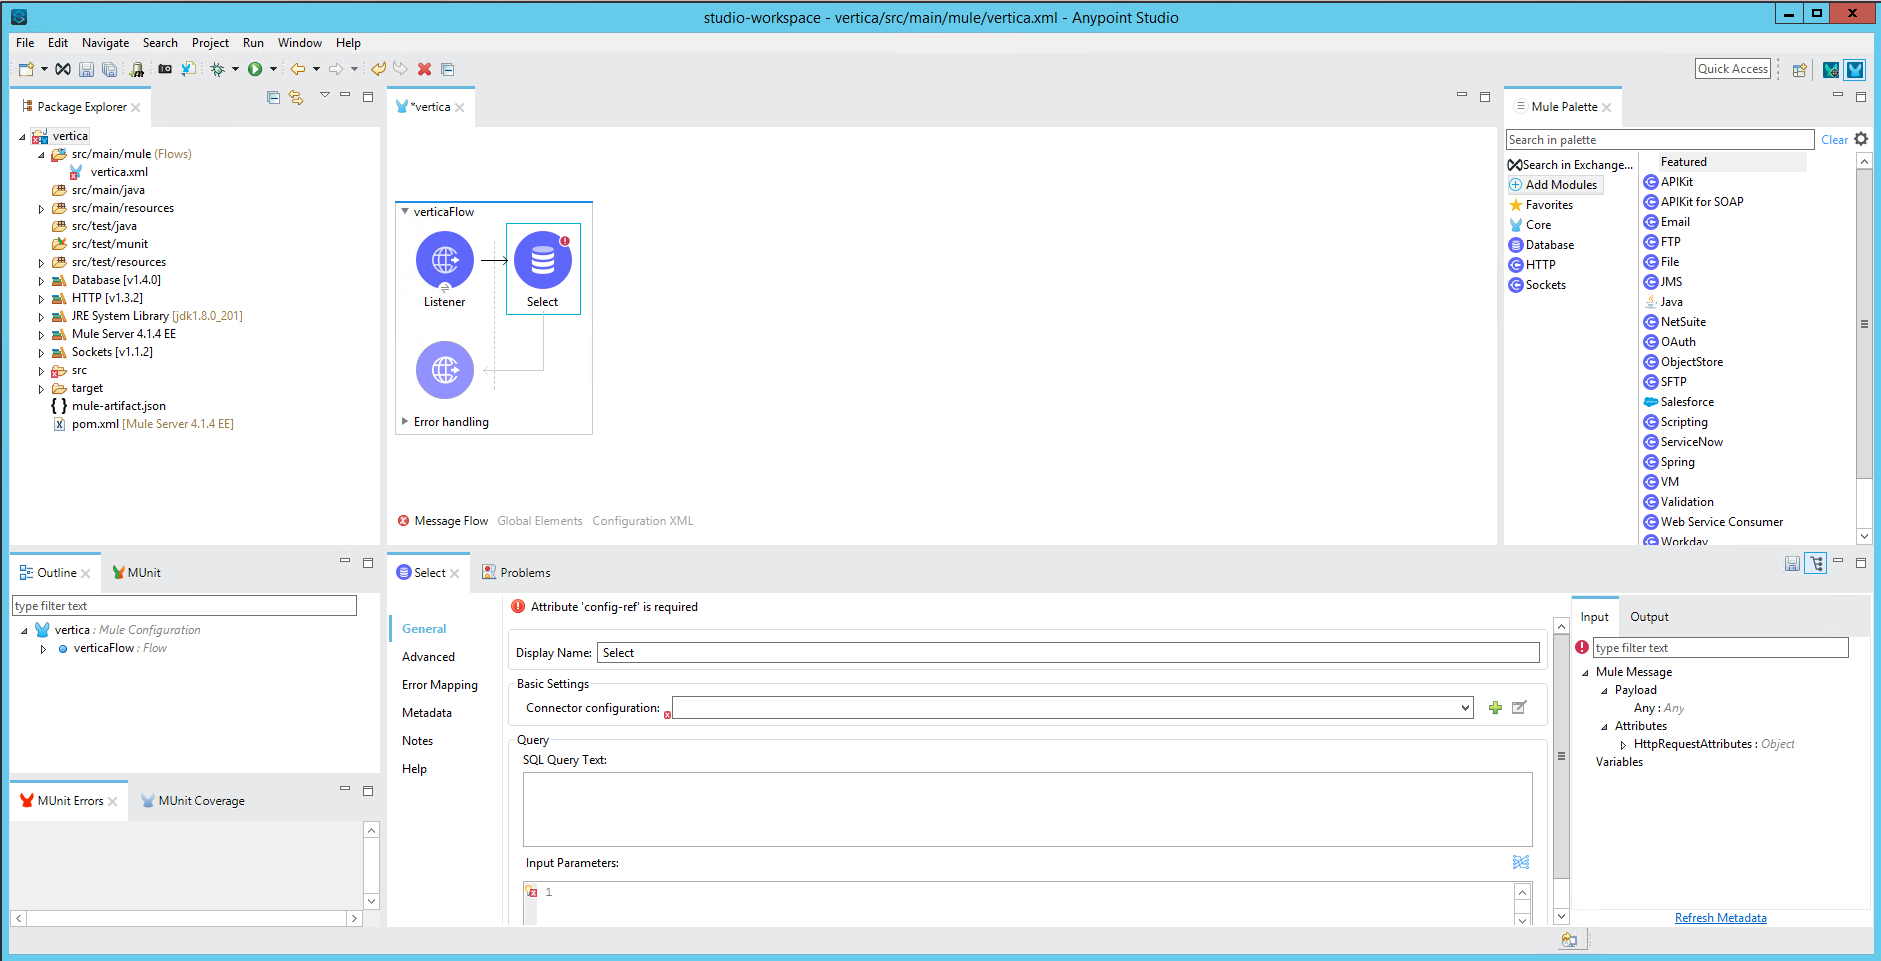
- In the General section of the Database Select component properties, type a name for the source database in the Display Name box.
- For Connector configuration, click the plus sign (+) to open the Global Element Properties page.
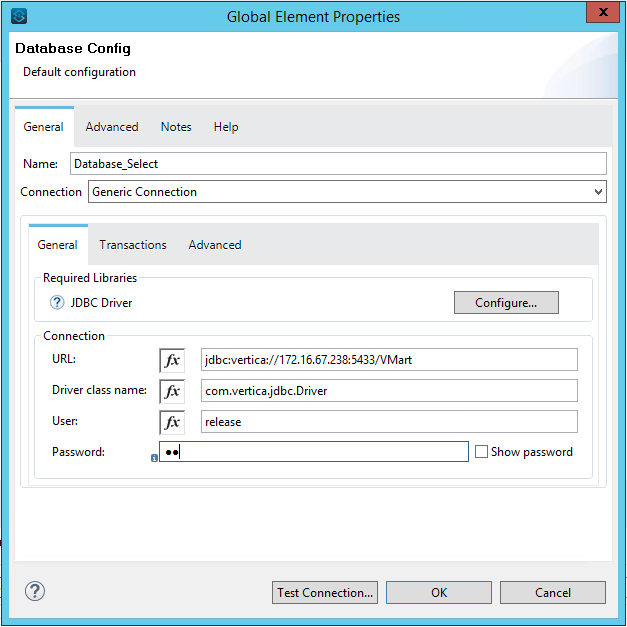
-
Supply the following details:
- Name: Type a name for the database configuration.
- Connection: Select Generic Connection.
- Required Libraries: Click Configure, then choose Use local file to browse to the Vertica JDBC jar file.
In the connection details for the Vertica JDBC driver, provide values for URL, Driver class name, User and Password.
- Click Test Connection.
- When the connection is successful, click OK.
-
Back in the General section of the Database Select properties, type a SQL query that specifies the data to fetch from the data source.
Configure the Target
- Type
databasein the Mule Palette search box. -
Drag and drop the Database Bulk insert component from the Mule Palette onto the workspace area.
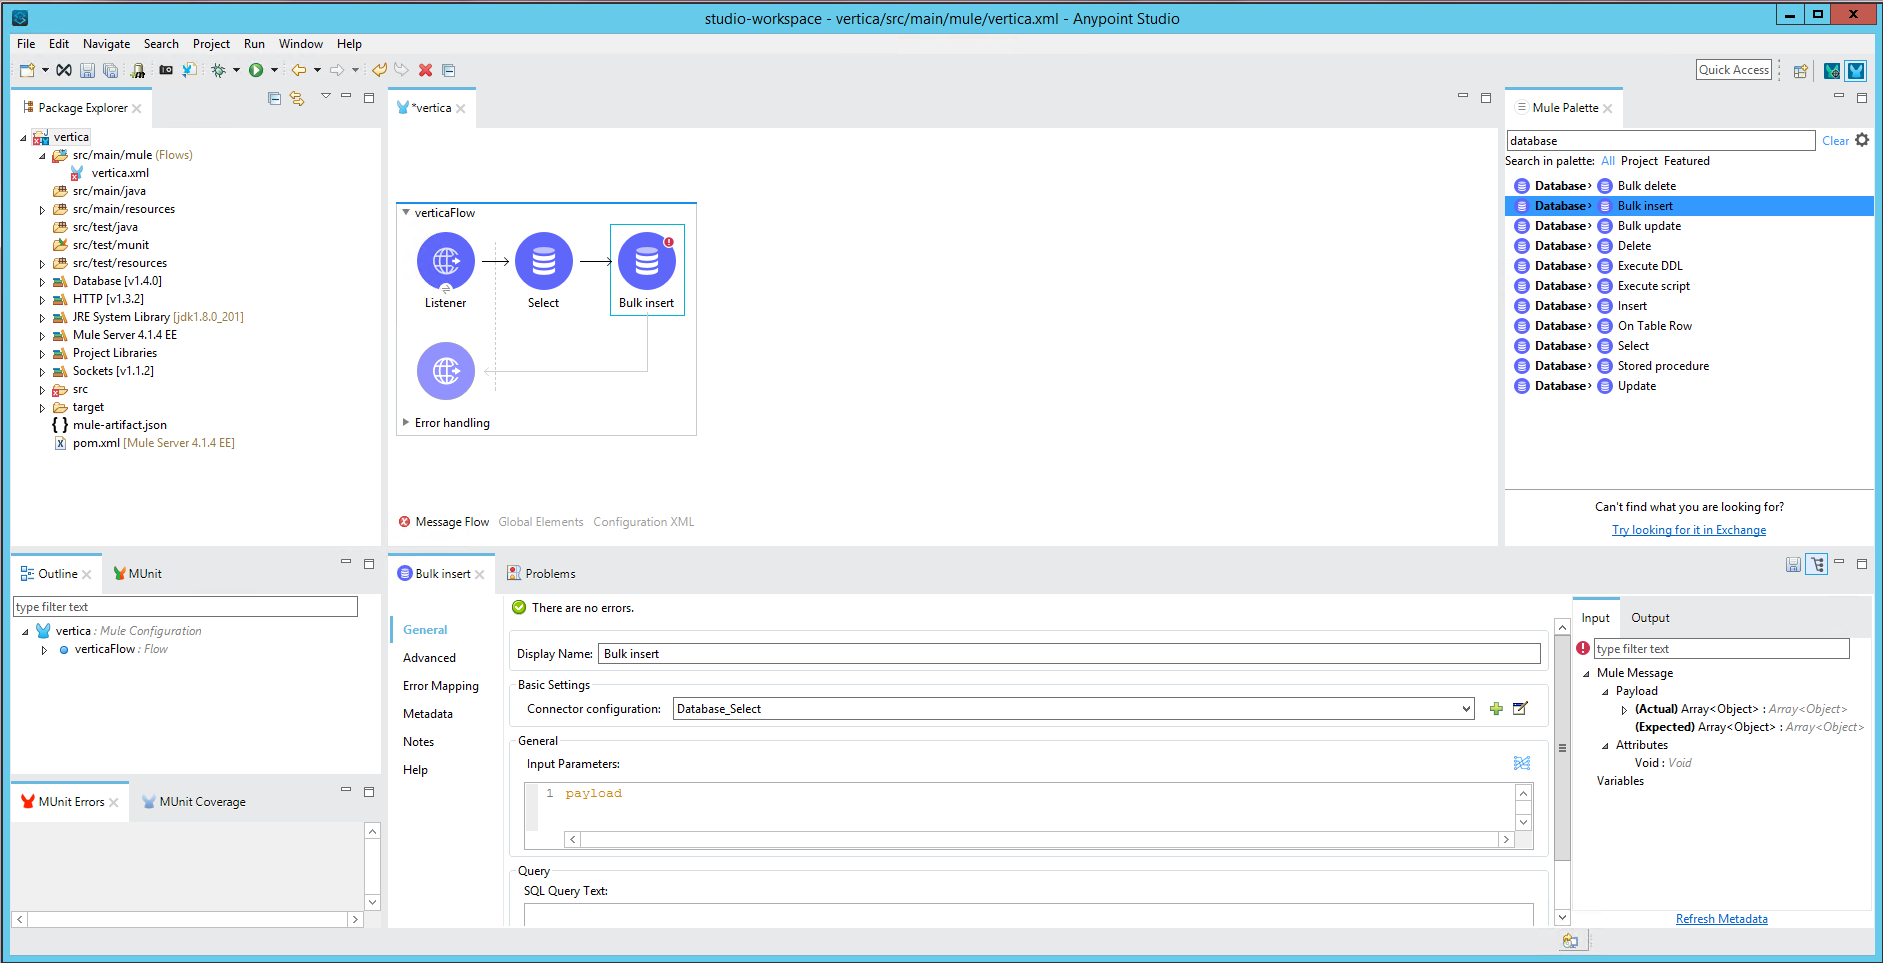
- In the General section of the Database Select component properties, type a name for the target database in the Display Name box.
- For Connector configuration, click the plus sign (+) to open the Global Element Properties page.
-
Supply the following details:
- Name: Type a name for the target database configuration.
- Connection: Select Generic Connection.
- Required Libraries: Click Configure, then choose Use local file to browse to the Vertica JDBC jar file.
In the connection details for the Vertica JDBC driver, provide values for URL, Driver class name, User and Password.

- Click Test Connection.
- When the connection is successful, click OK.
-
Back in the General section of the Database Bulk Insert properties, type a SQL query to specify the data to load into the target table.

-
Select Run on the tool bar menu, and click Run.
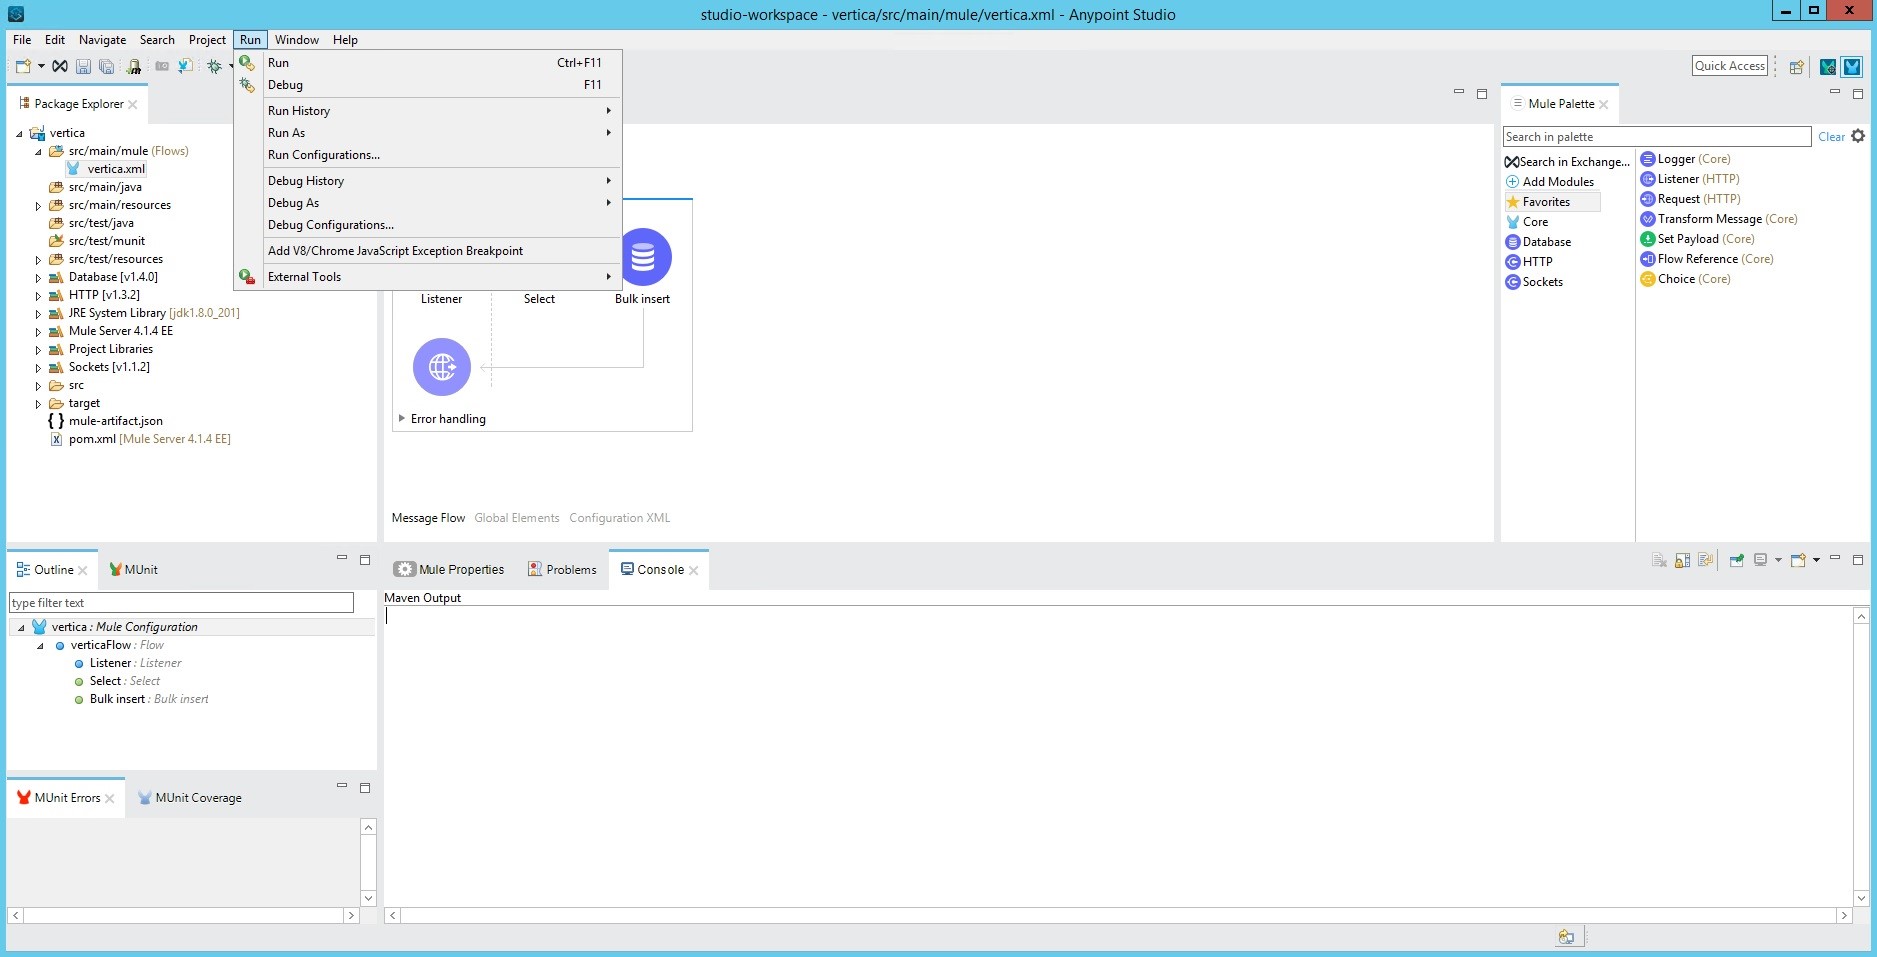
The Project Console shows the status of the project being deployed.
-
After the project is deployed, open a web browser or an API development environment, such as Postman, to send the request for project execution:
http(s)://localhost>:<port_no><Listener Path>
The message returned to the web browser or API development environment shows the status of the data insert operation.


Known Limitations
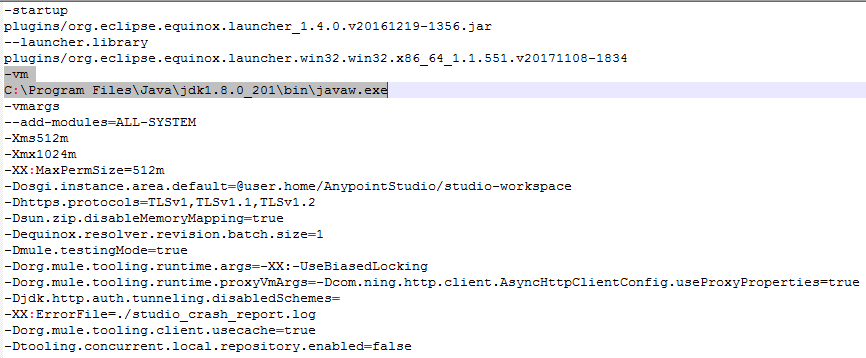
-
If the following error displays during the launch of Anypoint Studio:
A Java Development Kit(JDK) must be installed in order to run Anypoint Studio
then add JDK/bin as the first item in your PATH environment variable.
Alternatively, you can add the JDK path by editing the AnypointStudio.ini file located in the Anypoint Studio Un-archived directory.
-
Anypoint Studio does not support IntervalSeconds, IntervalMonth, or TimeStampTz data types.
-
Anypoint Studio truncates the milliseconds of TimeTz data to 3 digits and rounds the milliseconds of Time data to 3 digits.
-
Anypoint Studio rounds off Decimal data. For example:
- 79228162514264.337593543950335 is rounded off and inserted into the target as 79228162514264.000000000000000
- 1234.5679 is rounded off and inserted into the target as 1235.0000
For More Information

