


Vertica Integration with MicroStrategy: Connection Guide
About Vertica Connection Guides
Vertica connection guides provide basic instructions for connecting a third-party partner product to Vertica. Connection guides are based on our testing with specific versions of Vertica and the partner product.
Vertica and MicroStrategy: Latest Versions Tested
| Software | Version |
|---|---|
| Partner Product |
MicroStrategy 2021 Server on-premises Microstrategy Workstation 2021 |
| Partner Product Platform | Windows Server 2019 |
| Vertica Client |
Vertica ODBC 23.3.0 |
| Vertica Server | Vertica Database 23.3.0 |
MicroStrategy Overview
MicroStrategy is an enterprise data warehousing and business intelligence platform, offering powerful analytics and the ability to build and deploy interactive dossiers.
The MicroStrategy suite of products includes the following:
- MicroStrategy Server: Multi-user environment that enables collaborative access to MicroStrategy dossiers.
- MicroStrategy Workstation: Desktop application that offers a graphical interface for creating visualizations and interactive dossiers.
Installing MicroStrategy
To install a trial version of MicroStrategy
- Navigate to Get Started with MicroStrategy.
- To install MicroStrategy Server on-premises, select MicroStrategy 2021 and download Intelligent Enterprise.
- To install MicroStrategy Workstation, select Desktop Application and download Workstation 2021.
- Provide your account details.
- Follow the on-screen instructions to download the zip file.
- Extract the contents of the zip file on your system.
For details about MicroStrategy installation, see the MicroStrategy documentation.
Installing the Vertica Client Driver
Before you can connect MicroStrategy to Vertica, you must install the Vertica ODBC driver. Follow these steps:
- Navigate to the Client Drivers page on the Vertica website.
-
Download the client driver package that is compatible with your Vertica server version.
Note For details about client and server compatibility, see Client Driver and Server Version Compatibility in the Vertica documentation.
-
Double-click the installer and follow the prompts. When prompted to select one or more drivers, select ODBC.
-
Create a DSN as described in Creating an ODBC Data Source Name (DSN).
Connecting MicroStrategy with Vertica
-
From the Windows Start menu, open MicroStrategy Web.
-
Log in to MicroStrategy Web, then select a project from the list. We selected Vertica_Demo as our project.

When you create reports, you can access it in this project.
-
Click Add External Data to create a connection to Vertica.

The Select Import Options window opens.
-
Select an option for defining the data to import and click Next.

-
On the Import from Tables window, click the plus sign (+) to create a new connection.

The Data Source window opens.
-
You can choose to connect to Vertica either without a DSN or using the DSN that you created earlier.
If you choose the DSN-less Data Sources option, provide the following connection details:
- Server Name: Vertica server name or IP address and port
- Port Number: The default port is 5433
- Database Name: Vertica Database Name
- User: User name for Vertica Database
- Password: Password for Vertica Database

If you choose the DSN Data Sources option, provide the following connection details:
-
DSN: Vertica DSN
-
User: Username for Vertica Database.
-
Password: Password for Vertica Database

- Click Save to save the connection information.
-
On the Import from Tables window, select the tables from which you want to import data, then click Prepare Data.

-
On the Preview page, you can verify that the joins are configured correctly and preview the data.
- Click Finish.
-
On the Data Access Mode page, choose one of these options:
- Connect Live: MicroStrategy queries the Vertica database to fetch the latest data.
- Import as an In-memory Dataset: MicroStrategy imports all the specified data and stores it in memory.
Note We recommend that you select Connect Live to take advantage of the processing power of your Vertica database.
-
Provide a name for this dataset definition and click Save.
-
You can choose to create a dossier or a document based on the dataset.

In this example, we chose to create a dossier.
-
In the editor, select the measures and attributes to include in the dossier.

-
Click the Save icon in the upper left of the window and specify a location to save the dossier.
Connecting MicroStrategy Workstation (Client) with MicroStrategy Server
-
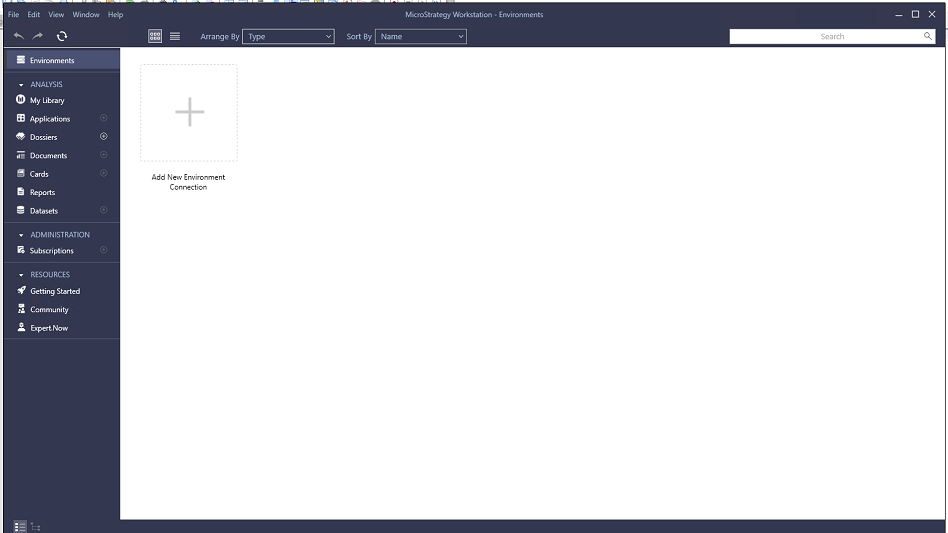
Open MicroStrategy Workstation from the installation location.
-
To connect MicroStrategy Workstation with MicroStrategy Server, select Environments and then click Add New Environment Connection.
-
Enter the following environment details and click Continue.
- Environment Name: Provide a name for your environment.
- Environment URL: URL of Microstrategy Library.
- Enter the credentials for Microstrategy Server and click Connect.
-
Select the application in Microstrategy Server. In this example, we selected the Vertica_Demo project.
-
Click Dossiers to create a new dashboard. The data sources and datasets created in MicroStrategy Server are displayed in MicroStrategy Workstation.
Note If you want to create new data, then follow steps 4 through 12.
-
To use datasets that were created in MicroStrategy Server, select Existing Dataset from the DATASETS pane and click Save to save this dossier to the server project.
-
Select a dataset from the list and click Insert.

-
Select measures and attributes from the dataset to prepare a dossier.

-
Close the dossier windows and open MicroStrategy Server.

The new dossier is now available in MicroStrategy Server.
Known Limitations
- BINARY, VARBINARY, and LONG VARBINARY data types are not supported.
- For TMESTAMPTZ, TIMETZ, TIMESTAMP, and TIME data types, milliseconds are truncated. Time zone values are not supported.
- For CHAR, VARCHAR, and LONG VARCHAR data types, a maximum of 32,000 characters are supported.
- For NUMERIC data type, values after 15 decimal places are rounded off.
For More Information
- MicroStrategy
- MicrStrategy Documentation
- MicroStrategy and Vertica: Partner QuickStart (Pharma Sales)
- Vertica Community Edition
- Vertica User Community
- Vertica Documentation

