


Vertica and Apache Maven: Technical Exploration
About this Document
This document provides information about adding the Vertica driver to the local Maven repository and then connecting to Vertica. This method can be used if you want to use a Vertica JDBC driver version that is not in the Maven central repository. The goal of this document is to explore these methods to add the Vertica JDBC jar file to the local Maven repository and the integration of Vertica and Apache Maven.
Maven Overview
Maven is a build automation tool used for Java projects. It is mainly used to simplify build processes and manage dependencies.
Test Environment
- Windows 10
- Eclipse IDE 2020
- Maven Version 3.6.3
- JDK 1.8.0_231
- Vertica JDBC Version 10.0.0
Installing Maven
-
Download Maven from the following link for Windows:
- Unpack the Maven distribution zip file.
- Add the bin location in the extracted file to the system PATH.
-
Open a command line window and check if Maven is installed.

Adding the Latest Vertica Driver in the Local Maven Repository
If the latest Vertica driver is not available in the central Maven repository, you can use any of the following methods:
Method 1
- Download the required Vertica driver from the link https://www.vertica.com/download/vertica/client-drivers/.
-
Run the following command in a terminal window:
mvn install:install-file “-Dfile=/path_to/vertica-jdbc-10.0.0-0.jar” “-DgroupId=com.vertica” “-DartifactId=vertica-jdbc” “-Dversion=10.0.0” “-Dpackaging=jar”
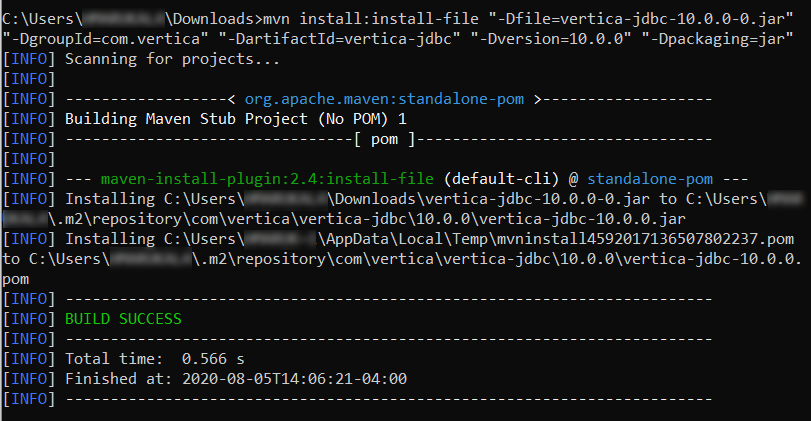
-
If the build is successful you will see a Vertica folder created at
C:\Users\admin\.m2\repository\com\
Method 2
- Download the required Vertica driver from the link https://www.vertica.com/download/vertica/client-drivers/.
- Open the Maven project in an IDE. We used the Eclipse IDE.
-
In the POM.XML file in your Maven project, add the following dependency under the dependencies tag.
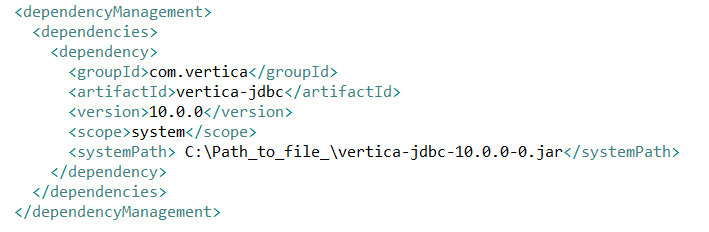
- After adding the dependency, build your project.
Connecting Maven to Vertica
- Open Eclipse IDE.
- On the menu click File > New > Project.
- In the New Project window, select Maven Project, and then click Next.
- Select Create a simple project (skip archetype selection) and click Next.
-
In the New Maven Project window, type the Group Id, Artifact Id, Name, and Description, and then click Finish.
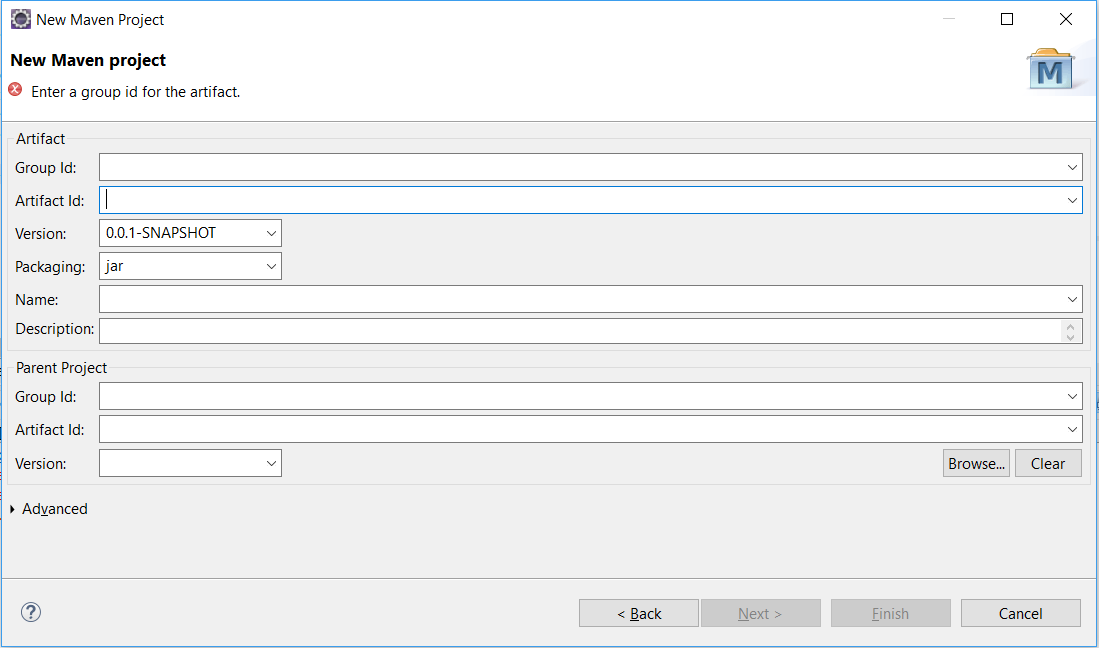
The Maven project is created.
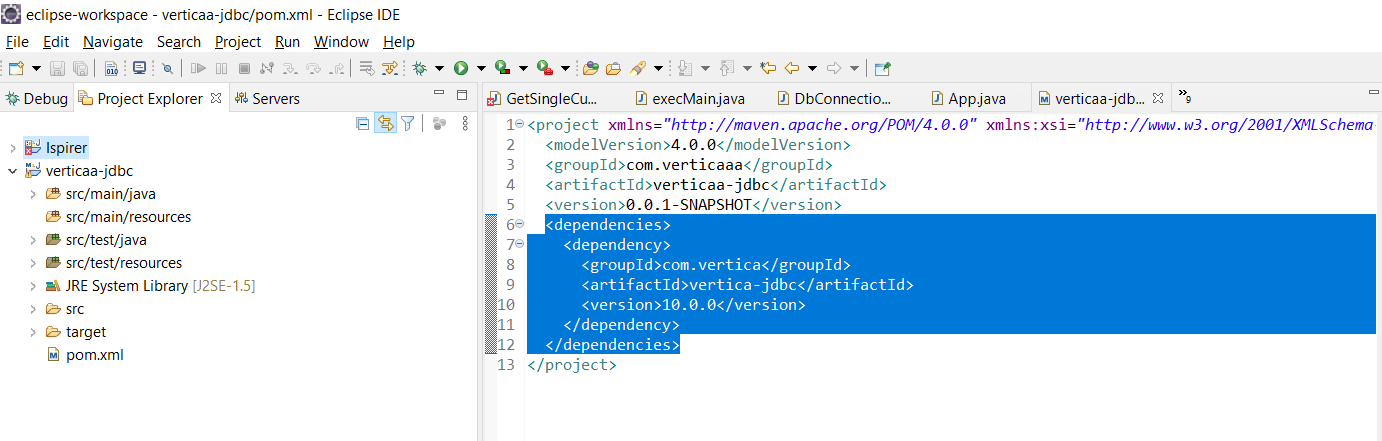
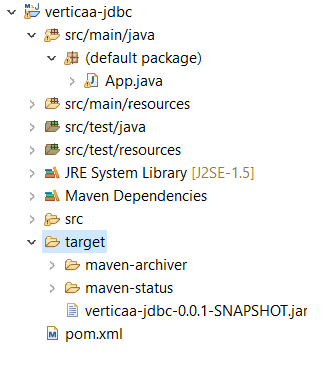
- In the Project Explorer, under the project, double-click the pom.xml file.
-
In the editor, add the dependency tag to include the Vertica JDBC dependency as shown in the following image:
- Under the src > main > Java directory, add a new Java class and add the code to connect to Vertica and other functions. In this example, we executed a SELECT statement.
- In the Project Explorer, right-click the project, select Run As > Maven Clean.
- After the build is successful, select Run As > Maven Install.
- After the build is successful, you will find a new jar file created under the target folder.
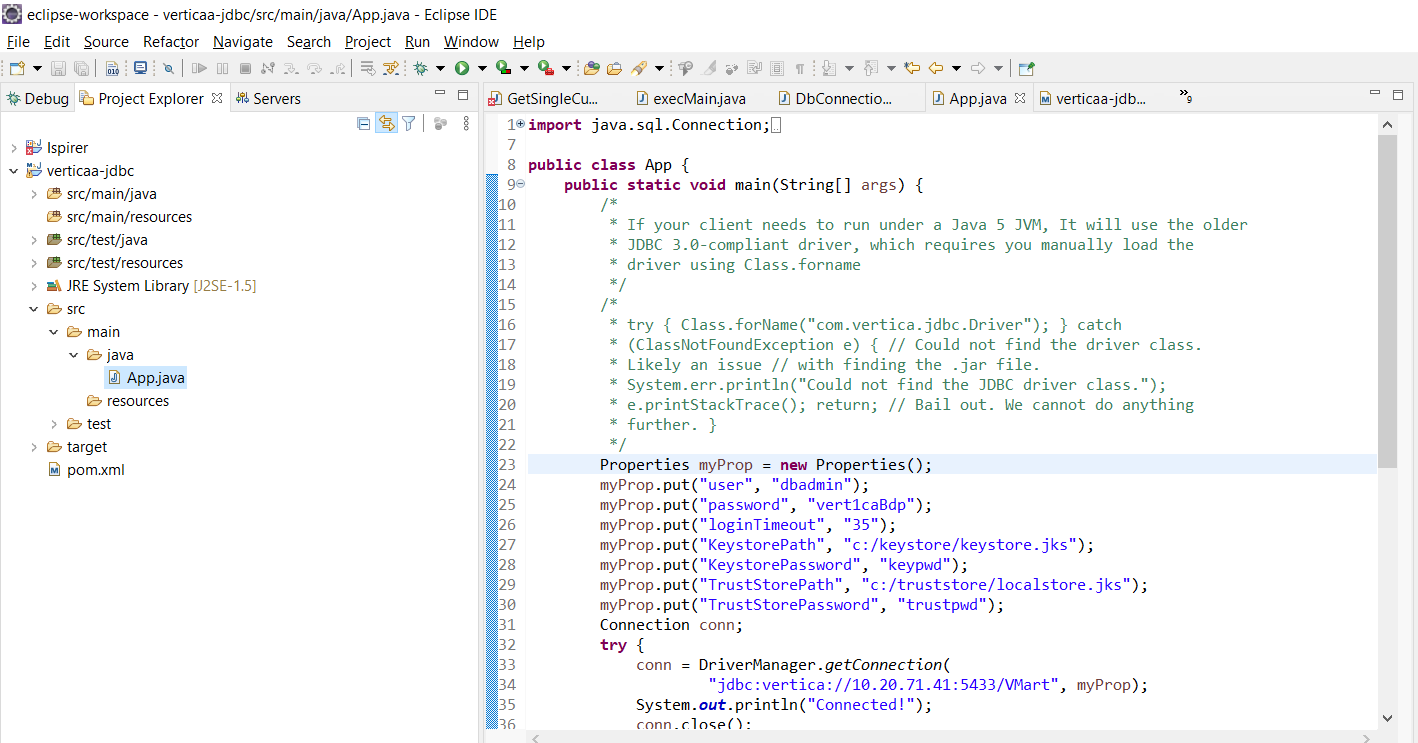
import java.beans.Statement;
import java.sql.Connection;
import java.sql.DriverManager;
import java.sql.ResultSet;
import java.sql.SQLException;
import java.sql.SQLInvalidAuthorizationSpecException;
import java.sql.SQLTransientConnectionException;
import java.util.Properties;
public class App {
public static void main(String[] args) {
/*
* If your client needs to run under a Java 5 JVM, It will use the older
* JDBC 3.0-compliant driver, which requires you manually load the
* driver using Class.forname
*/
/*
* try { Class.forName("com.vertica.jdbc.Driver"); } catch
* (ClassNotFoundException e) { // Could not find the driver class.
* Likely an issue // with finding the .jar file.
* System.err.println("Could not find the JDBC driver class.");
* e.printStackTrace(); return; // Bail out. We cannot do anything
* further. }
*/
Properties myProp = new Properties();
myProp.put("user", "dbadmin");
myProp.put("password", "vert1caBdp");
myProp.put("loginTimeout", "35");
myProp.put("KeystorePath", "c:/keystore/keystore.jks");
myProp.put("KeystorePassword", "keypwd");
myProp.put("TrustStorePath", "c:/truststore/localstore.jks");
myProp.put("TrustStorePassword", "trustpwd");
Connection conn;
try {
conn = DriverManager.getConnection(
"jdbc:vertica://10.20.71.41:5433/VMart", myProp);
System.out.println("Connected!");
java.sql.Statement stmt = conn.createStatement();
stmt.execute("select * from OLDEcoDB.issue limit 10");
ResultSet rs = null;
rs = stmt.executeQuery("SELECT Contact_Fname, Contact_Lname FROM EcoDB.Contacts");
int x = 1;
while(rs.next()){
System.out.println(x + ". " + rs.getString(1).trim() + " "
+ rs.getString(2).trim());
x++;
}
conn.close();
} catch (SQLTransientConnectionException connException) {
// There was a potentially temporary network error
// Could automatically retry a number of times here, but
// instead just report error and exit.
System.out.print("Network connection issue: ");
System.out.print(connException.getMessage());
System.out.println(" Try again later!");
return;
} catch (SQLInvalidAuthorizationSpecException authException) {
// Either the username or password was wrong
System.out.print("Could not log into database: ");
System.out.print(authException.getMessage());
System.out.println(" Check the login credentials and try again.");
return;
} catch (SQLException e) {
// Catch-all for other exceptions
e.printStackTrace();
}
}
}
For More Information

