
Vertica Integration with Jenkins: Connection Guide
About Vertica Connection Guides
Vertica connection guides provide basic instructions for connecting a third-party partner product to Vertica. Connection guides are based on our testing with specific versions of Vertica and the partner product.
Vertica and Jenkins: Latest Versions Tested
This document is based on our testing using the following versions:
| Software | Version |
|---|---|
| Partner Product |
Jenkins 2.319.2 |
| Desktop Platform |
Windows Server 2016 Standard |
| Vertica Client |
Vertica vsql 11.1 |
| Vertica Server |
Vertica Analytic Database 11.1 |
Jenkins Overview
Jenkins is an open source Java-based tool which allows you to build scripts and execute pipelines to achieve continuous integration and continuous delivery. It integrates and automates the software delivery process including builds, tests, deployments, troubleshooting and much more.
Installing Jenkins
Note Jenkins works with Java 8 or Java 11 only. Ensure you have either of the versions available on the Windows machine. You can download the Java Windows executable file here.
To install Jenkins on the Windows platform, follow the instructions here https://www.jenkins.io/doc/book/installing/windows/.
Installing the Vertica Client Driver
Jenkins uses vsql to connect to Vertica. To install the client driver
- Navigate to the Client Drivers page on the Vertica website.
-
Download the Vertica client package that is compatible with your Vertica server version.
Note For details about client and server compatibility, see Client Driver and Server Version Compatibility in the Vertica documentation.
-
Double-click the installer and follow the prompts.
- Follow the installation instructions in the Vertica documentation.
-
Add the path where you installed vsql to the Windows environment variables.
Creating a Project in Jenkins to Get Data from Vertica
- In the Jenkins dashboard, click New Item.

-
Type the project name, select Freestyle project, and then click OK.
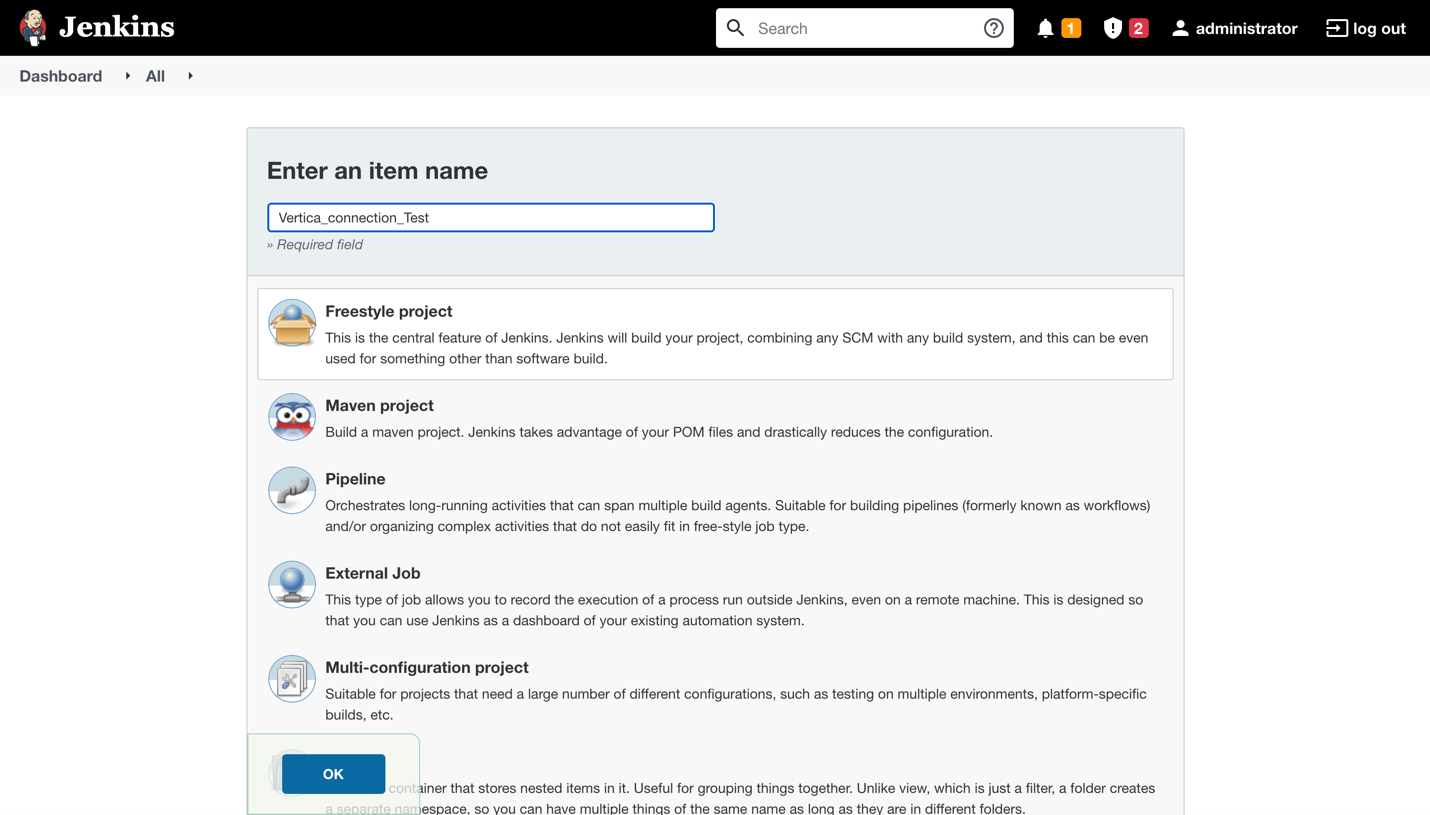
The project configuration page opens. -
Scroll down the configuration page to the Build section. In the Add build step drop-down, click Execute Windows batch command.
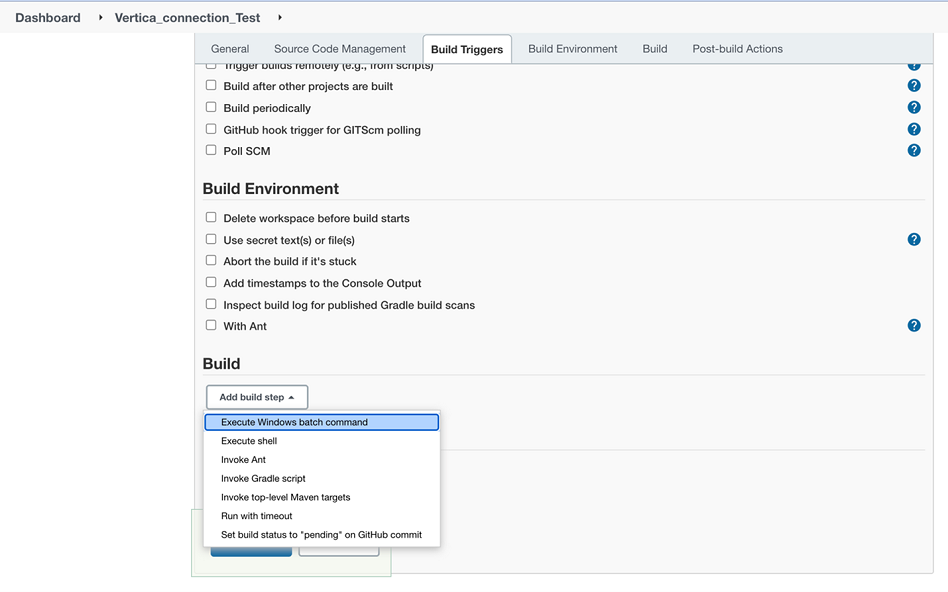
The Command dialog box opens.
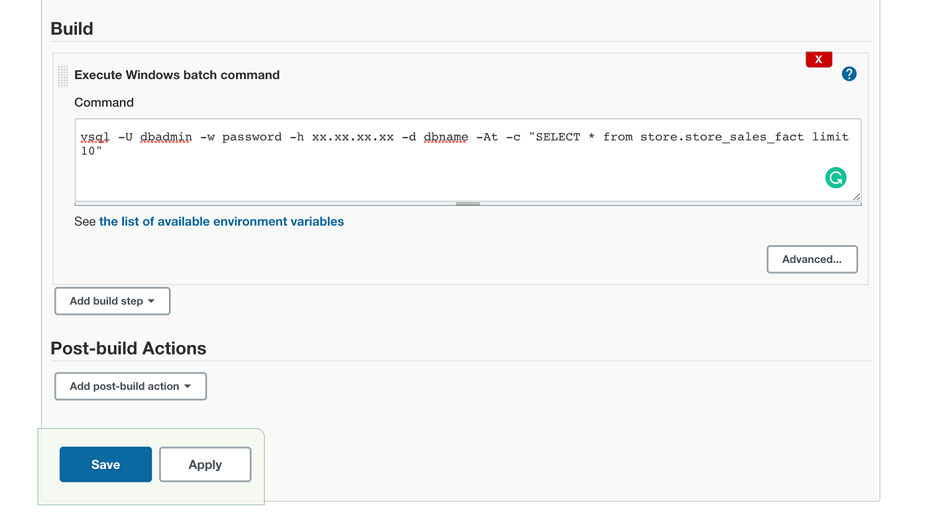
-
Enter the following vsql command in the dialog box with the updated username, password, host IP, Vertica database name, and the SQL query, and click Save.
vsql -U dbadmin -w password -h xx.xx.xx.xx -d dbname -At -c "SELECT * from store.store_sales_fact limit 10"
- After you save, the project dashboard opens.

-
In the left pane, click Build Now and after a successful build, the build number appears in the Build History.
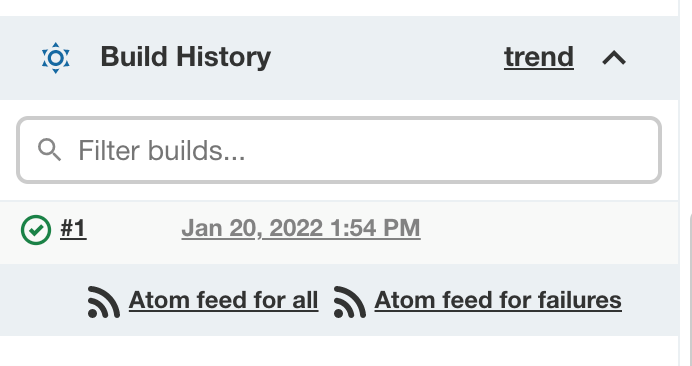
-
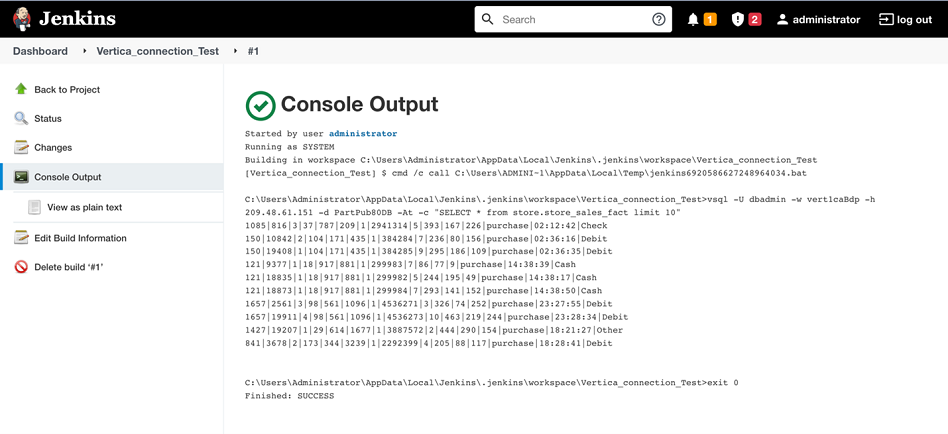
Click the build number (#1) to view the details.
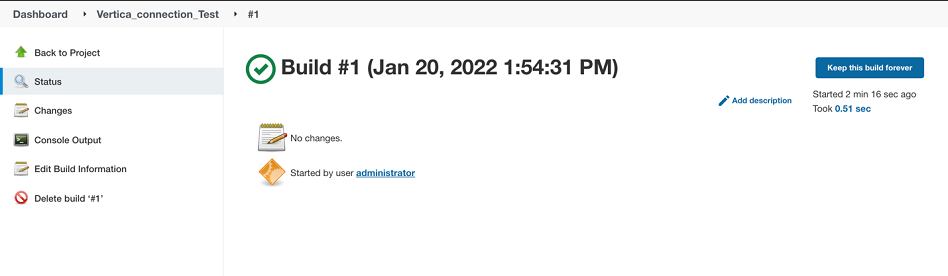
-
Click Console Output to view the result of the query that was executed.