


Vertica Integration with DbSchema: Connection Guide
About Vertica Connection Guides
Vertica connection guides provide basic instructions for connecting a third-party partner product to Vertica. Connection guides are based on our testing with specific versions of Vertica and the partner product.
Vertica and Dbschema: Latest Versions Tested
| Software | Version |
|---|---|
| Partner Product |
DbSchema 8.2.10 |
| Partner Product Platform |
Windows 10 |
| Vertica Client |
Vertica JDBC 10.0 |
| Vertica Server |
Vertica Analytic Database 10.0 |
| Vertica Server Platform | CentOS Linux 7.4 |
DbSchema Overview
DBschema is a GUI database design and management tool. Its interactive schema layouts enable editing of tables and columns directly in the layout to build and share intuitive database designs. The tool also has the ability to generate random data for testing.
Installing DbSchema
- Download and install a free trial version of DbSchema which is valid for 15 days.
-
Double-click the executable and follow the on-screen instructions.
Installing the Vertica Client Drivers
- Navigate to the Client Drivers page on the Vertica website.
-
Download the JDBC driver package.
Note
For details about client and server compatibility, see Client Driver and Server Version Compatibility in the Vertica documentation.
-
Follow the installation instructions.
Connecting Vertica to DbSchema
Vertica as Source
-
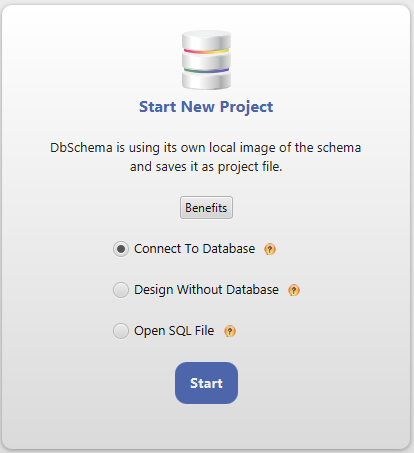
Open DbSchema.
-
Select Connect To Database and click Start.
-
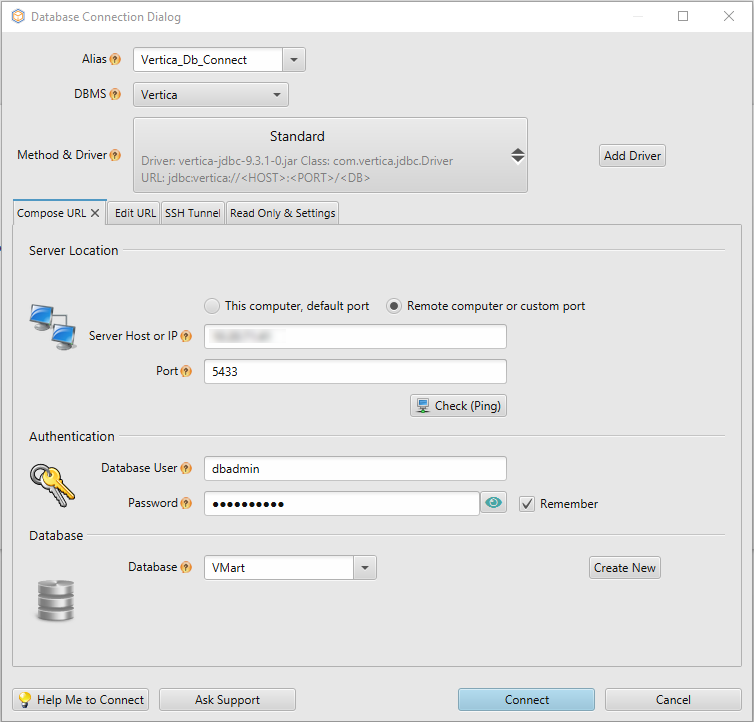
The Database Connection Dialog window opens.
-
Alias: Provide a name for the connection.
-
DBMS: Select Vertica.
-
Method & Driver: Click Add Driver.
In the JDBC Driver Manager window, click Upload Driver File and select the Vertica JDBC Jar file to upload it to DBSchema and click OK.
-
Compose URL tab: Enter the server credentials and click Connect.
-
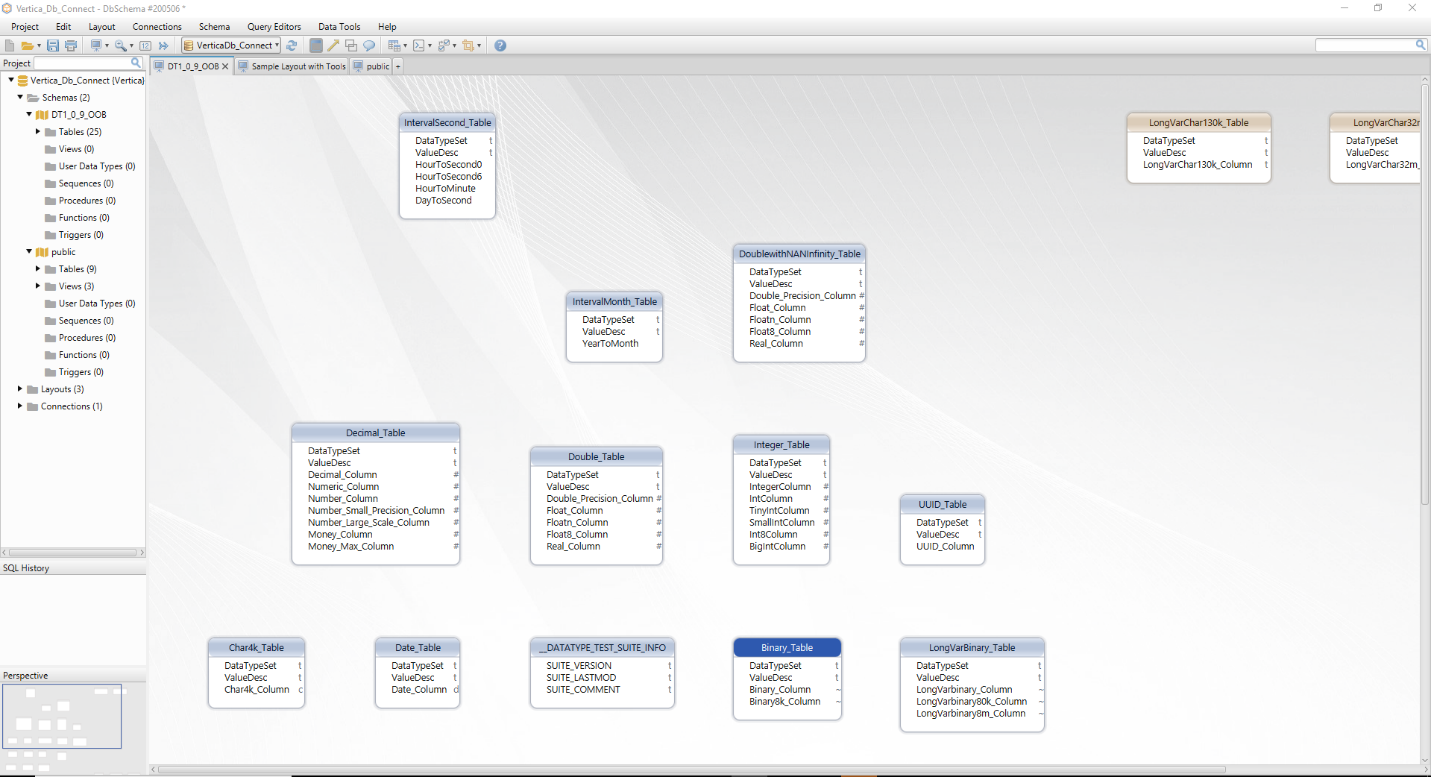
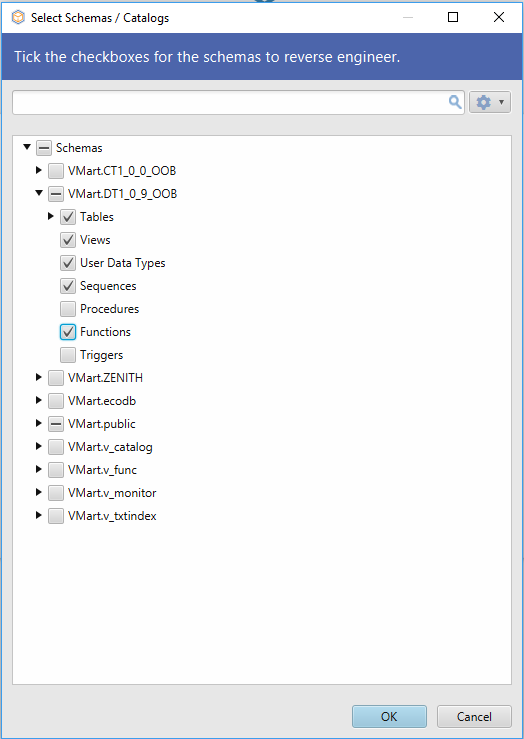
Select the required items and click OK.
-
A layout with all the tables you selected is created.
- The Select Schema /Catalogs window opens showing the list of schemas and tables in the Vertica database.
Troubleshooting
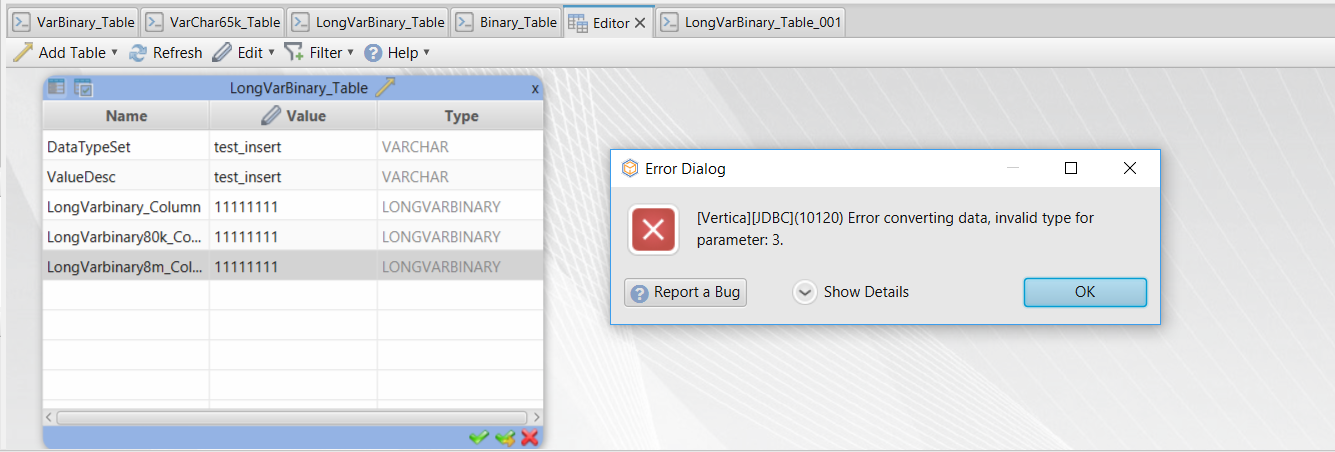
Error converting data, invalid type for parameter
Issue #1: BINARY, VARBINARY, and LONG VARBINARY data types are not read correctly. When you try to insert a record in a table using New Relational Data Browse from the Data Tools menu, you see the following error:
Issue #2: TIME, TIMETZ, and TIMESTAMPTZ data types are not read correctly. When you try to insert data using New Relational Data Browse from the Data Tools menu, it enters a timestamp value for all time data types.

Solution for Issue #1 and #2
- Right-click the table in the layout, select Build SQL>Insert Statement. A new tab opens up.
- Enter the required Insert statement and click Run.
-
If the SQL statement is valid the Commit button starts blinking. Click Commit to write to the database.
Known Limitations
- For TIMESTAMP data type, milliseconds are rounded off after 3 digits.
- For TIMETZ and TIMESTAMPTZ data type, time zone offset is not supported.

