
Vertica and DataSpider Servista: Technical Exploration
About this Document
The goal of this exploration is to connect Vertica and DataSpider Servista. DataSpider Servista is an easy-to-use Data Integration Service platform featuring a graphic-rich IDE which allows users to connect integration components visually. We used DataSpider Studio which is an IDE with a GUI interface (Designer) along with DataSpider Server. We tested this connection using both Vertica JDBC and ODBC drivers. You need to follow a few prerequisites for the drivers when connecting to Vertica. The basic steps to create a connection to a Vertica database using DataSpider Servista are described in this document.
DataSpider Servista Overview
DataSpider Servista is a data linkage middleware that allows you to create processes for transferring data between different kinds of systems or applications easily with a GUI base. With a simple drag and a drop operation, you can create, debug, and deploy simple or complex business logic. It offers linkages as batches of transactions and describes the entire operation graphically by tying these batches with flows. You can develop your own integration business logic or services based on your requirements without any programming skills.
Test Environment
-
DataSpider Servista 4.2 SP4 on Windows Server 2019
-
Vertica Analytical Database 12.0.1 on Linux RHEL 8.3
Installing DataSpider Servista
To install DataSpider Servista, follow the steps in the Installation guide.
Note If you are connecting to Vertica using ODBC, you must install the JDBC Proxy Server. For more information about configuration, see DataSpider JDBC Proxy Server Install Guide.
Installing the Vertica Client Driver
You can connect Vertica to DataSpider Servista either using JDBC or ODBC. To install the client driver
- Navigate to the Vertica Client Drivers page.
-
Download the JDBC or ODBC driver package for your version of Vertica.
Note For more information about client and server compatibility, see Client Driver and Server Version Compatibility in the Vertica documentation.
Connecting Vertica to DataSpider Servista
-
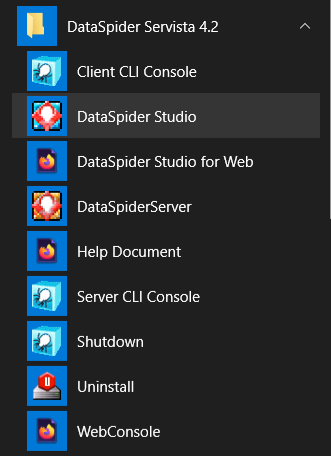
Launch DataSpider Servista Studio.
-
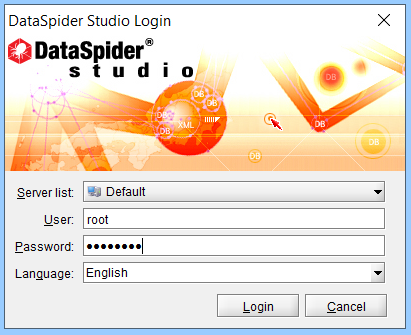
Provide the login credentials you created while installing DataSpider Servista. Click Login.
-
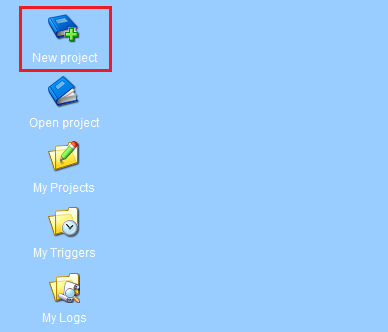
Click New project to create a new project.
-
Provide a Project name and click Next.

-
Provide a Script name and click Finish.
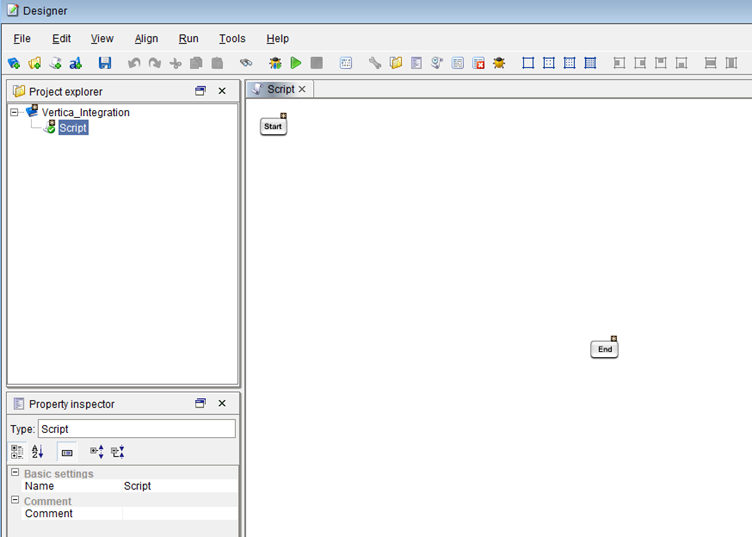
The Designer window appears.
-
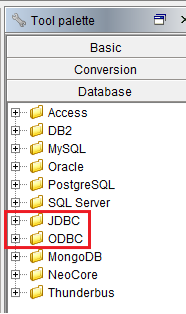
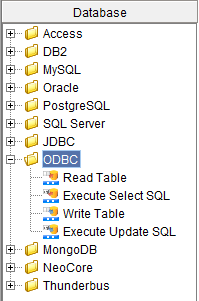
On the bottom right, expand the Database tab.
-
Vertica connects to DataSpider Servista using one of the two modes, either JDBC or ODBC.
Connecting Vertica to DataSpider Servista Using JDBC
-
Stop DataSpider Server and DataSpider Studio if both are running.
-
Copy the Vertica library/jar file in the $DATASPIDER_HOME\server\plugin\data_proseccing\modules\jdbc_adapter directory.
-
Start DataSpider Server and DataSpider Studio.
-
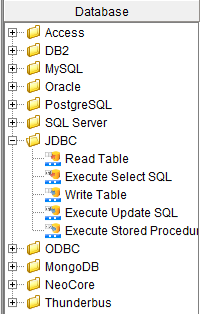
Click JDBC.
-
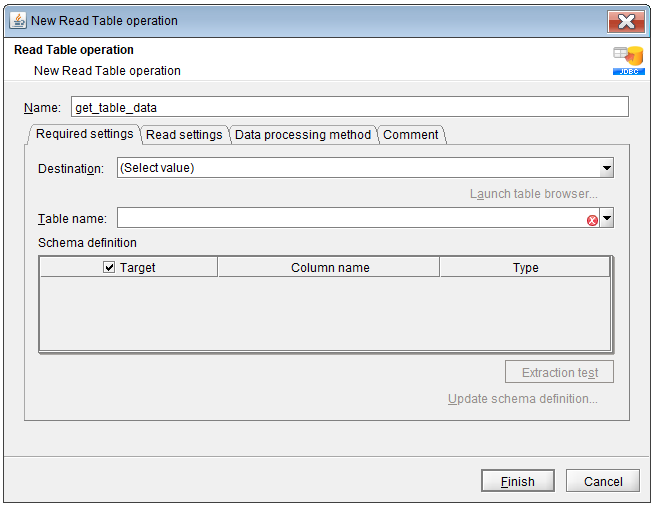
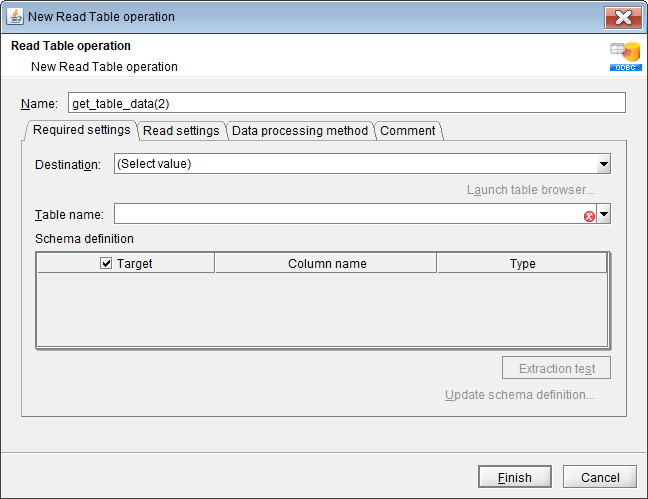
Drag and drop the Read Table component into the Designer.
The New Read Table operation window opens.
-
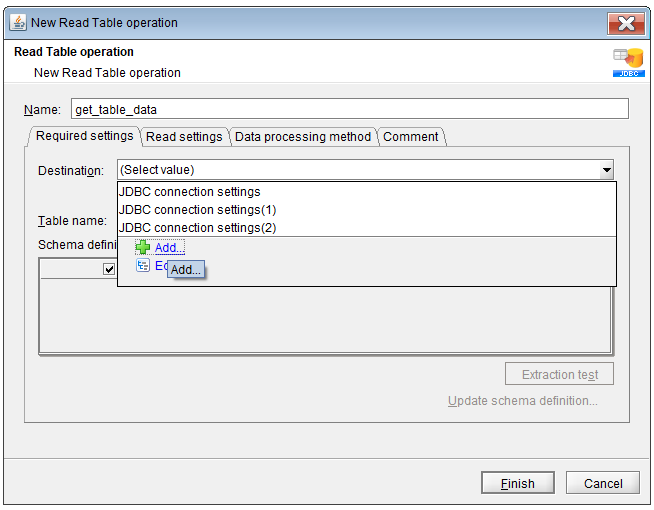
Provide the Vertica JDBC connection parameters.
-
Click Add.
-
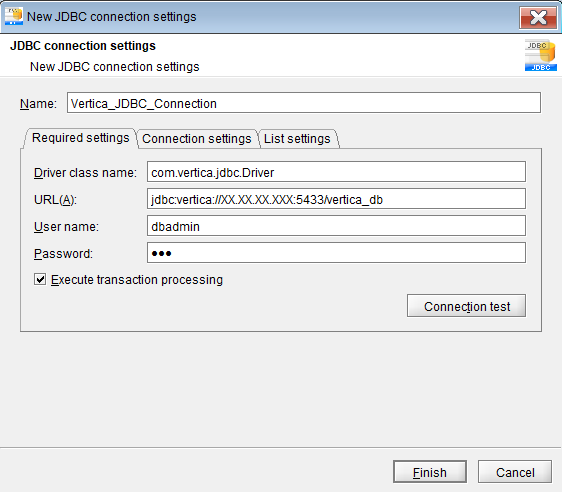
Provide the Vertica database connection details.
-
Click Connection test.
A message appears if the connection is successful.
-
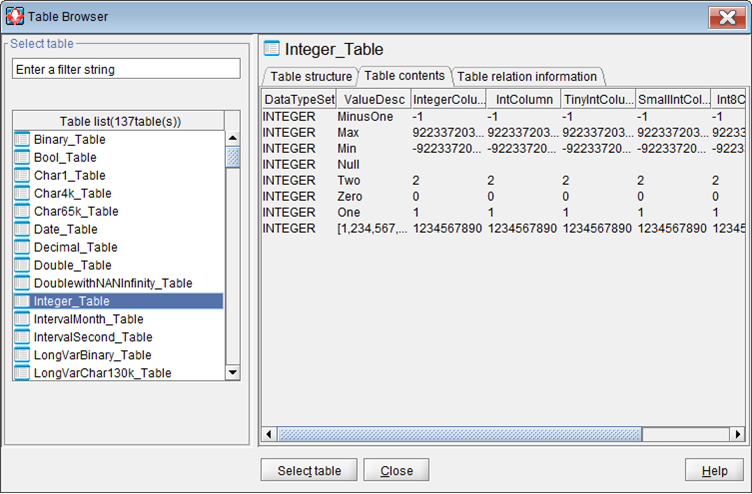
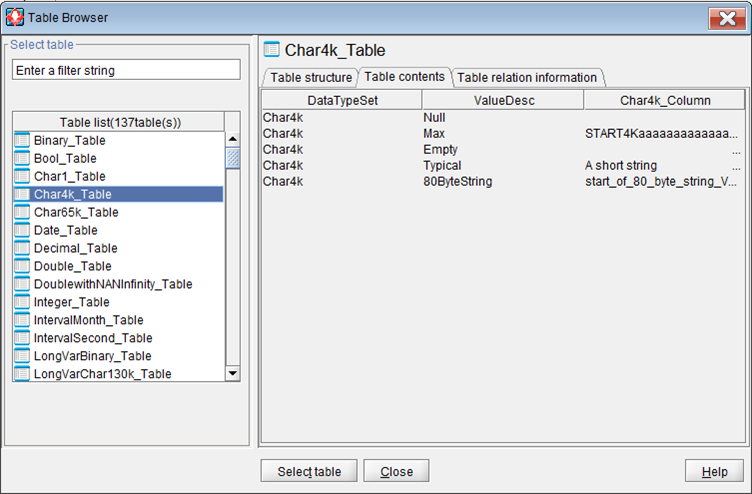
Click Launch table browser.
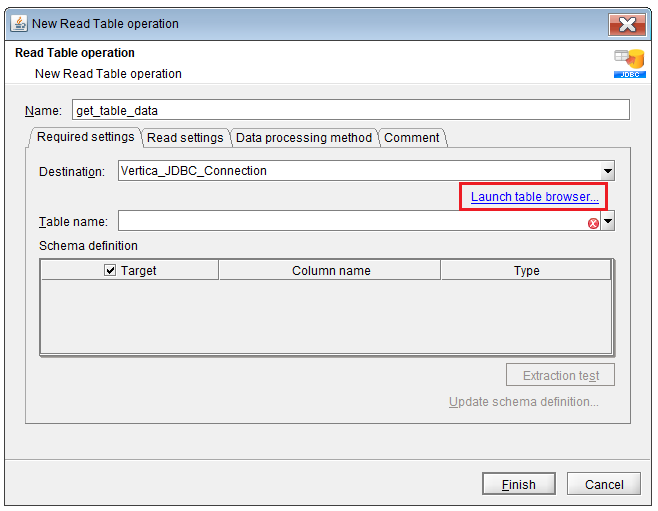
It displays the Vertica database tables that are successfully connected. You can view the underlying data in the Table contents tab.
Connecting Vertica to DataSpider Servista Using ODBC
-
To use the ODBC adapter, you need to install JDBC Proxy Server in the OS where the ODBC data source exists. See, Installing DataSpider Servista.
-
This adapter can only connect to 32-bit ODBC data source in Windows x86 or Windows x64.
-
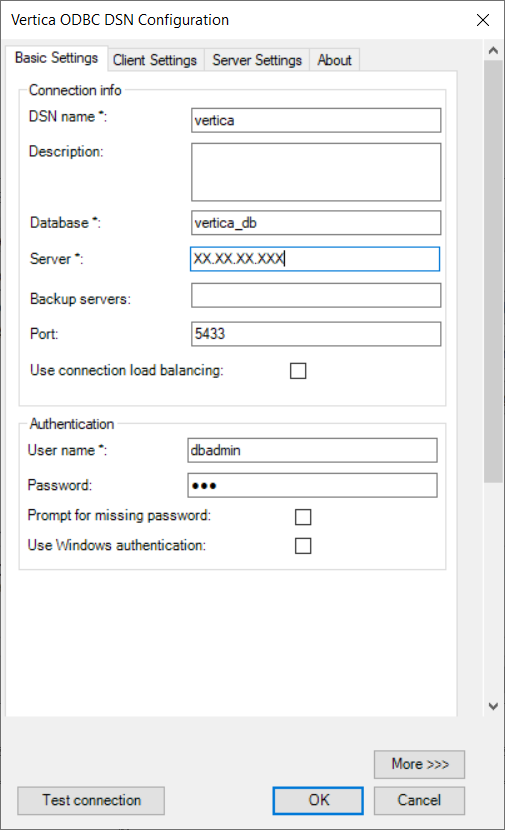
Before you begin, create a Vertica ODBC 32-bit User DSN. Click Test connection and then click OK.
-
Click ODBC.
-
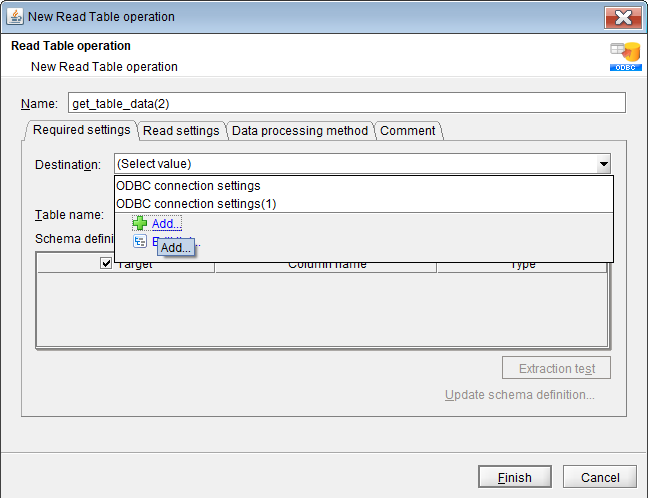
Drag and drop the Read Table component into the Designer.
The New Read Table operation window opens.
-
Provide the Vertica ODBC connection parameters.
-
Click Add.
-
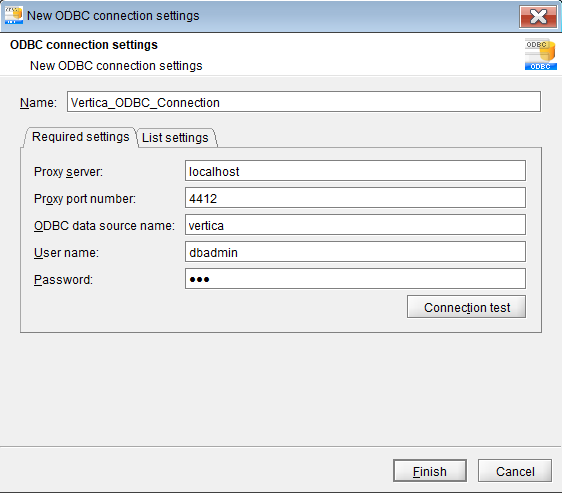
Provide the ODBC connection details for the Vertica database:
-
Proxy Server is the one you created on the same machine where DataSpider Servista is installed.
-
The default port number for this Proxy server is 4412.
-
-
Click Connection test.
A message appears if the connection is successful.
-
Click Launch table browser
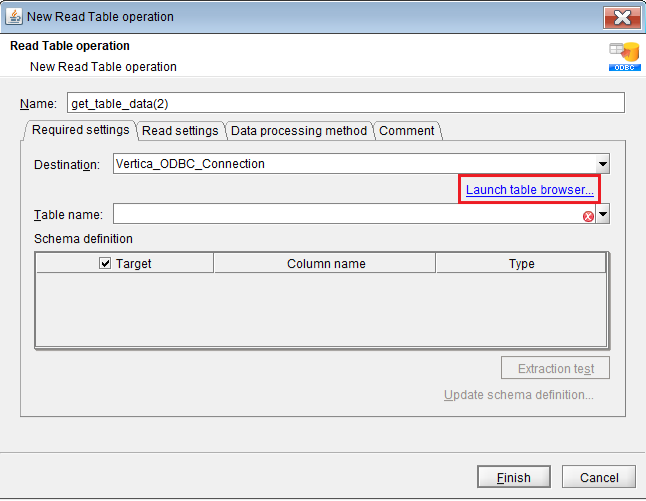
-
It displays the Vertica database tables that are successfully connected. You can view the underlying data in the Table contents tab.