


Vertica Integration with Astera Centerprise Data Integrator: Connection Guide
About Vertica Connection Guides
Vertica connection guides provide basic instructions for connecting a third‑party partner product to Vertica. Connection guides are based on our testing with specific versions of Vertica and the partner product.
Vertica and Astera Centerprise Data Integrator: Latest Versions Tested
| Software | Version |
|---|---|
| Partner Product |
Astera Centerprise Data Integrator v8.2.2.200 (64-bit) |
| Partner Product Platform | Windows 10 |
| Vertica Client |
Vertica ADO.NET 9.3.0 |
| Vertica Server | Vertica Analytic Database 9.3.1 |
| Vertica Server Platform | CentOS Linux 7.4 |
Astera Centerprise Data Integrator Overview
Astera Centerprise Data Integrator is a Windows Enterprise software for end to end data extraction, integration, and transformation. It provides a drag and drop model to automate integration projects using built-in transformation and connections. Astera has a Pushdown mode that enables the user to process data in the source.
Installing Astera Centerprise Data Integrator
Important Astera Centerpise stores metadata in SQLServer/PostgreSQL database. You need to have either of the database setup on the machine before installing Astera Centerprise Data Integrator.
- Navigate to the Astera website.
- Download a free trial version of Centerprise 8 which is valid for 14 days.
- Follow the installation instructions to install Astera Centerprise 8.
Note Astera Centerprise Data Integrator uses ADO.NET to connect to the Vertica database. The Vertica driver is bundled with Astera Centerprise, so you do not need to install the driver separately.
Connecting Vertica to Astera Centerprise Data Integrator
To connect to Vertica as a source
- Open Centerprise Data Integrator and click File > New > Dataflow.
- In the Toolbox pane, expand Sources, drag and drop the Database Table Source in the dataflow designer.
-
Double-click Database Source in the dataflow designer.
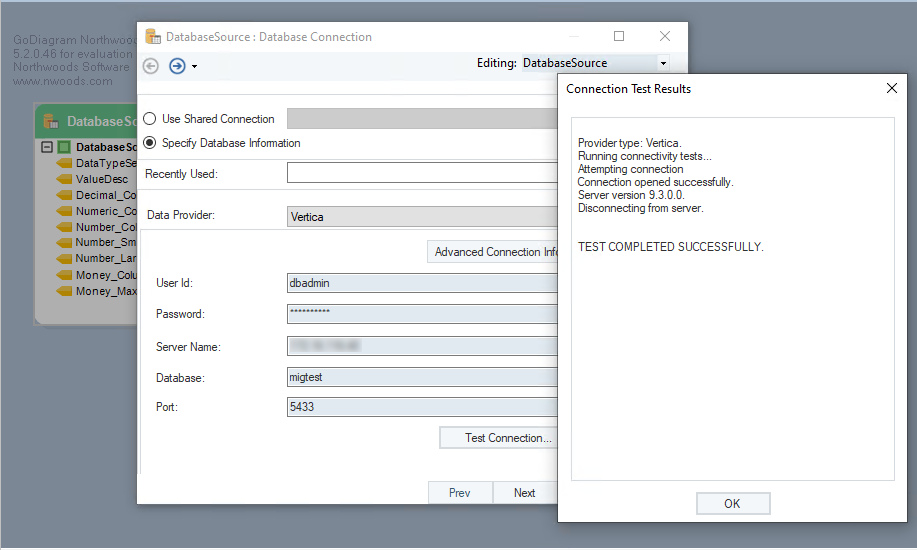
- In the DatabaseSource: Database Connection window, select Vertica as the Data Provider and enter the User Id, Password, Server Name, Database, and Port.
- Click Test Connection.
- Click OK and then click Next.
-
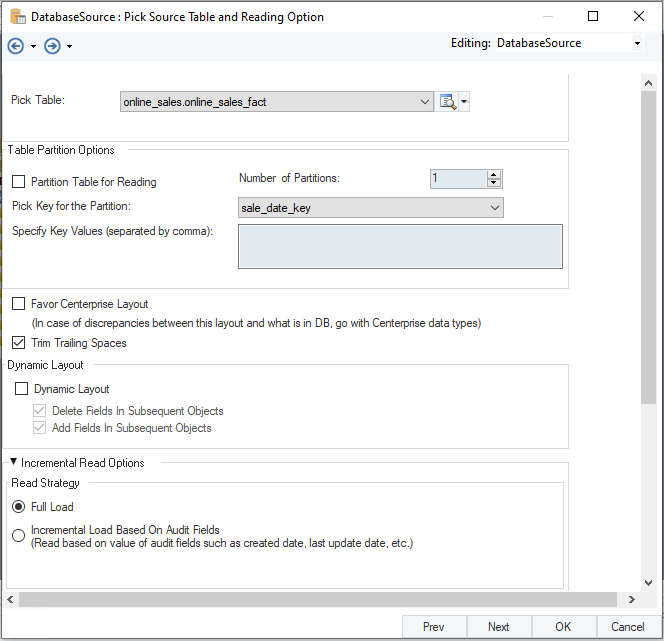
In the DatabaseSource: Pick Source Table and Reading Option window, select the table from the Pick Table drop-down list and click Next.
- In the DatabaseSource: Layout Builder window, you can edit the columns in the object layout or use the default options and click Next.
-
In the DatabaseSource: Where Clause window, enter a where or order by clause if required or leave it empty to work with the entire table, and click Next.
-
In the DatabaseSource: Config Parameters, enter the configuration parameters if required and click Next.
- In the DatabaseSource: General Options window, select the required options and click OK.
-
In the Dataflow designer, right-click Database Source and click Preview Output.
Data is displayed in the Data Preview pane.
To Connect to Vertica as a Target
- In the Toolbox pane, expand Destination, and drag and drop the Database Table Destination into the dataflow designer.
- Double-click Database Destination in the dataflow designer
- In the DatabaseDest: Database Connection window, same as
- Click Test Connection.
- Click OK and then click Next.
-
In the DatabaseDest: Pick Table window, select the table from the Pick Table drop-down list or create a new table in the schema. Create/Replace.
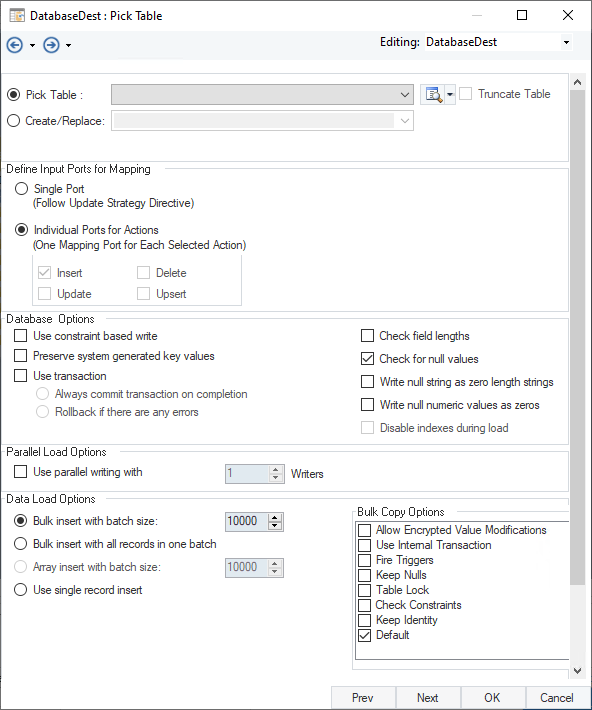
- In the Data Load Options, select Bulk insert with batch size. For Vertica, the ideal batch size is 100000.
- Click Next.
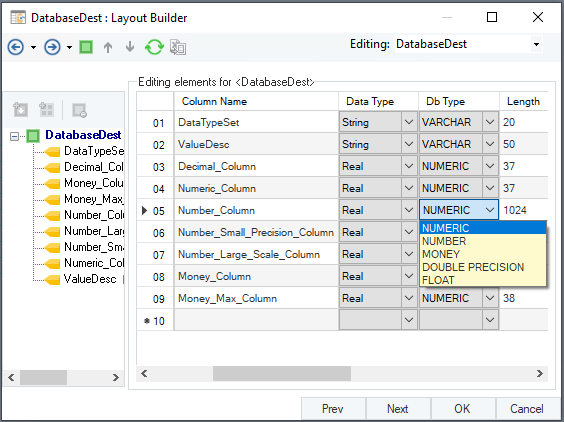
- In the DatabaseDest: Layout Builder, either edit the object layout or use the default settings and click Next.
- In the DatabaseDest: Config Parameters window, enter the configuration parameters if required and click Next.
- In the DatabaseDest: General Options window, select the required options or use the default options and click OK.
Running the Transformation
To run the transformation,
-
In the dataflow designer, drag the knob from Database Source and drop it onto Database Destination.
The columns in the database source are mapped to the columns in the database destination.
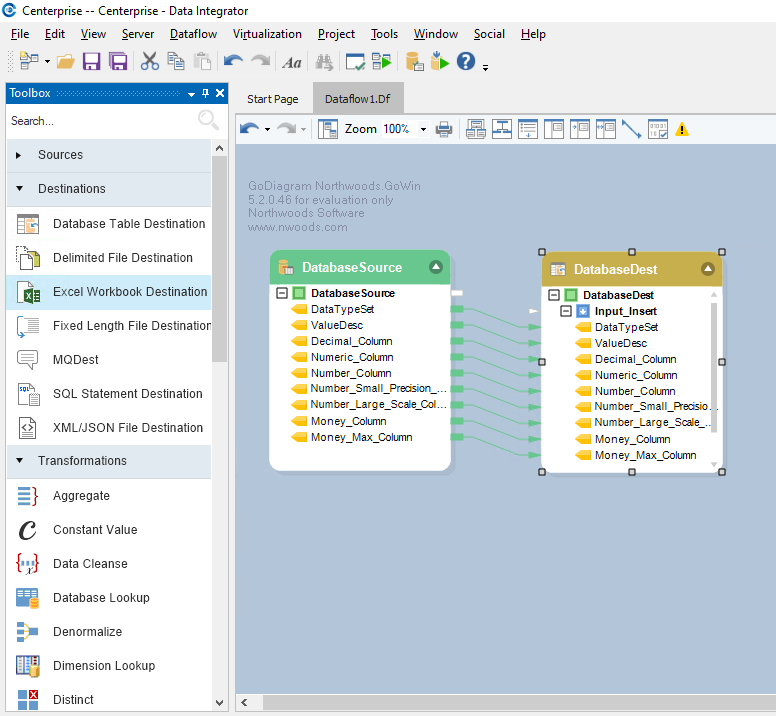
To edit an object layout, double-click Database Destination on the designer, navigate to the Layout builder window to change the options.
-
From the Tool bar, click
 to start running the transformation.
Note If you want to run the transformation in Pushdown mode, click
 . Before you run the transformation, verify the push down by clicking
  in the Tool bar.
You can see the job progress in the Job Progress pane.
Known Limitations
• BINARY, VAR BINARY, and LONG VARBINARY data types are not supported.
• For TIMESTAMP datatype, milliseconds are not displayed.
• TIMETZ and TIMESTAMPSTZ datatypes are not read correctly.
For More Information

